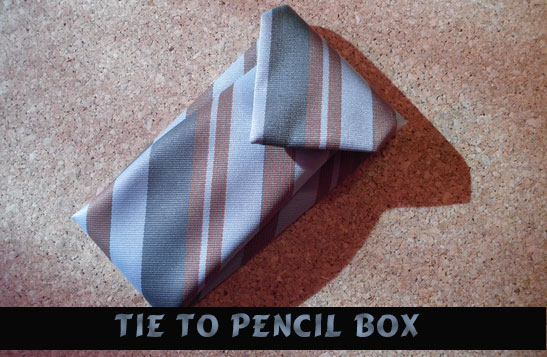
Today I have a super creative and fun craft for you. I’m going to show you how to make a pencil box using a tie. Ask your Dad for one…. I’m sure he has some that he doesn’t even wear anymore. And, what a great way to recycle those ties that aren’t worn anymore. After you make this craft you will have a functioning pencil box… and one that no one else has. How cool is that?! So, grab the materials needed and let’s get started.
Check out some other Necktie Crafts.
Laura from Dacian Moon Handmade will show you how to make this craft, step by step.
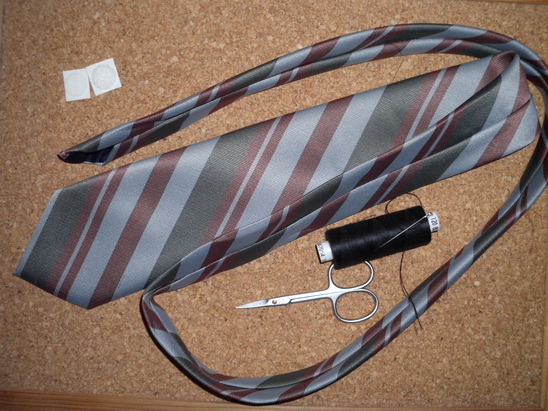
Materials Needed
– tie
– needle and thread
– scissors
– satin ribbon
– auto-adhesive velcro
Step 1
Measure the size of the pencil box. Should be slightly larger than a pen.
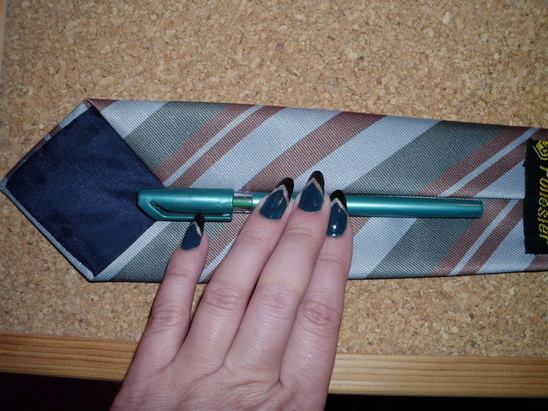
Bend the rest of the tie over it and mark this size.
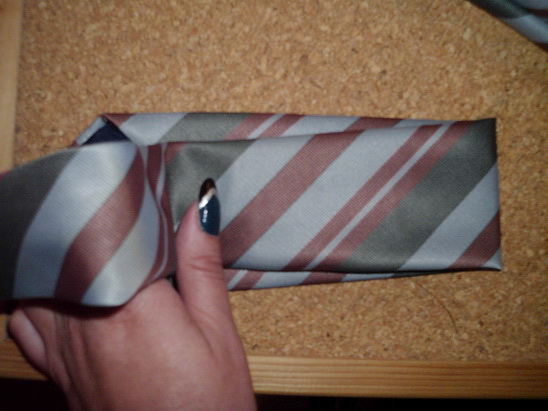
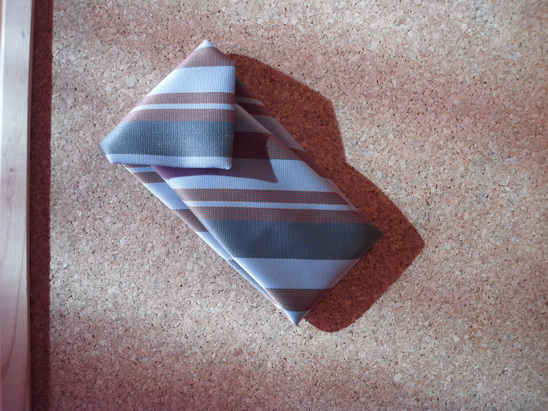
Cut on the marking.
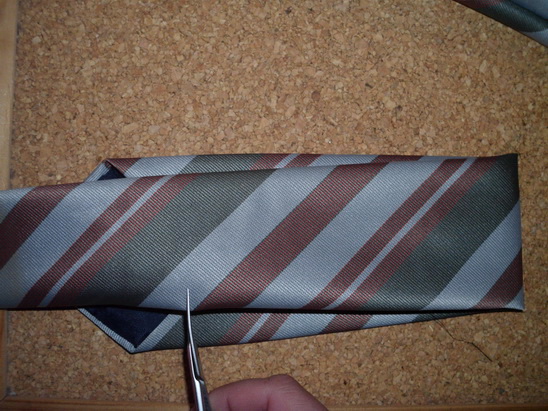
It will look like this.
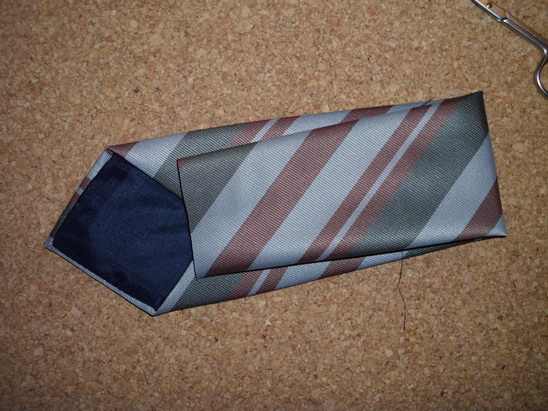
Make a curve cut in the front, like in the picture.

[ad#ahc]
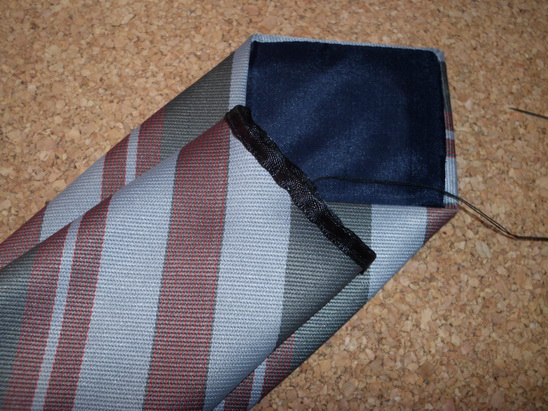
Step 2
Take the satin ribbon…
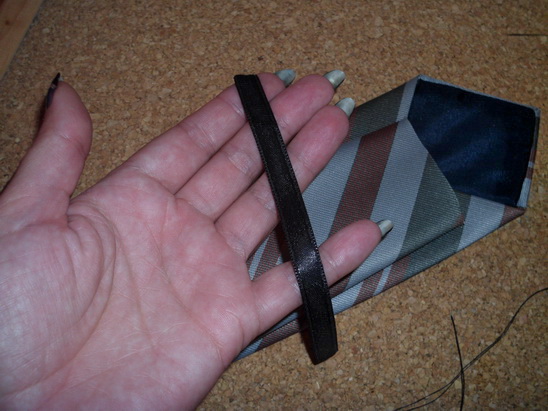
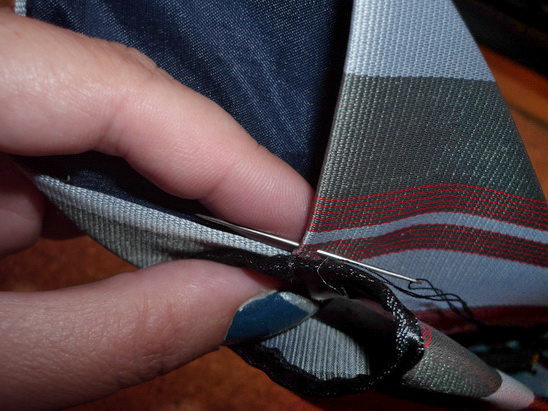
… and sew it around the front part…
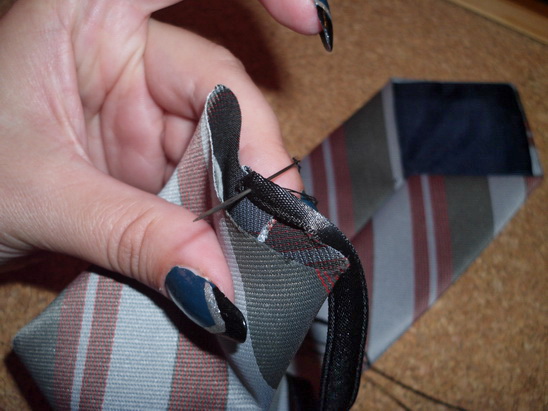
… to create a border, like this.
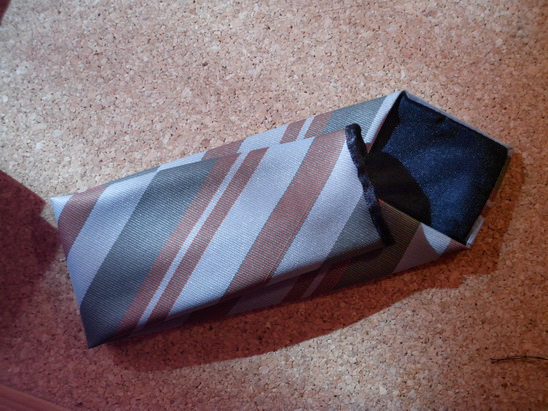
Sew the front to the rear to stay in place.
It will look like this.
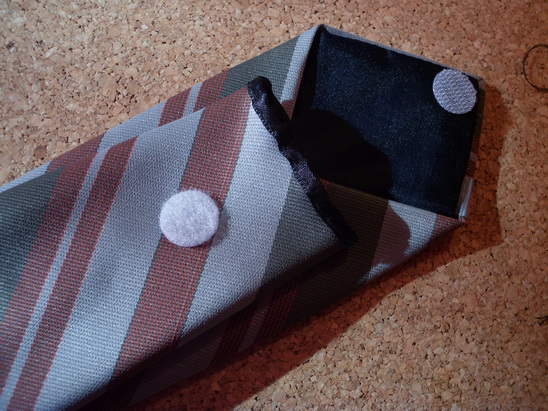
Step 3
Take the auto-adhesive velcro…
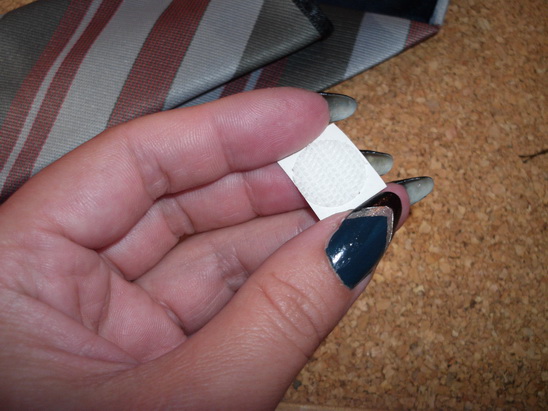
… and place one part on the closing part and the other in the corresponding point on the front part. Like this.
Now you can put pencils in it…
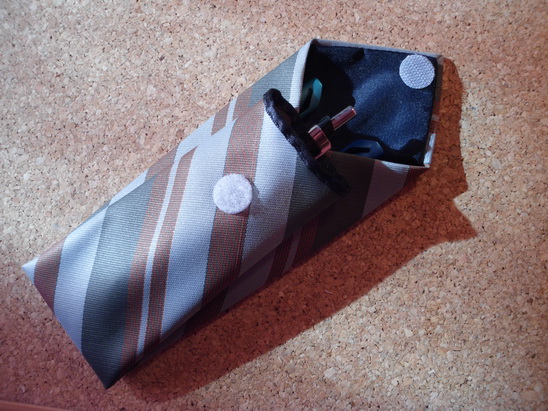
… close it, and it’s ready to use.
And, that’s it. You just created a pencil box using a tie. Doesn’t it feel great to recycle something that is no longer being used? It sure does.
Technorati Tags: neckties, necktie crafts, necktie crafts for kids, tie crafts, tie crafts for kids, neck tie crafts, neck tie crafts for kids, recycle neckties, recycle neck ties, recycle necktie crafts, upcycle neckties, upcycle necktie crafts, necktie activities, necktie activities for kids, pencil box, pencil box crafts, how to make a pencil box
