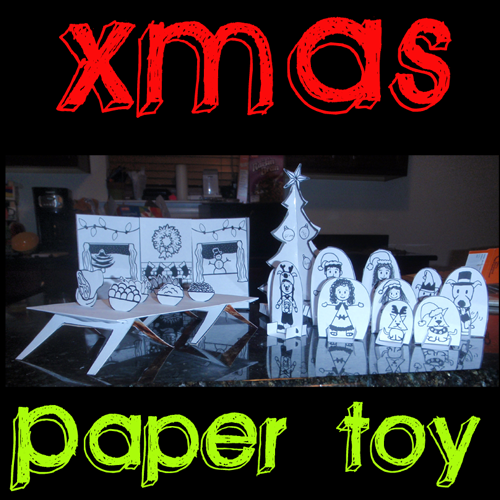
I have a fun Christmas craft for even the youngest of crafters. Today I’m going to show you how to make a Christmas Paper Toy. With just some paper, printer, scissors and a few other materials you and your child will be able to make this cute Christmas paper toy that they will enjoy playing with…. just as much fun as they will have making the craft. If you want, feel free to color the templates before cutting them out to add even more fun to this craft. So, let’s get started.
Check out our other Christmas Crafts.
Materials Needed
Printer
White Paper
Green Paper
Scissors
Tape
Pen
Glue
Cereal Box
Click on the template images below to open a new page and to print.
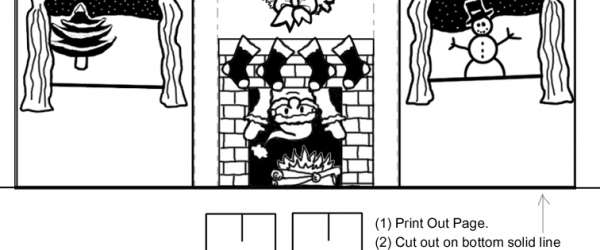
Christmas Background Template
Christmas Presents Template
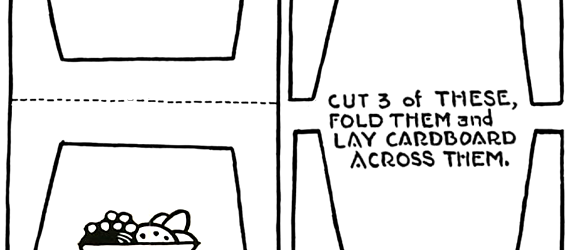
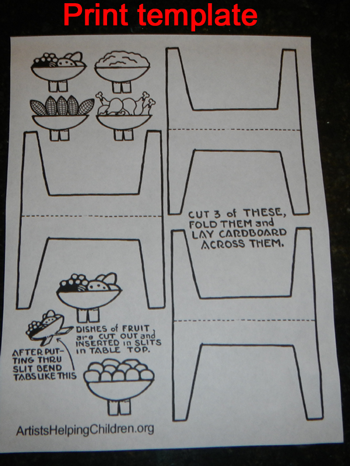
Christmas Table Template
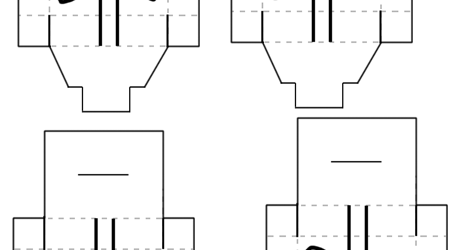
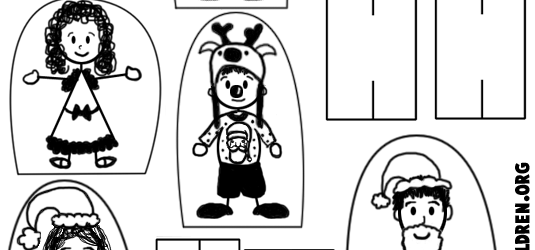
Christmas Characters Template
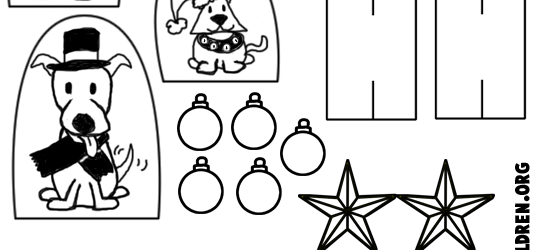
Christmas Tree Extras Template
Step 1
Print Templates.
[ad#ahc]
Step 2
Cut out items from template.
Step 3
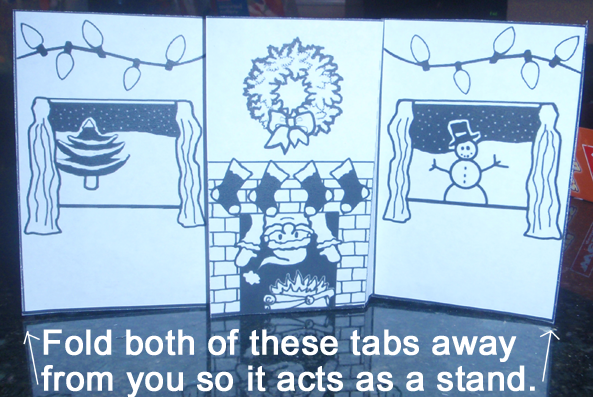
This is the background.
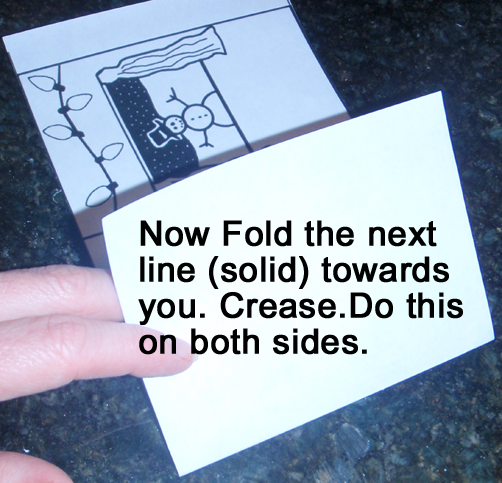
Bend both dotted lines away from you. Crease.
Now fold the next line (solid) towards you. Crease. Do this on both sides.
Fold both of these tabs away from you so it acts as a stand.
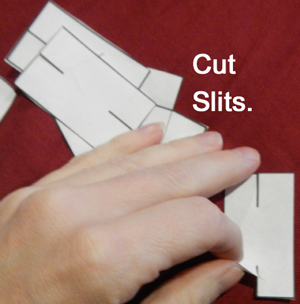
Cut slits.
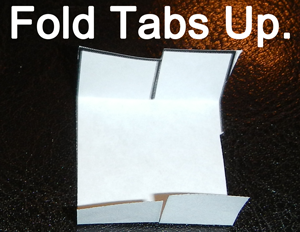
Fold tabs up.
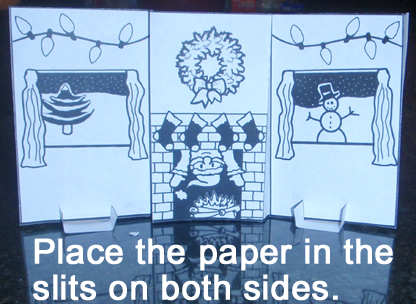
Place the paper in the slits on both sides.
Step 4
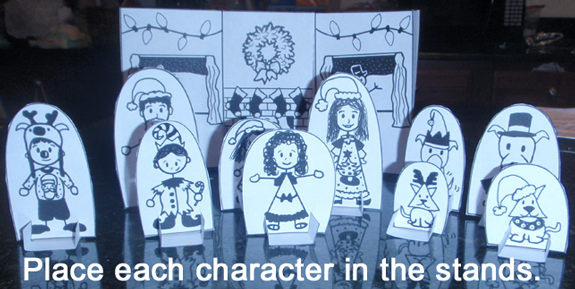
Place each character in the stands.
Step 5
To make the Christmas tree… get some green paper and… Fold green paper in half twice.
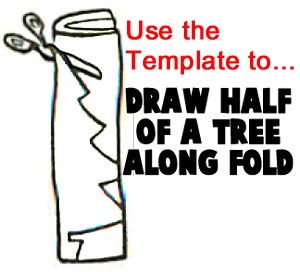
Use the template to… draw half of the tree along fold.
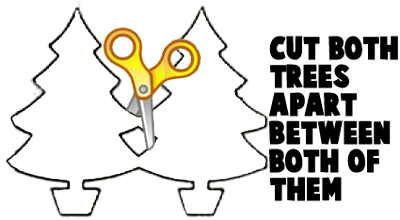
Cut both trees apart between both of them.
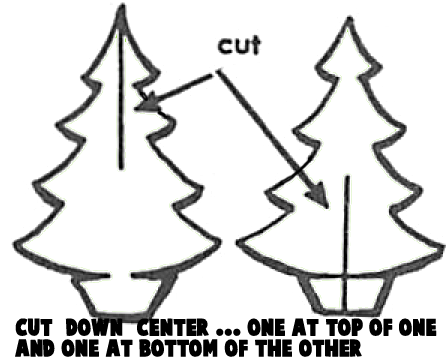
Cut down center… one on top of one and one at bottom of the other.
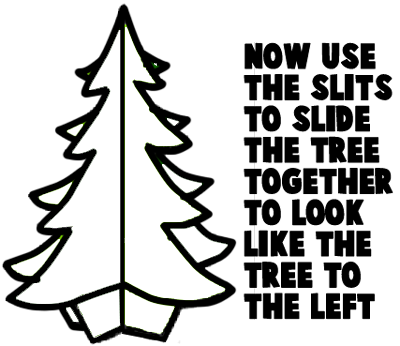
Now use the slits to slide the tree together to look like the tree above.
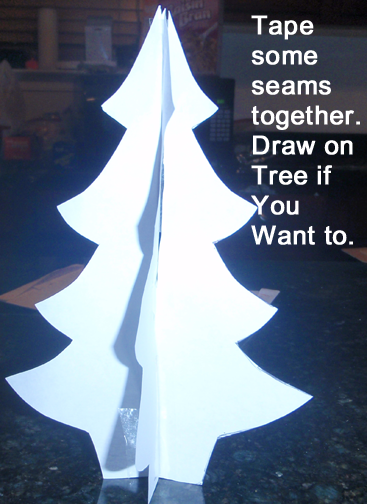
Tape some seams together. Draw on tree if you want to.
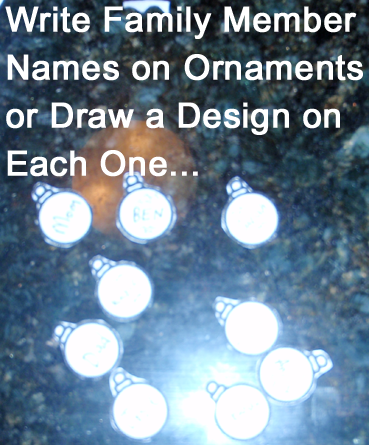
Write family member’s names on ornaments or draw a design on each one.
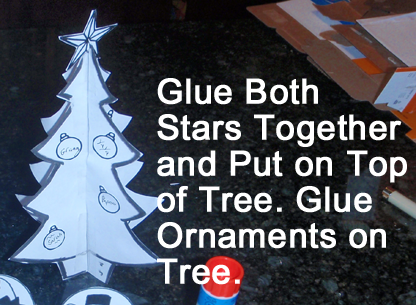
Glue both stars together and put on top of tree. Glue ornaments on tree.
Step 6
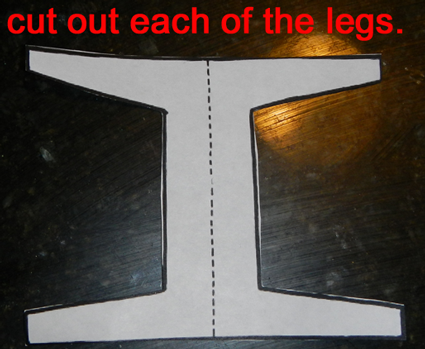
Cut out each of the legs.
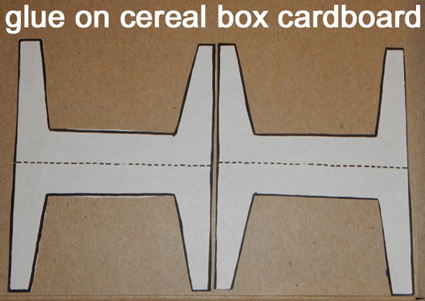
Glue on cereal box cardboard.
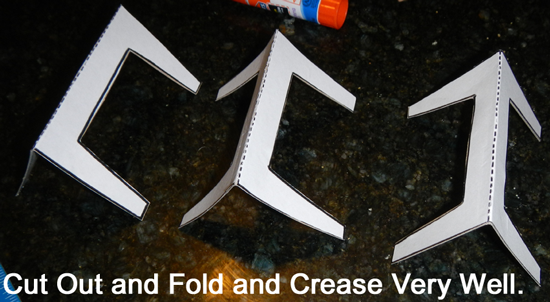
Cut out and fold and crease very well.
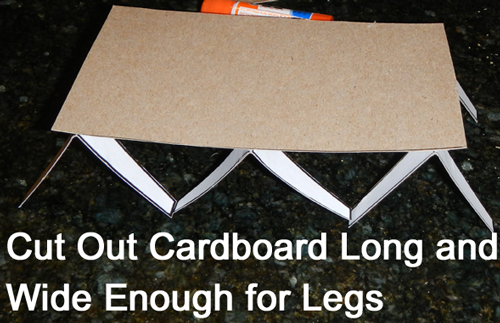
Cut out cardboard long and wide enough for legs.
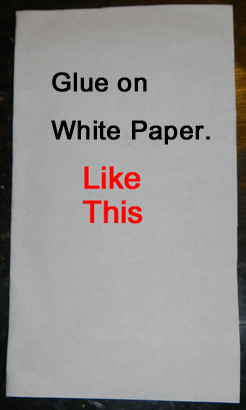
Glue on white paper like this.
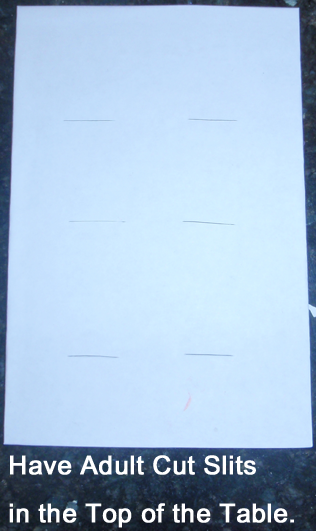
Have adult cut slits in the top of the table.
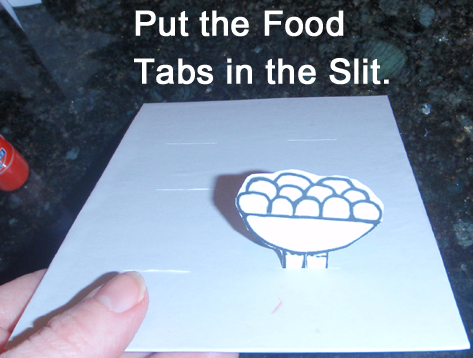
Put the food tabs in the slit.
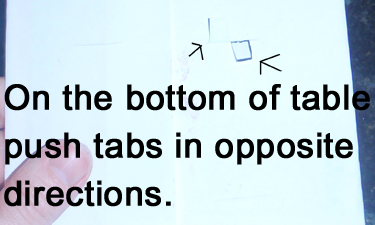
On the bottom of table push tabs in opposite directions.
Step 7
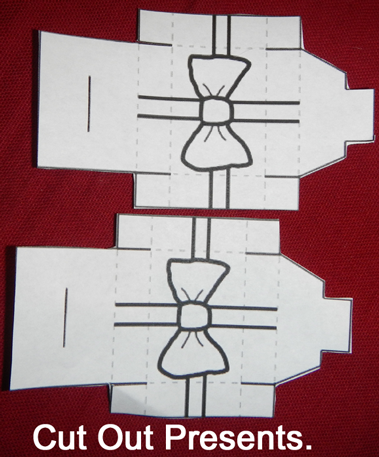
Cut out presents.
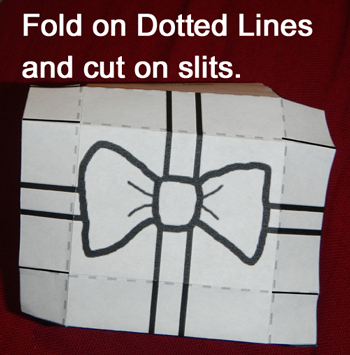
Fold on dotted lines and cut on slits.
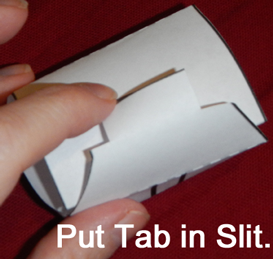
Put tab in slit.
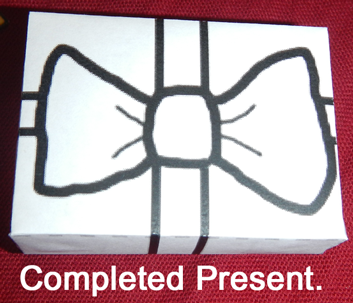
Completed present.
Step 8
Finished.
Awesome job!! You just finished making your Christmas Paper Toy. Have fun playing with it…. Christmas will be here in no time.
Technorati Tags: Christmas crafts, xmas crafts, Christmas activities, xmas activities, December crafts, Holiday crafts, Holiday activities, decorations, Christmas decorations, Christmas decoration crafts, paper crafts, paper activities, paper toys, Christmas paper toys, Christmas paper crafts, Christmas paper activities, Christmas paper toy crafts
