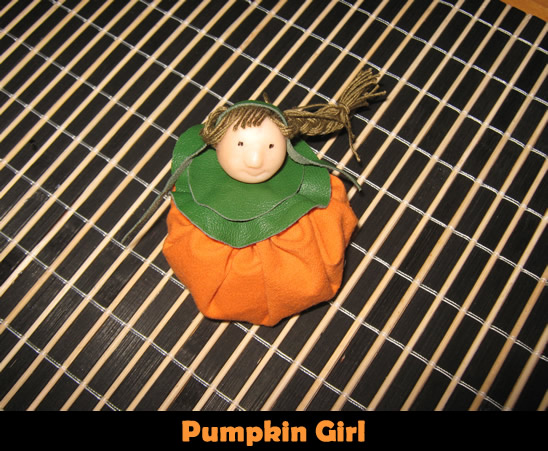
The leaves are falling,the air has gotten brisk and Halloween is just around the corner. What does that mean? Yep, Fall is here and it is raring to go. I love fall…. the kids are back in school and I could finally pull out all of my favorite sweaters. What else does it mean? It is time to decorate for the fall season. Today I will show you how to make a Pumpkin Girl decoration for Fall. Let’s get started.
Tutorial offered by Laura from Dacian Moon Handmade .
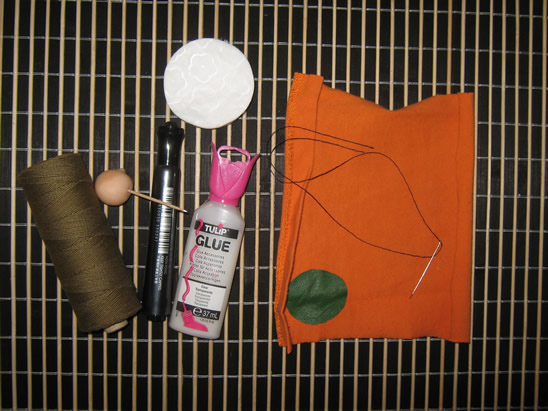
CRAFT MATERIALS NEEDED:
– orange cloth
– green cloth / leather
– wooden ball (I haven’t one so I made a head in polymer clay)
– toothpick
– craft glue
– paint marker
– needle and thread
– wool / cotton – things to stuff (I used 4 cotton pads for that)
– 1 disc of cardboard
– green cord
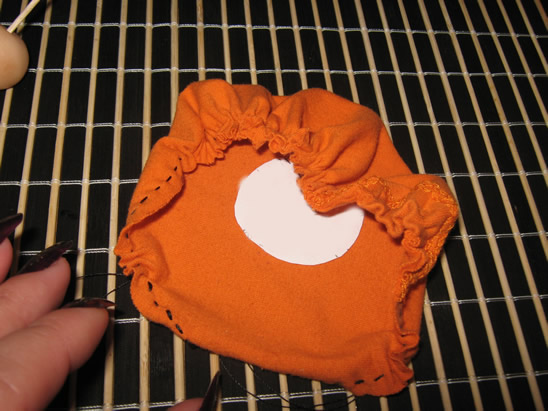
Step 1 – The Pumpkin
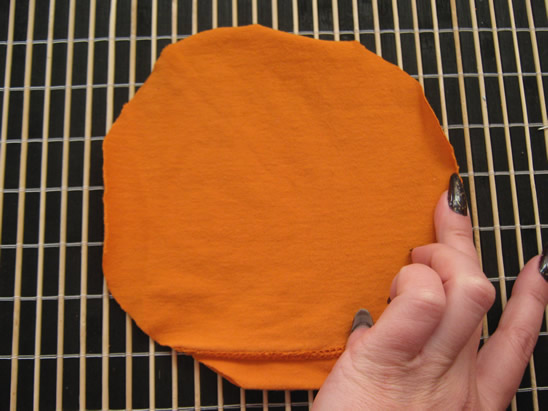
Draw a circle on the orange cloth (actually I just rounded the corners).
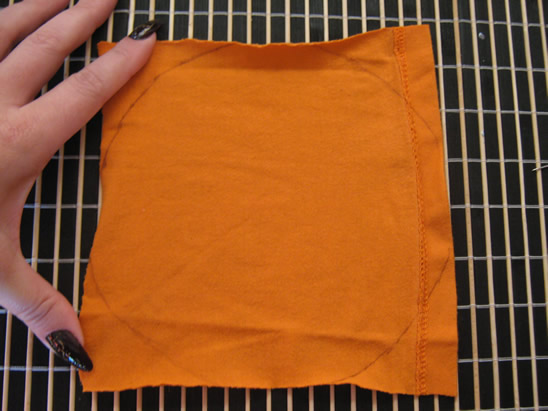
Cut it out.
This is the orange circle.
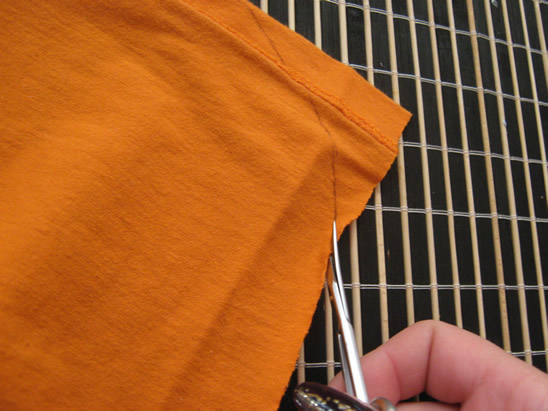
Using the needle and thread, sew near the edges…
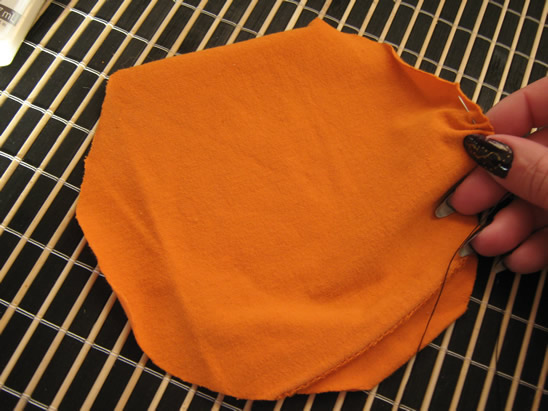
… like that.
[ad#ahc]
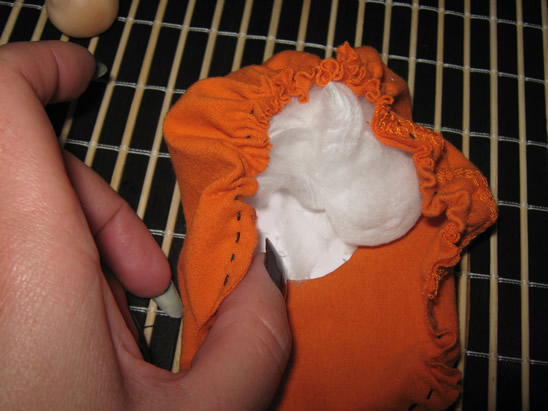
Step 2 – Stuff it!
Take the cardboard disc…
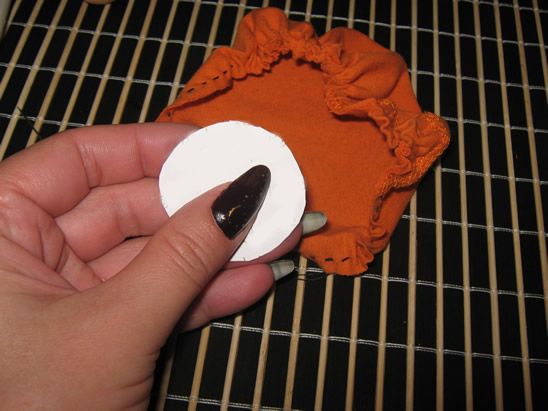
… and place it inside.
Prepare your stuffing material: I made little pieces of the cotton pads…
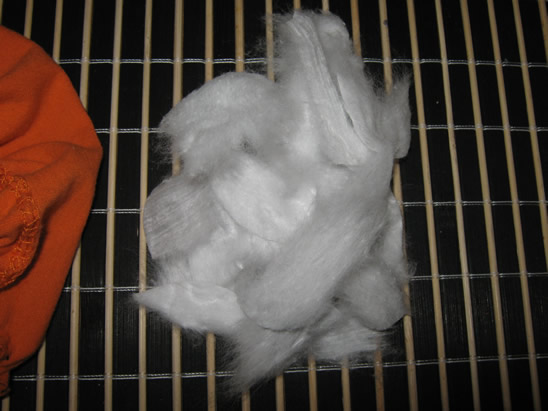
… and place it over the cardboard, inside the orange cloth
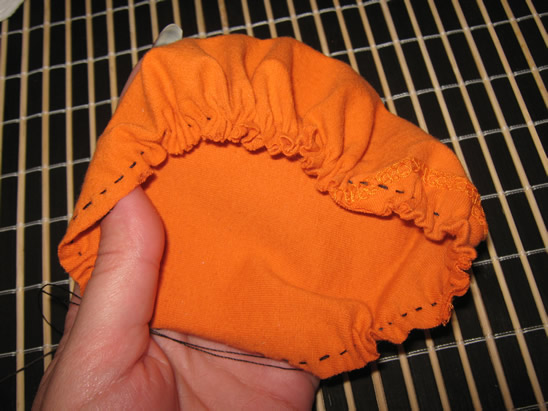
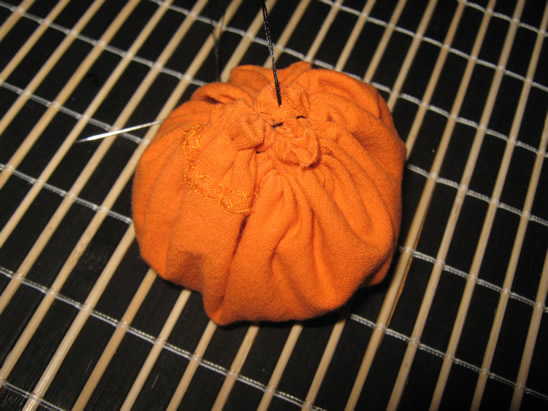
Pull the thread to close the pumpkin…
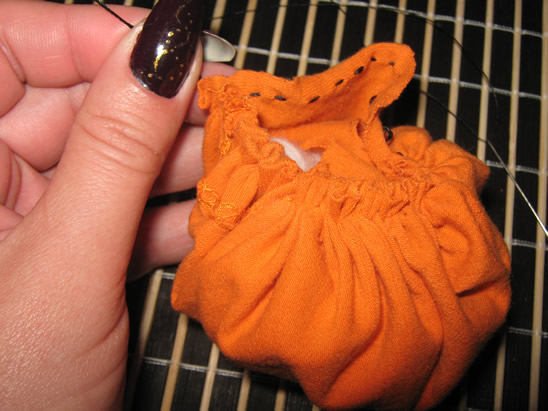
… like this.

Sew it shut.
Step 3 – Pumpkin Top
Cut a disc of green leather and place it on top of the pumpkin, to mask the stitch.
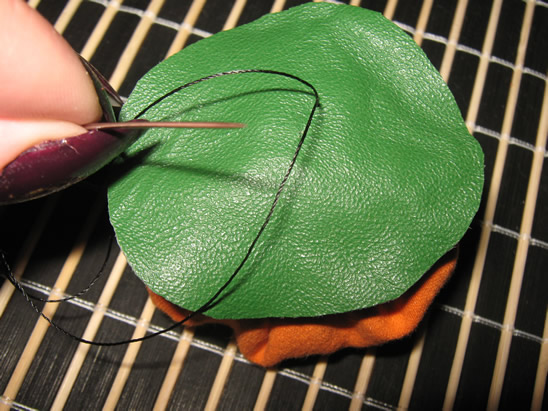
Sew it there.
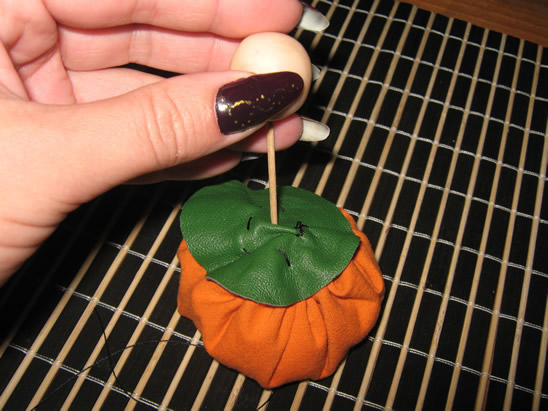
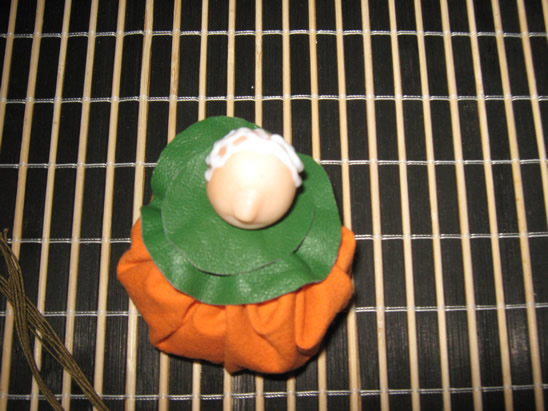
Step 4 – The Head
Take the wooden ball and put it on the toothpick (you can add a little glue on the toothpick for safety)…
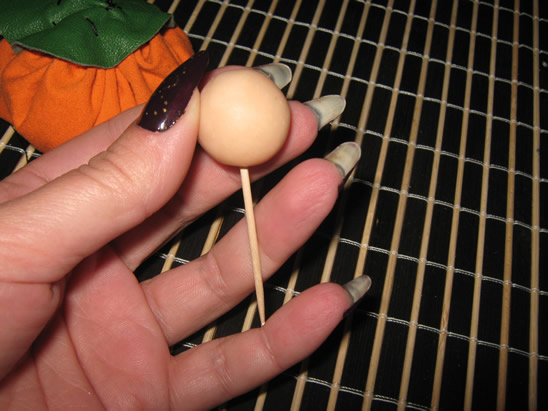
… then put it on top of the green leather, forcing it through.
Now, our pumpkin girl has a head too.
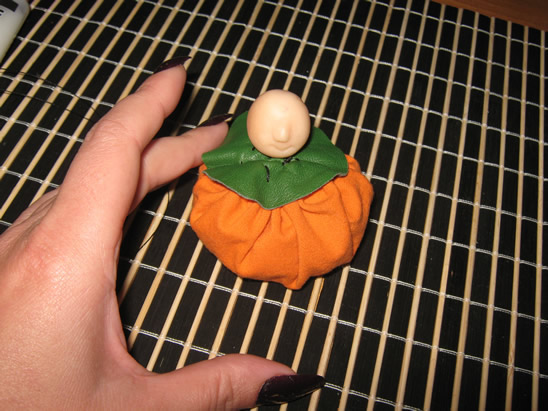
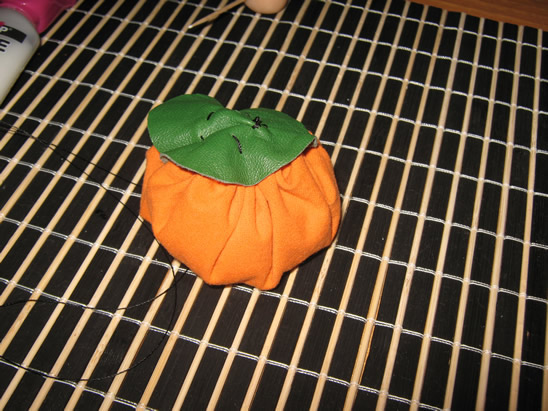
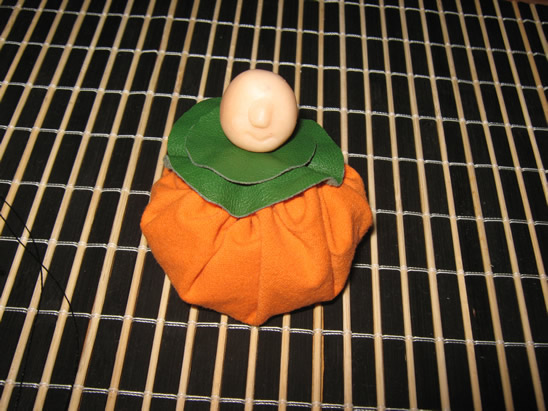
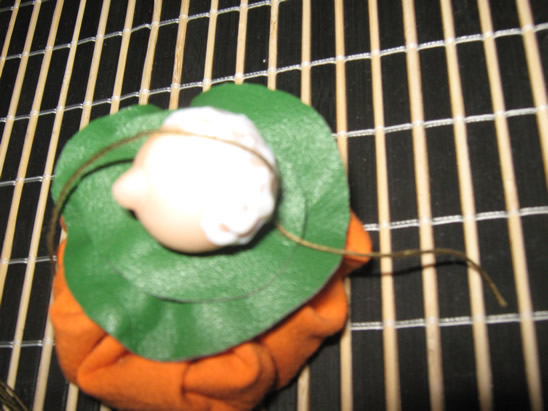
Notice that the stitch on the green leather is visible and doesn’t look good. I’ll fix that by adding a new disc of green leather just under the head.
Step 5 – The Hair
Make some pieces from the green cord – about 15 cm length.

Apply a generous layer of glue on the head, where the hair will be.
Like this.
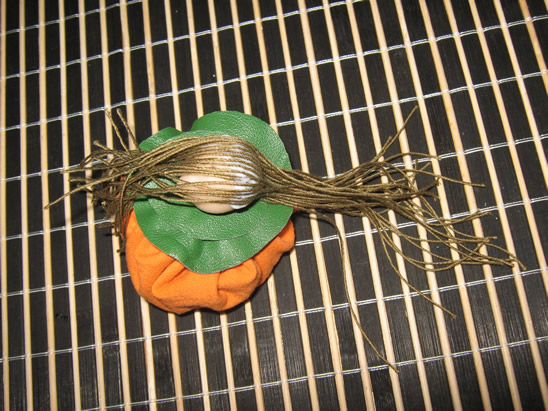
Take one piece of cord and place it on the head, taking care to have the longer part on the back, like this.
Continue to add cord pieces until the head is fully covered. Let it dry well.
Now you can arrange her hair as you want it. I split the front part of the cords in three…
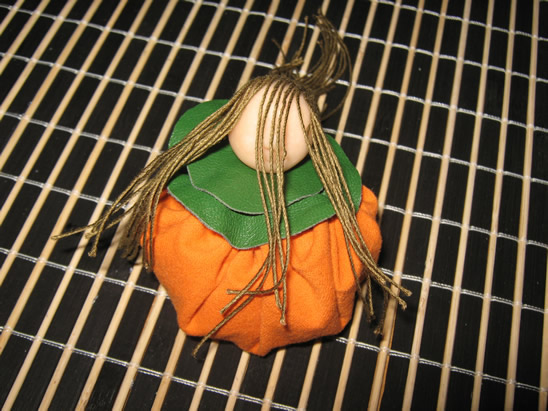
… I made three braids – two on the sides and one on the back – and tied them together. I then cut the front center part to make a fringe.
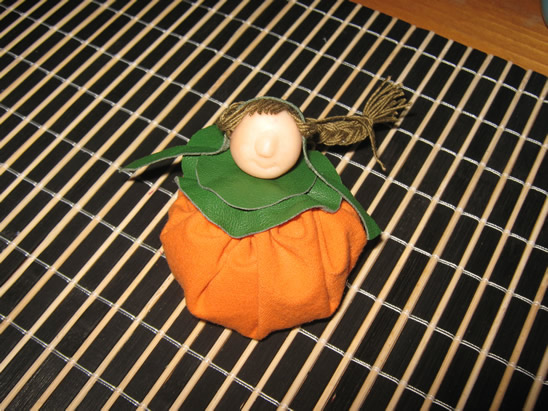
Now you must make her eyes and mouth… use the paint marker and she is ready to go.
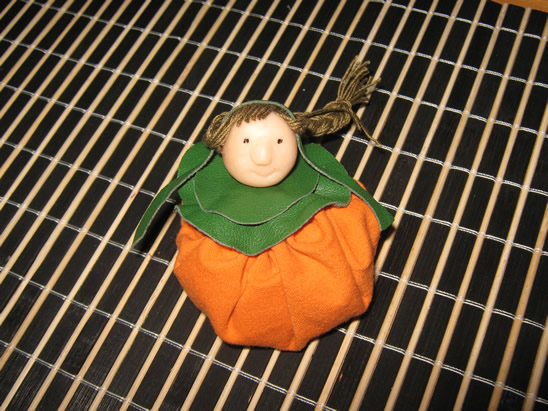
Now you have a cute pumpkin girl to decorate your house with this Fall. Add it to your other fall decorations to fill your house with tons of fall foliage fun.
Technorati Tags: Fall, Fall Crafts, Fall Decorations, Fall Decoration Crafts, Autumn Crafts, Autumn Decorations, Autumn Decoration Crafts, Pumpkins, Pumpkin Crafts
