Have you ever wanted to know how to make a paper doll chain? Well, if so…. I am going to be showing you how to make that today. You can use old paper items like newspapers, paper bags or scrap paper. I used 8×11 used bond paper, with printed items on one side. But, feel free to use any kind of paper. This is a fun craft, so let’s get started.
Check out our other Paper Folding activities.
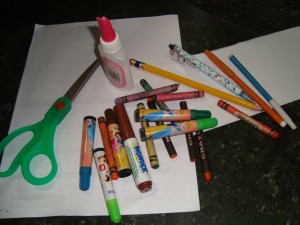
MATERIALS NEEDED:
Sheet/s of Paper
Scissors
Crayons or Markers
Glue
Step 1
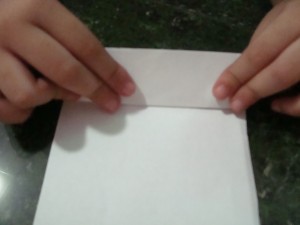
Cut a long wide strip of paper, with the dimensions depending on how big you want the paper dolls to be. Fold the paper accordion-style, crosswise in about 1-2 inches. You should come up with neat rectangles with identical folded triangles underneath it.
[ad#ahc]
Step 2

Use template to trace a boy or girl on the front fold… Make sure both arms and feet are along edges.
Step 3
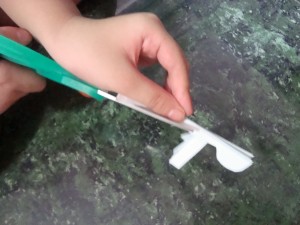
With a scissors, cut in the half-shape of the doll. You can make variations, like cutting one for boys, and another one for girls. Make sure the hands are on the same vertical side so it will be easier to connect the dolls.
Step 4
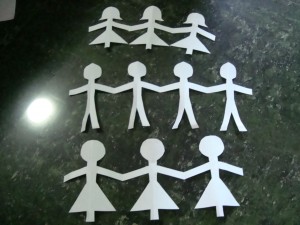
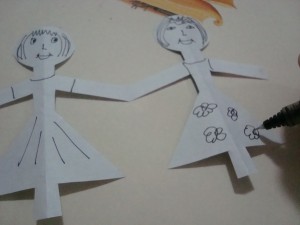
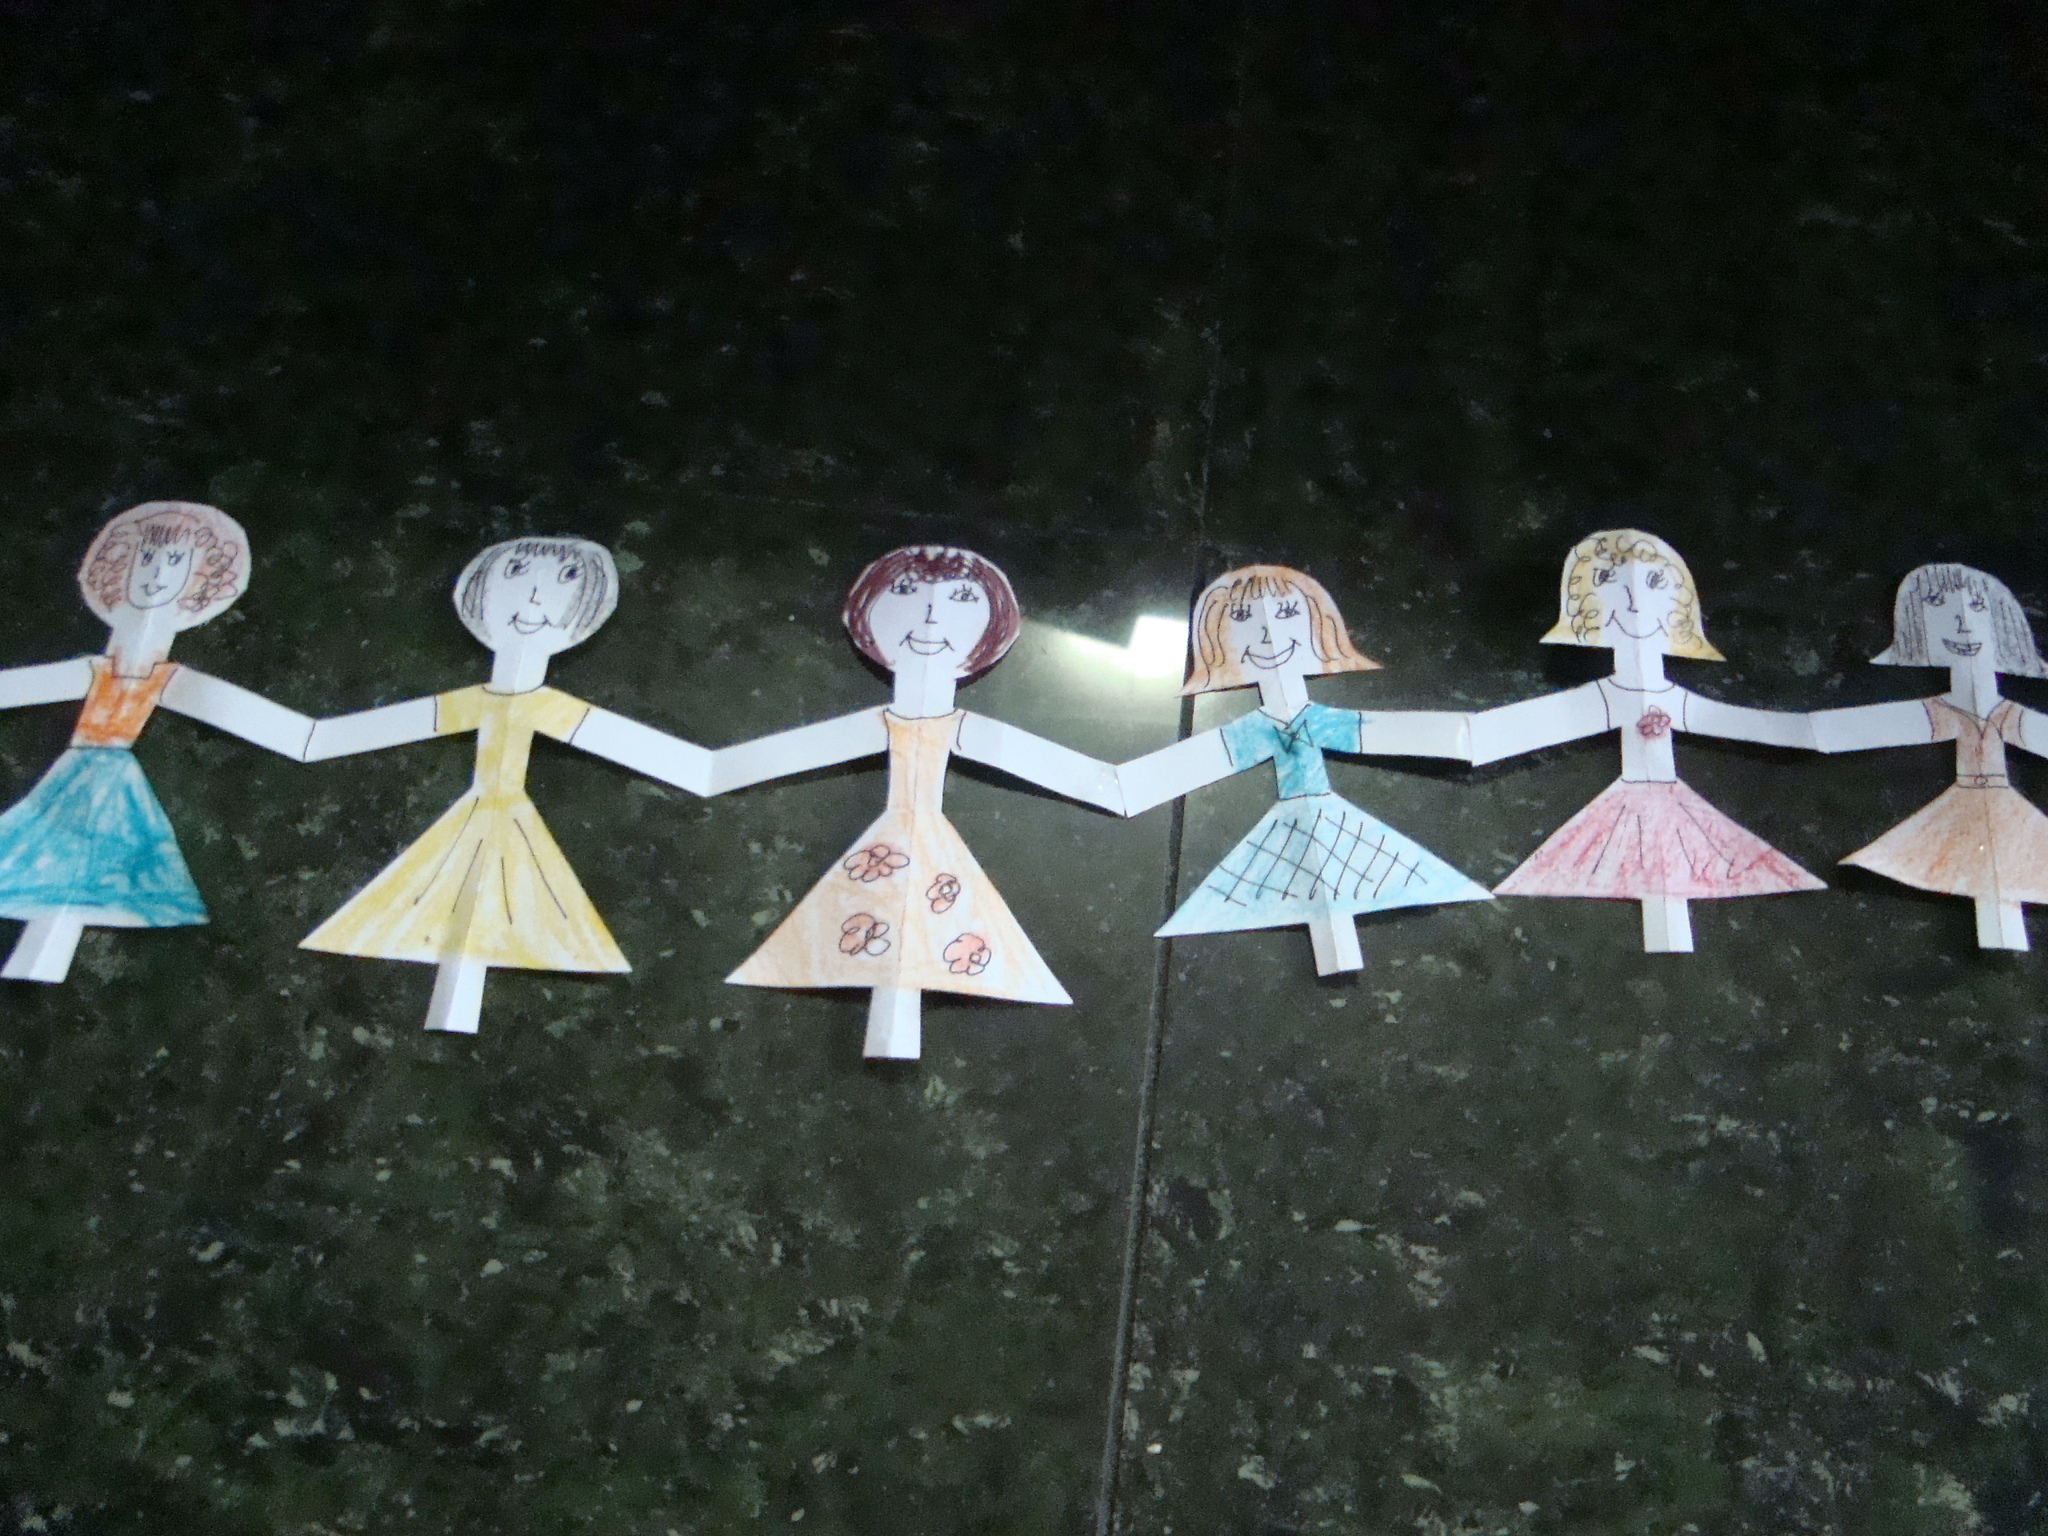
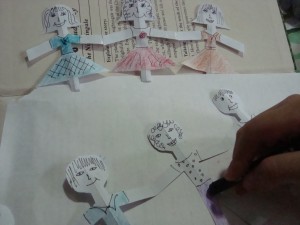
Pull the paper dolls apart and you should get a chain of paper dolls. Using your crayons and markers, draw faces and design the dolls’ clothing. You can also cut colored paper shapes to use as a design on the dresses.
Step 5
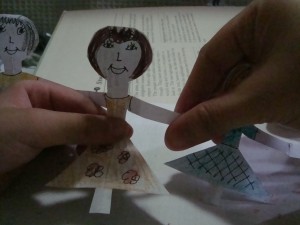
Connect one paper doll hand to others, to have a longer chain.
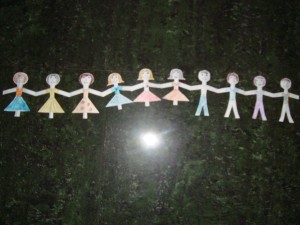
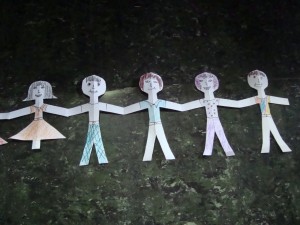
And, there you have it. You have just made a Paper Doll Chain. Don’t forget to let me know how they turned out. Share your picture in the comments below.
Here is a video we made on how to make a paper doll chain.
Technorati Tags: paper doll, paper dolls, paper doll crafts, paper doll activities, make dolls out of paper, making dolls out of paper, paper crafts, paper folding, paper folding crafts

thank you,
this craft helps me to teach on sunday class.