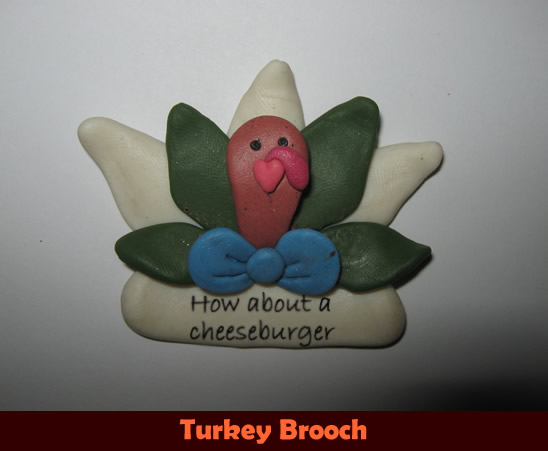
What is the most known symbol of Thanksgiving Day? The turkey, of course! Thanksgiving wouldn’t be Thanksgiving without the Turkey. So, with that being said…. today I’m going to show you how to make a Turkey Brooch perfect for Thanksgiving. What better way to show your love for the Thanksgiving Holiday than to parade around town wearing a Turkey Brooch? So, let’s get started.
Check out our other Thanksgiving Crafts and Jewelry Crafts.
Tutorial offered by Laura from Dacian Moon Handmade . You will need help from an adult for this tutorial.
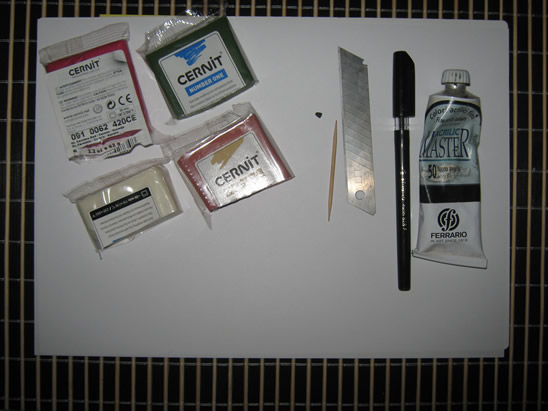
MATERIALS NEEDED
– white, red, green, terracotta polymer clay (and small parts of pink, black and blue)
– black paint
– craft glue
– cutter
– toothpick
– 1 brooch base
Step 1
Take a piece of white polymer clay.
Condition it .
(To condition polymer clay by hand… simply mix it and squish it with your fingers. You may want to roll it into a log between your palms, fold it in half, and then roll again).
Divide it in 4 parts.
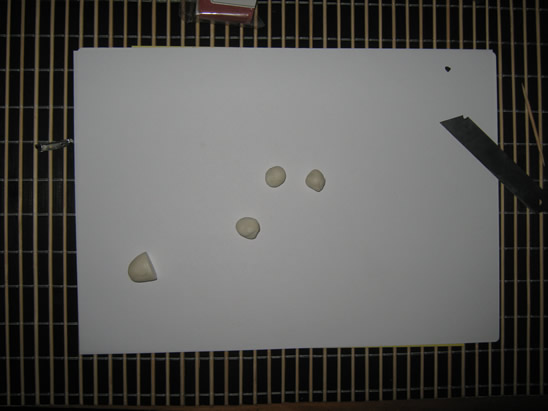
Take 1 part, make a ball of it and flatten it…

Squish an end between two fingers, like this…
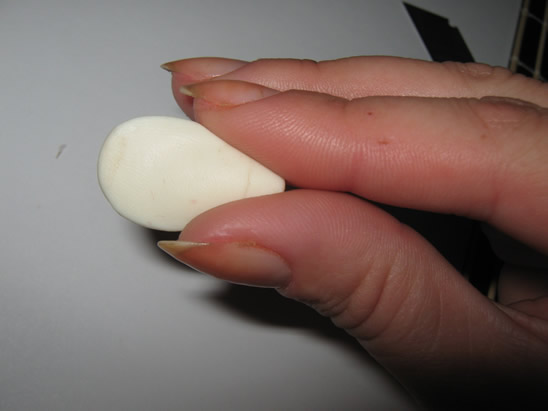
… then the other. Now it looks like a petal.
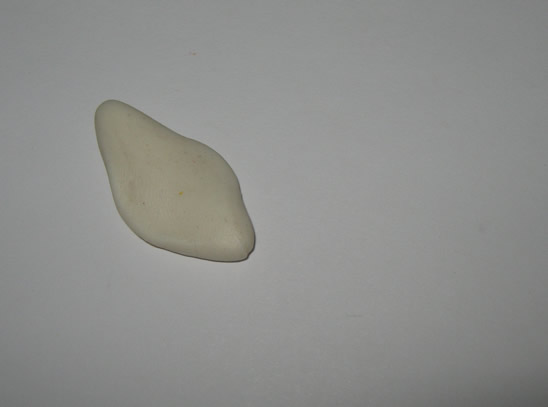
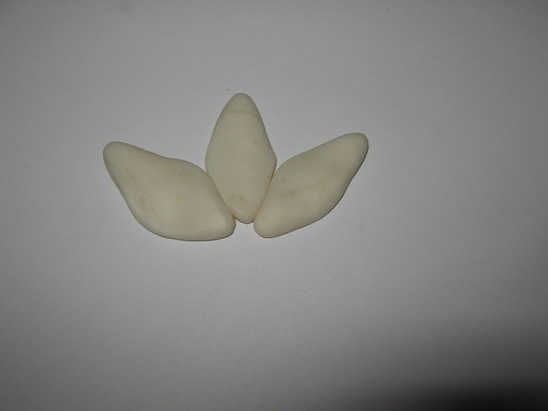
Repeat and make another 2 white petals.
[ad#ahc]
Step 2
Take a piece of green polymer clay…
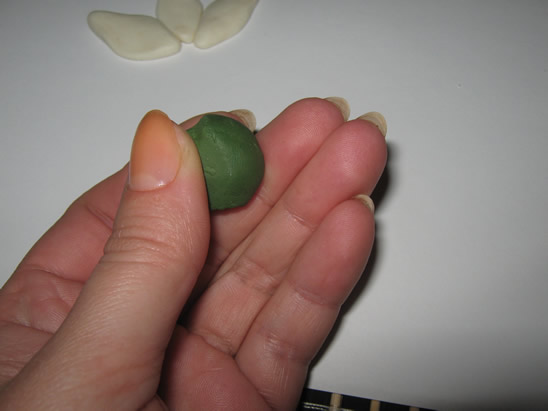
… condition it and divide it in 4 parts too.
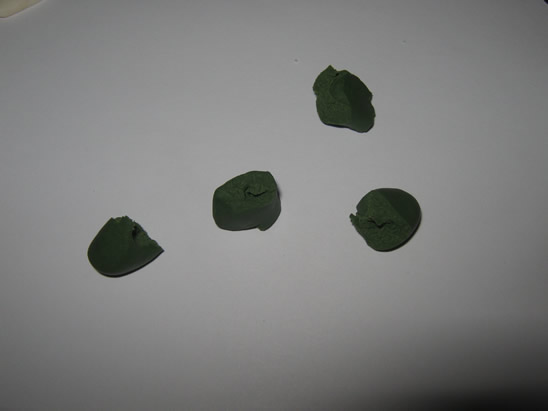
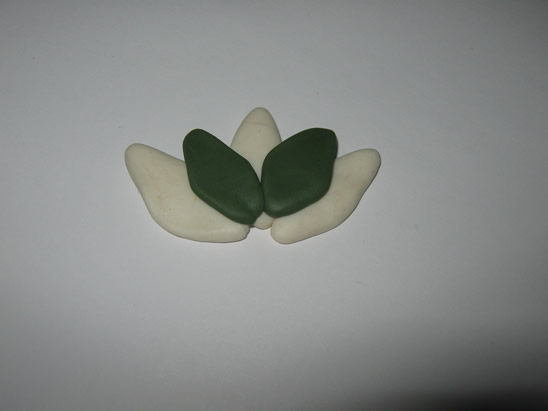
Make two green petals and place them over the white ones, between them.
Step 3
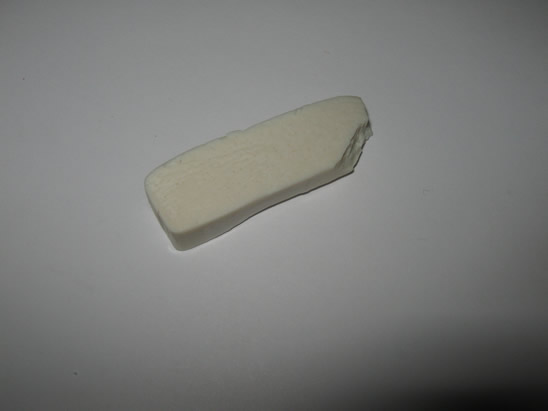
Take the last piece of white clay…
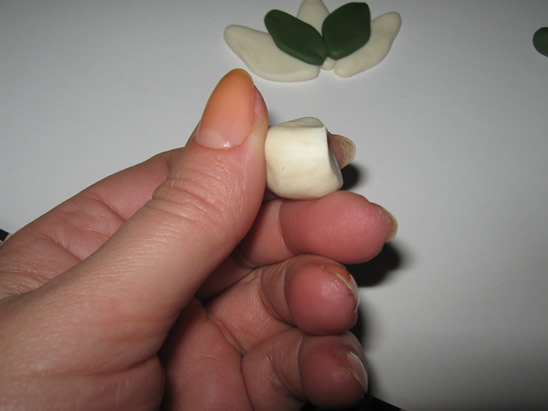
… and make a bar under the petals with it…

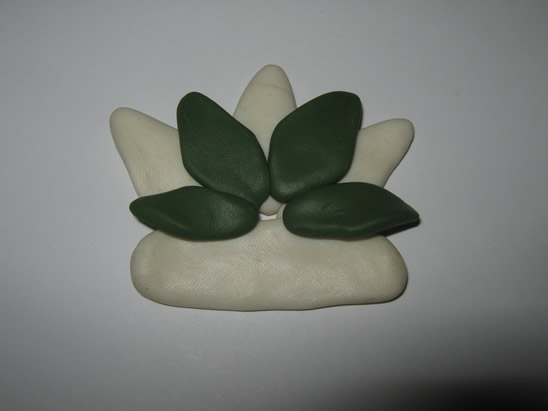
… then continue with another two green petals, taking care that their edges are over the white bar too. This will make the brooch stronger.
Step 4
It’s time to make his head, so, take a piece of terracotta clay…
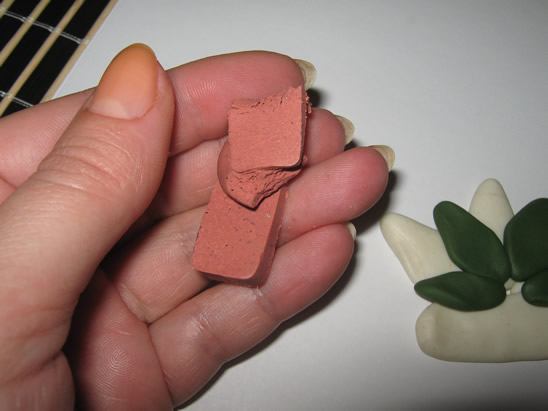
…condition it and make a ball with it. Flatten it.
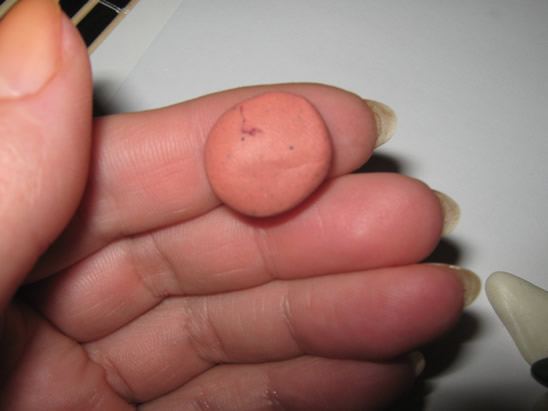
Squish gently one end to look like this.
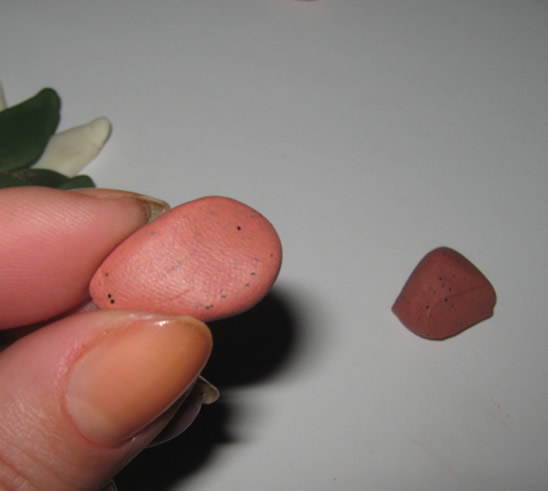
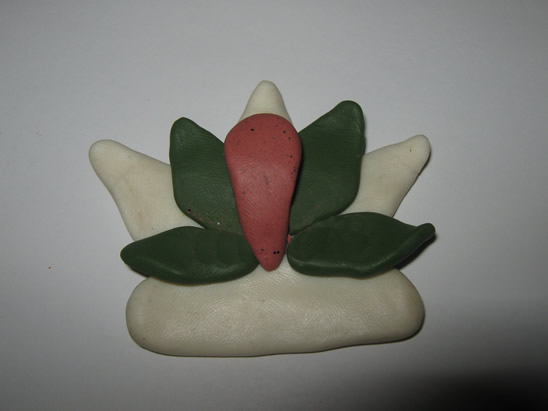
Place it in the middle of petals. This is the head.
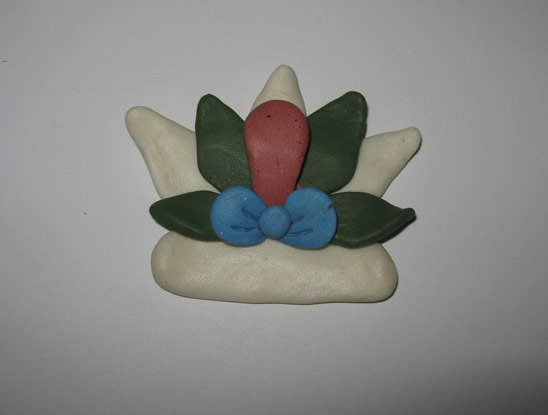
Step 5
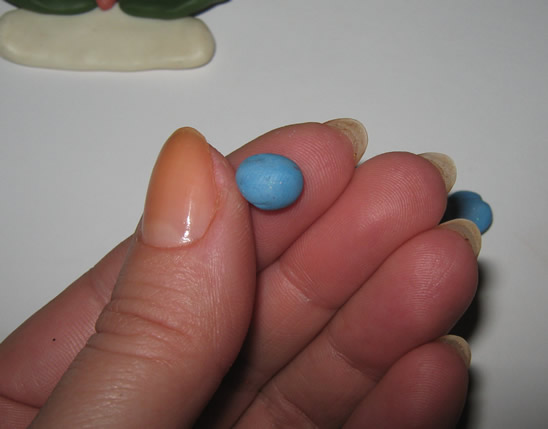
Take the blue clay and condition it. Make two bigger parts and one smaller of it.

Make a ball of one bigger part and flatten it.
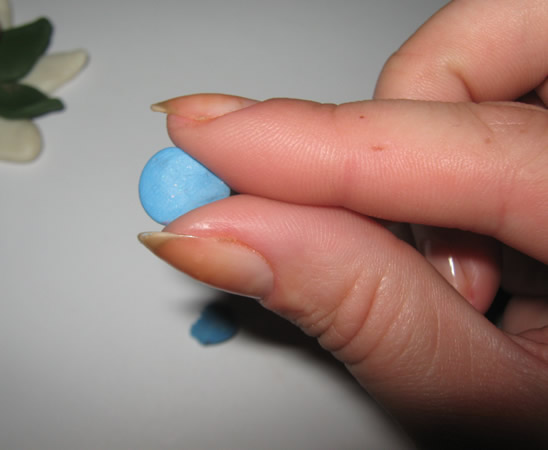
Squish it gently on one end to look like this.
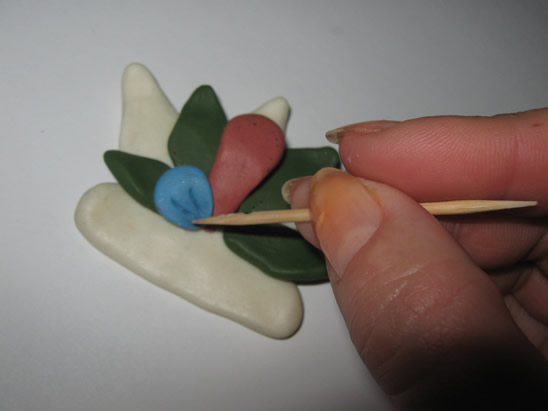
Place it beside the head and make two lines on it with the toothpick.
Make another one …
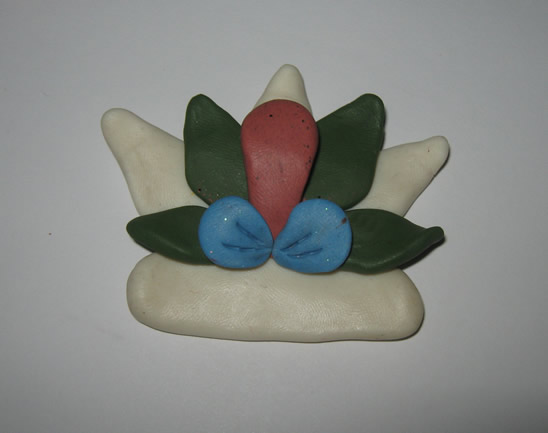
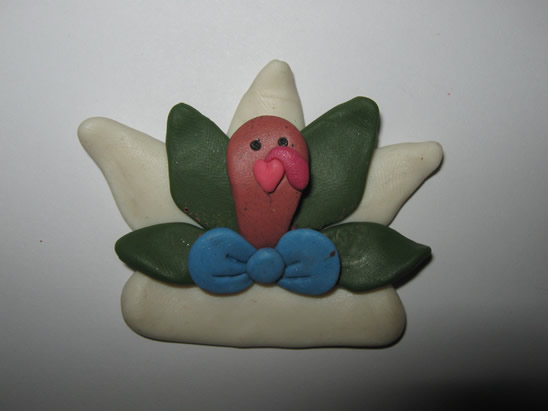
… and a small ball flattened in the middle. Now our turkey has a bow.
Step 6
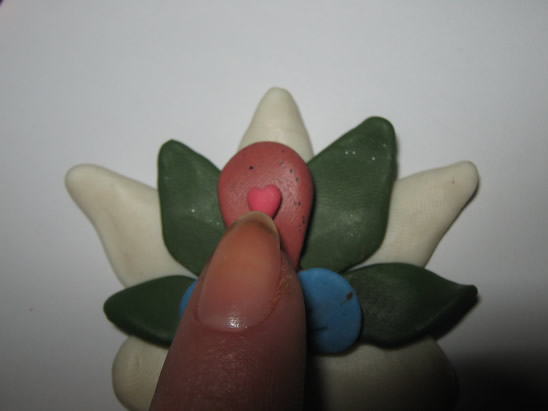
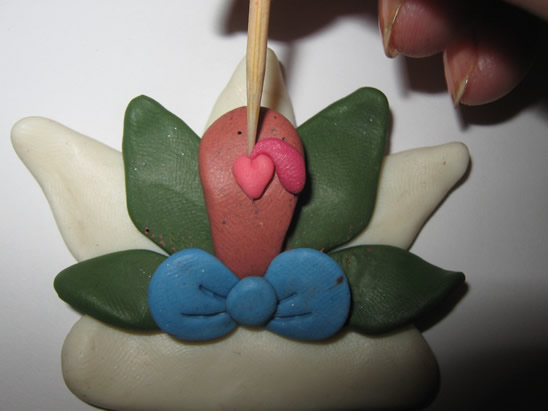
Make a small heart of the pink clay…
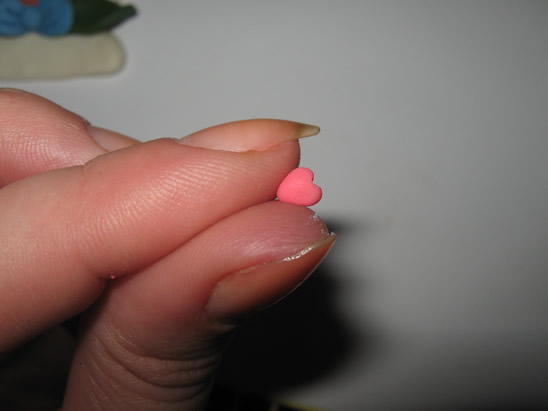
… and place it in the middle of his face.
Over it we will put his nose, made of a small piece of red clay. Make it a roll …
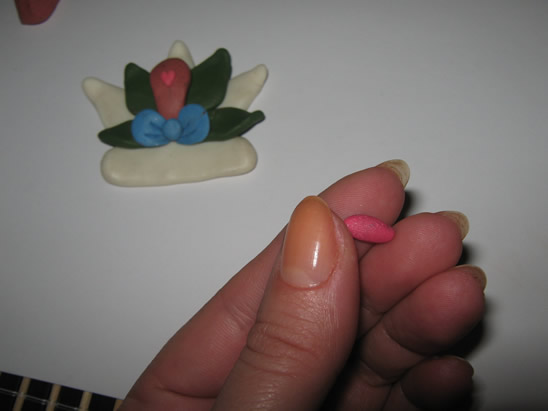
… and squish an end.
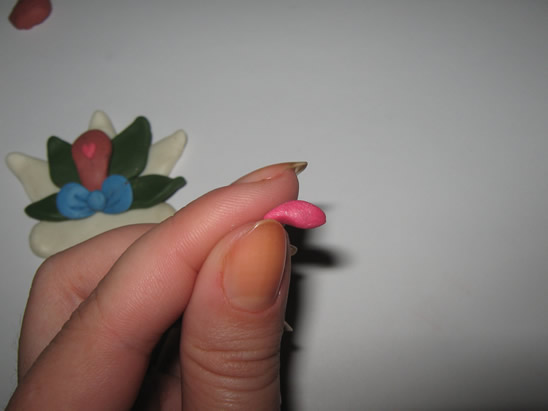
Then, using the toothpick, place it over the small heart (this is his beak).
Step 7
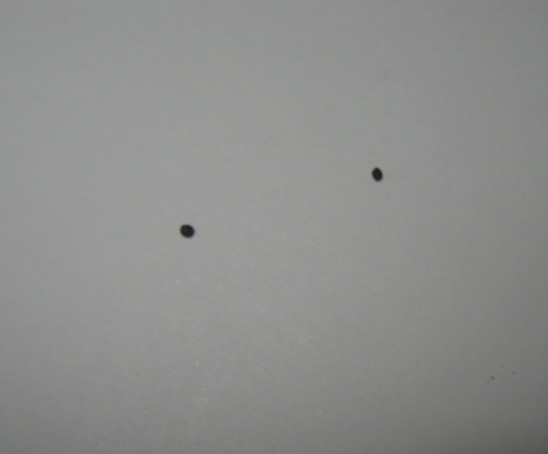
Take a smaller piece of black clay…
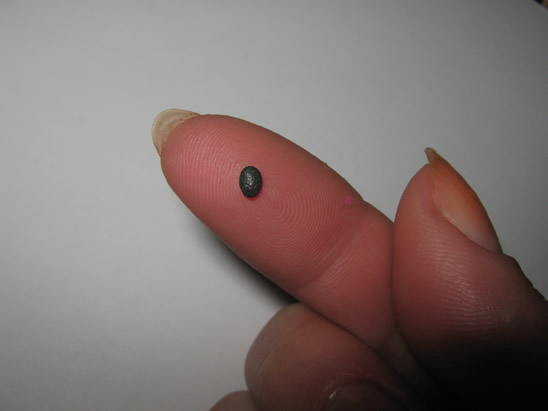
… and part it in half. Those will be his eyes.
Step 8
Place it on the baking tray, and bake it according to the instructions on the polymer clay package (this depends on the brand you use: fimo, cernit, sculpey…, but usually it is one half of an hour at 230 F or 110 C) – this is the part when you could use a little help from an adult.
Let it cool down.
Step 9
The only thing you should do now is glue the brooch base on the back of our turkey… and, using the black paint and the toothpick, write something on the white bar. It can be anything but I think “How about a cheeseburger?” will be funny.
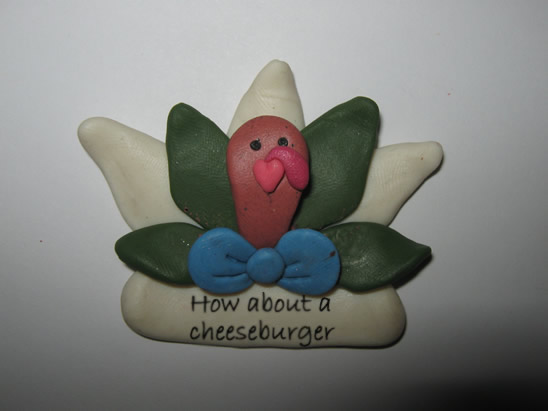
Now your brooch is ready. Isn’t it adorable? How did your turkey turn out? Make sure to let me know in the comments below. Add a picture to your comments so I can see your turkey. I’d love to see how it turned out.
Technorati Tags: fall crafts, autumn crafts, Thanksgiving activities, thanksgiving activity, thanksgiving crafts, thanksgiving, thanksgiving crafts for kids, thanksgiving activities for kids, jewelry crafts, Thanksgiving jewelry crafts, jewelry pins, jewelry pin crafts, pin crafts, brooch, brooch crafts
