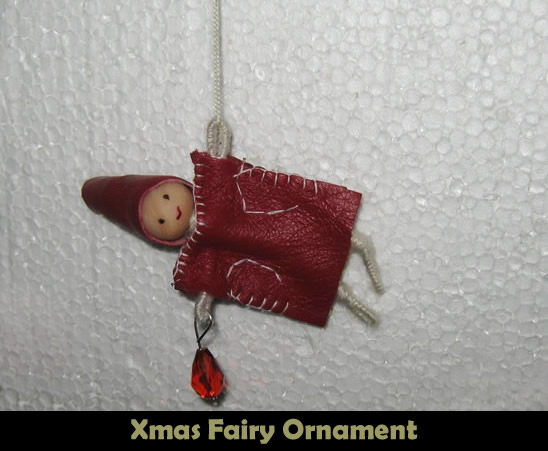
I have a special little Christmas craft for you older kids and adults. Today I’m going to show you how to make a Christmas Fairy Ornament. This cute fairy even has a crystal light she is holding. The crystal will look as it is really lit when the Christmas tree’s lights shine through it. This Christmas Fairy Ornament will be sure to get you in the Christmas spirit…. after all Christmas is less than a month away. So, grab the materials needed and let’s get started.
Check out our other Christmas Crafts.
Tutorial offered by Laura from Dacian Moon Handmade .
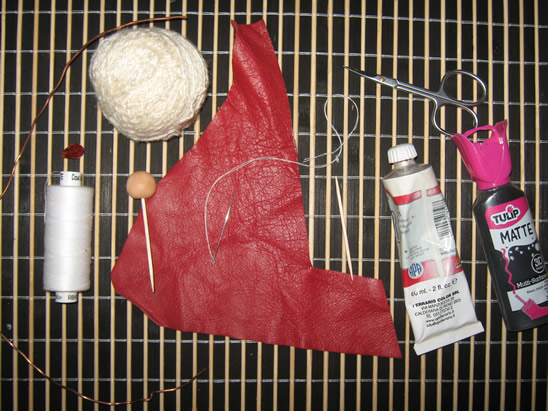
Materials Needed
– red leather
– thick thread
– 1 wooden bead (big enough to be the head)
– scissors
– needle and thread
– 2 toothpicks
– craft glue
– black and red paint
– crystal (preferably drop)
– wire
-1 pin
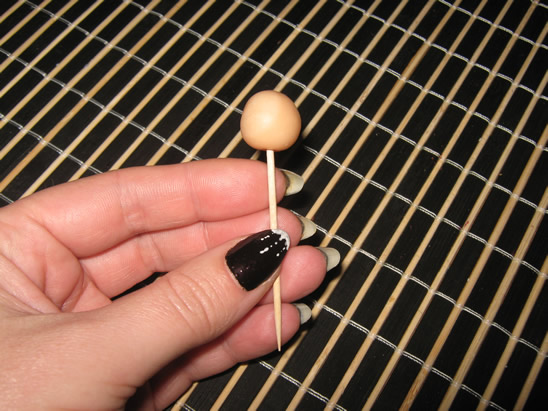
Step 1
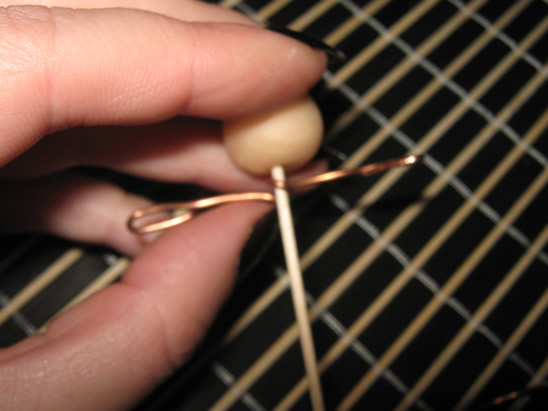
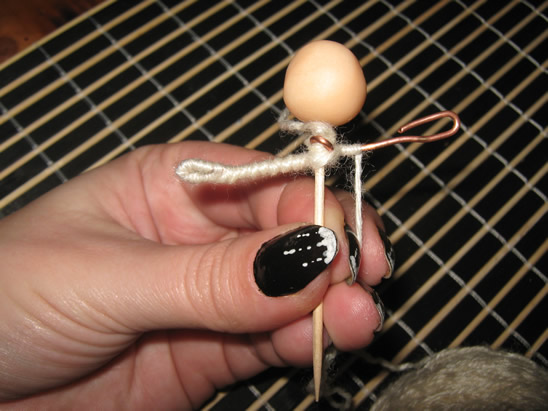
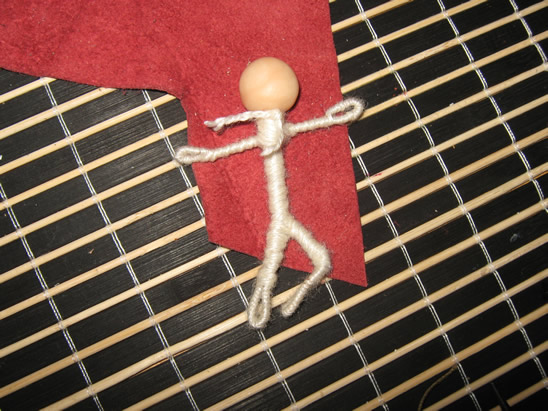
Take the wooden bead and put a toothpick through it (if doesn’t stay by itself, glue it).
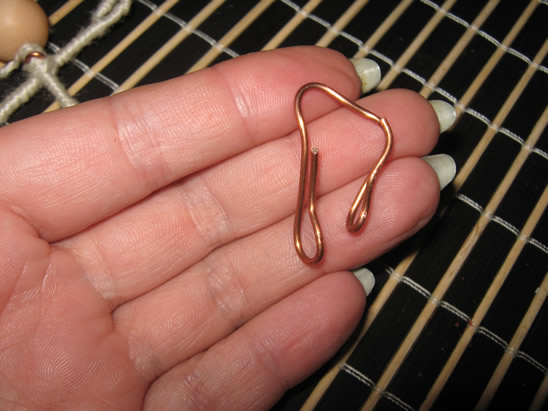
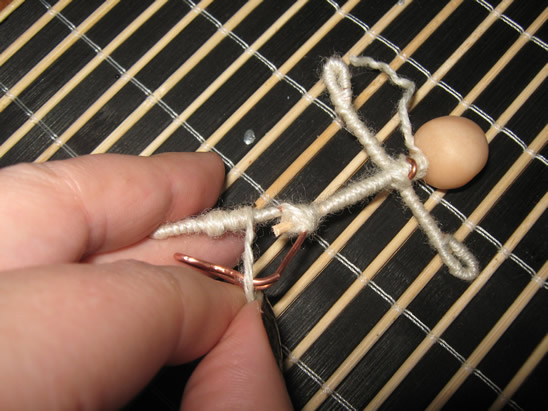
Cut two pieces of wire, one slightly bigger than the other.
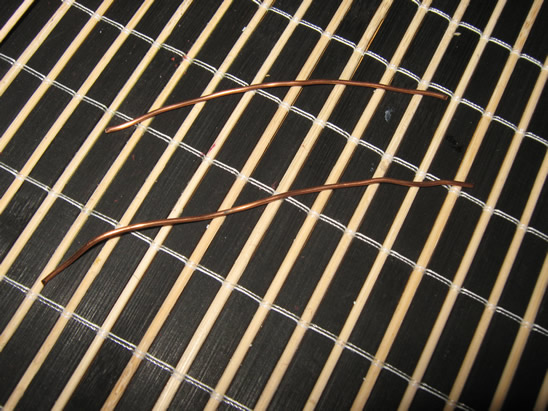
Take the smaller one and bend its ends, like this.

Coil it once around the toothpick – those will be her arms.
[ad#ahc]
Step 2
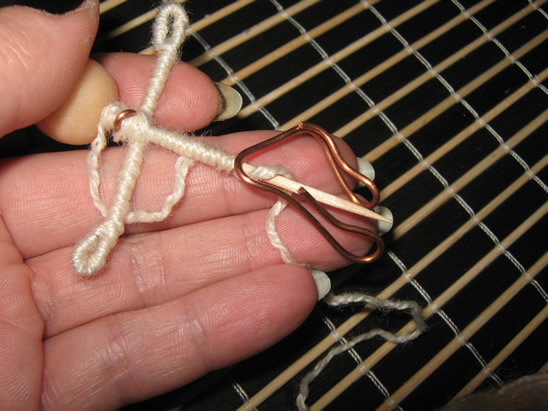
Take the thick thread – you don’t need to cut it for that – and start to roll it over the toothpick.
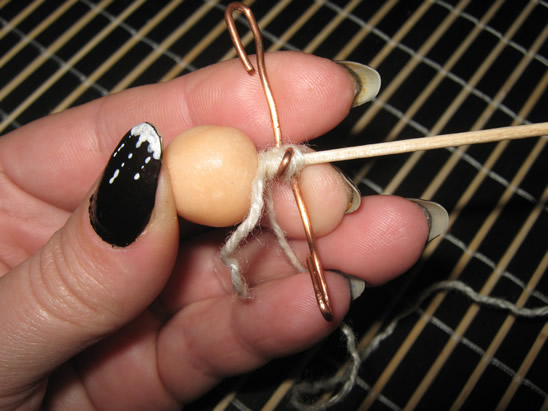
When you arrive at the wire, cover the intersection in “x”, like this. That will make the arms stay fixed.
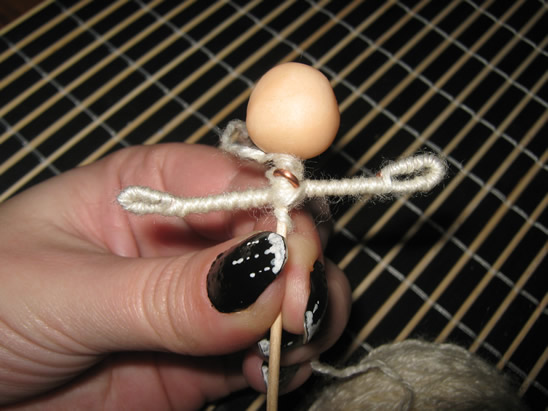
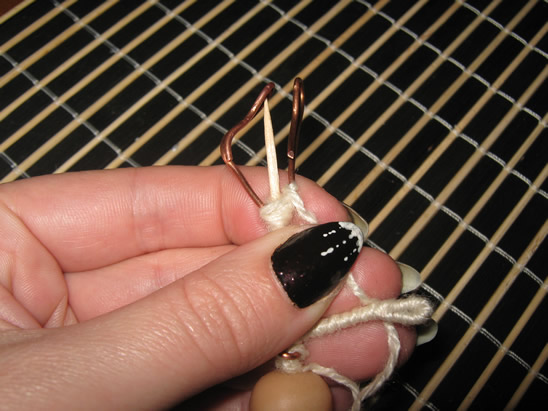
Continue covering one arm, and the loop at the end of it. When it is covered, press the end of the wire well and cover it with the other part…
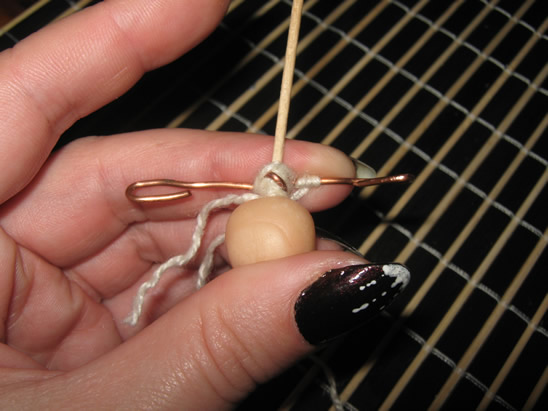
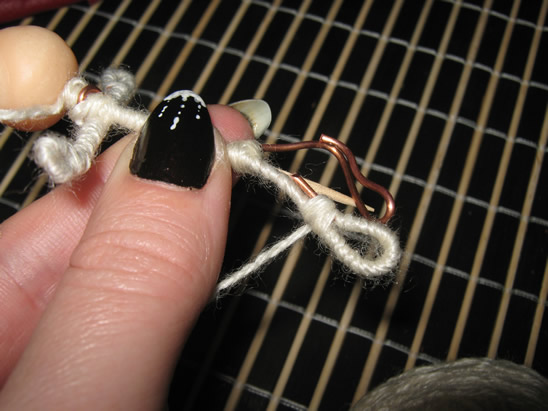
… like this. Continue to roll over back to the toothpick and go on on the second arm.
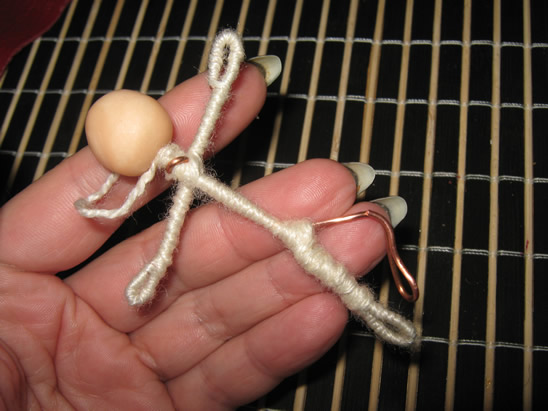
Cover it the same way and from the middle go down covering the toothpick until you think it is the place for the legs.
Step 3
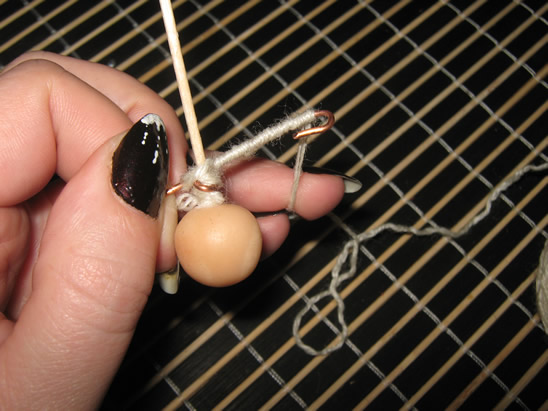
Take the other piece of wire and bend its ends.
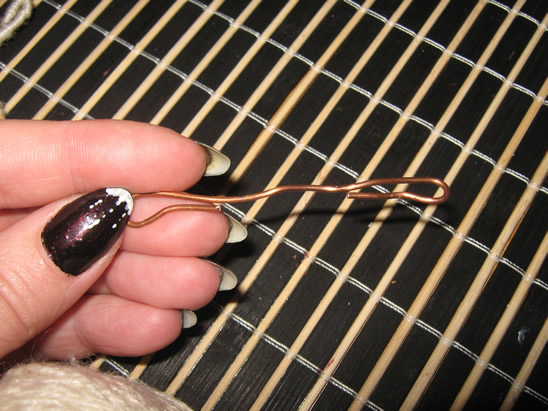
Then bend the wire like this, with one part a little bit longer than the other.
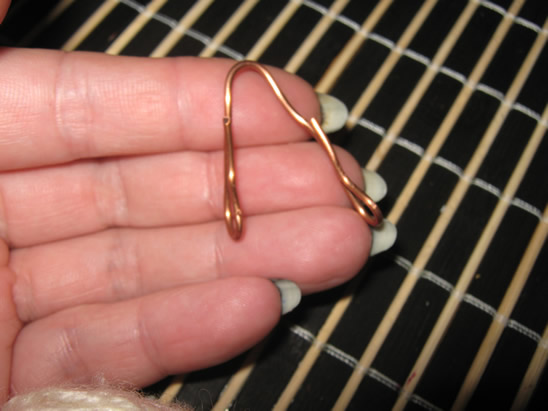
Now bend again the longer part, so she has a leg fold at the knee.
Place the legs over the toothpick and fix them with thread as you did for the arms.
Cover them in an “x” then go down over one leg.
Secure the end and go up again.
Cut the toothpick, keeping a small part to keep the legs in place…
… and cover this part too.
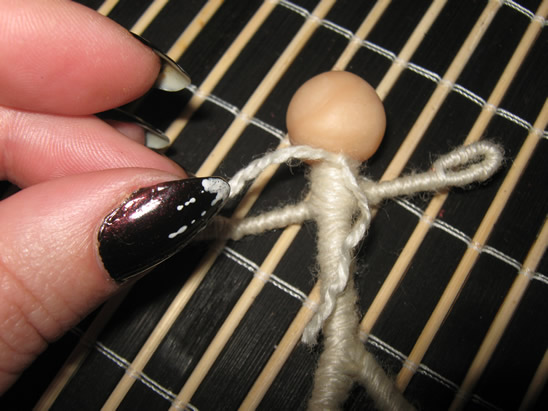
Go down on the second leg, then up until you reach the head.
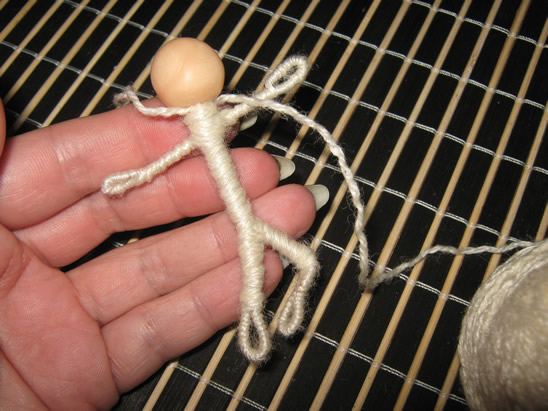
Here cut the thread and make a knot.
Step 4
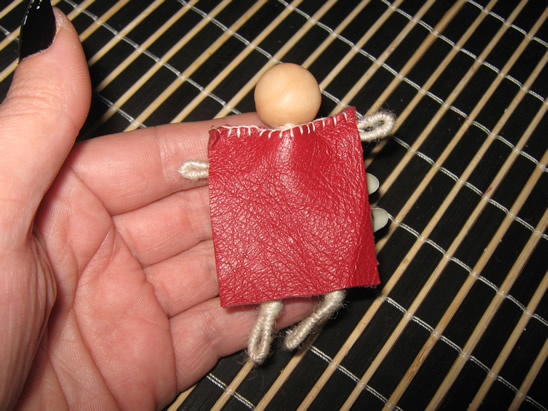
Place the figurine on leather and measure her coat.
Mark it on the leather.
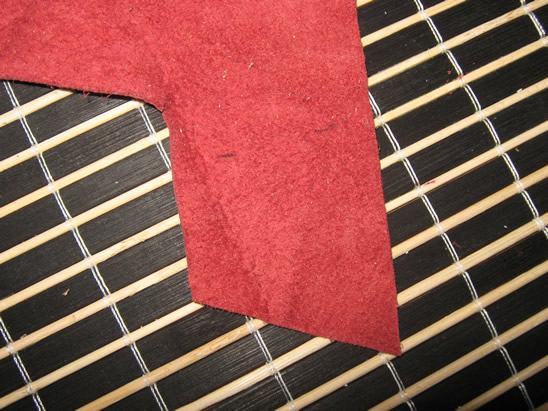
Cut double the part you measured…
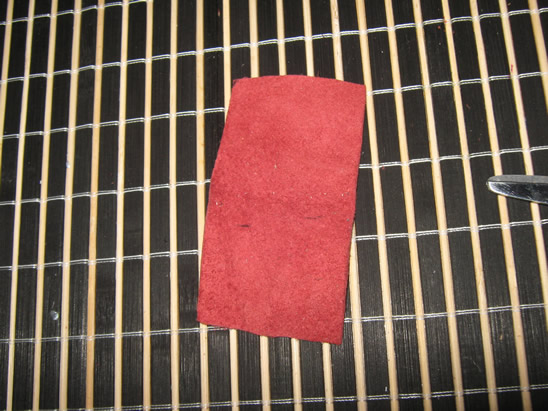
… and cut that in two…
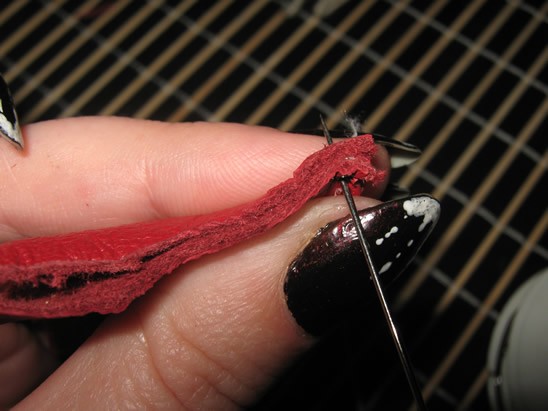
… one of them will be the front and the other the back of her coat. Make a small “v” cut in the front and back parts, where the head will be.

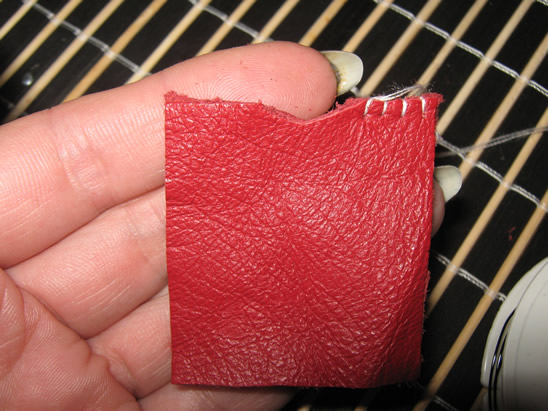
Start sewing the two parts together, using the cross stitch technique…
… like this.
When you reach the “v” sew only the front part, like this.
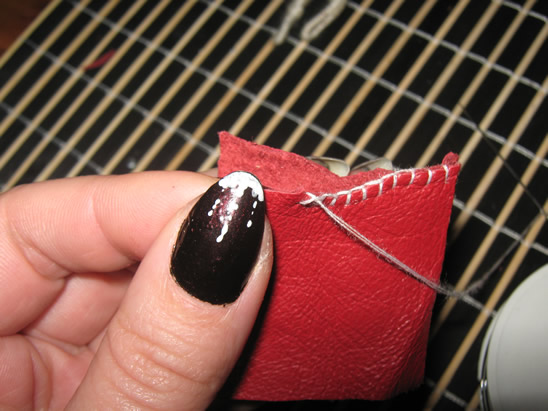
Place the fairy inside…
… and continue stitching the front and back together.
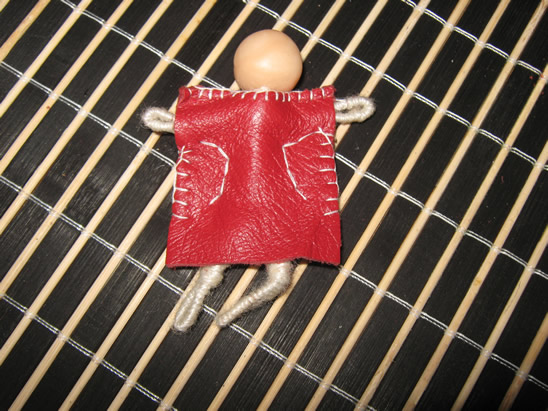
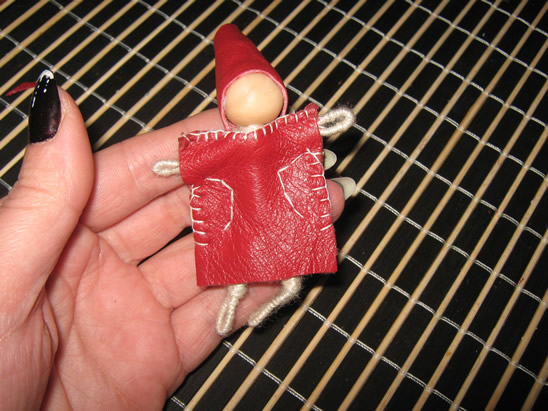
Step 5
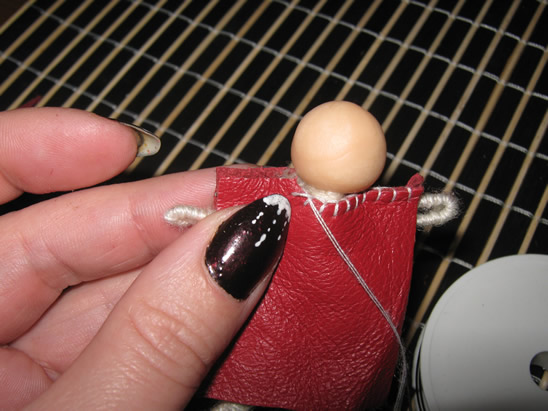
Sew the two parts together under the arms…
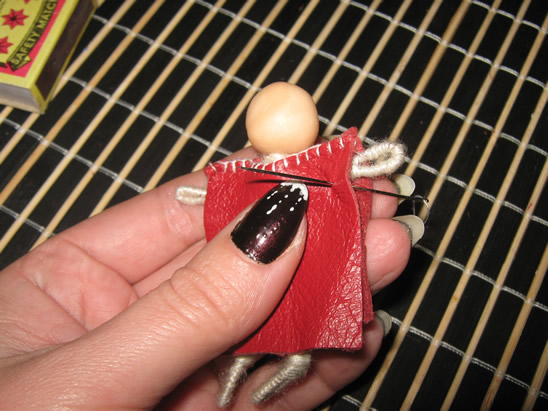
… like this.
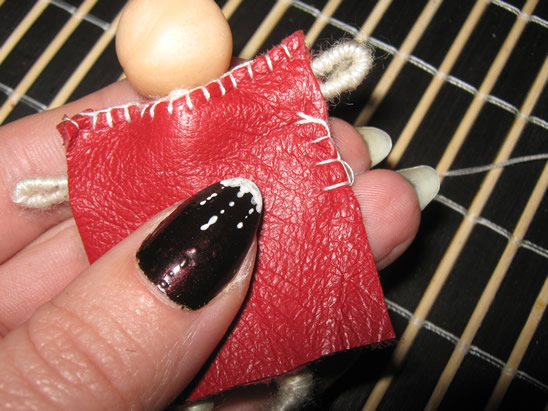
Then make a “L” stitch to mark out the arm and the body of the fairy.

It will look like this.
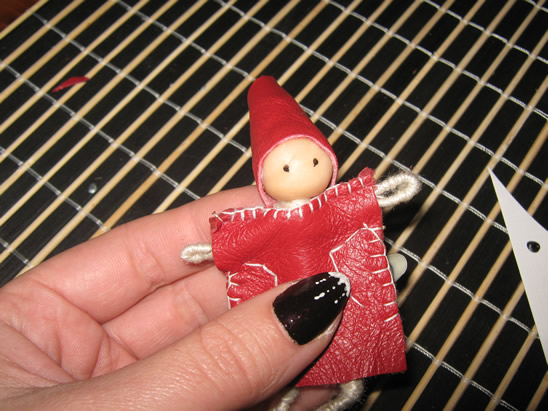
Step 6
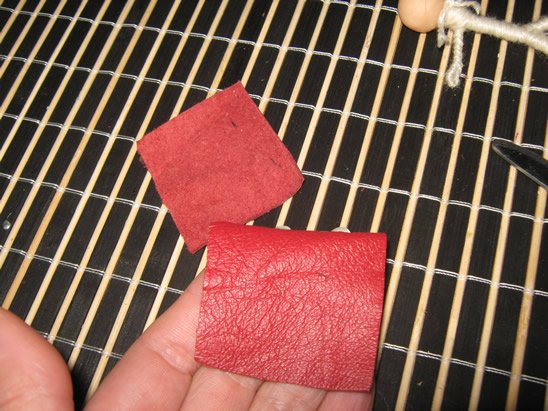
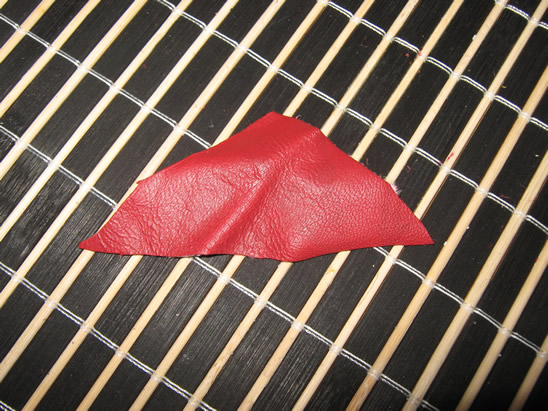
Cut a triangle of leather to make her a cap.
Apply a layer of glue on the upper part of the head…
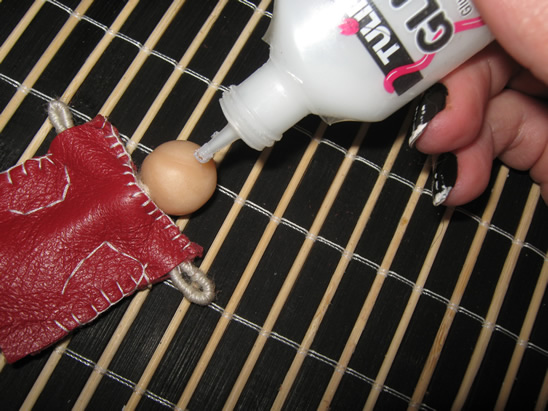
… like this…
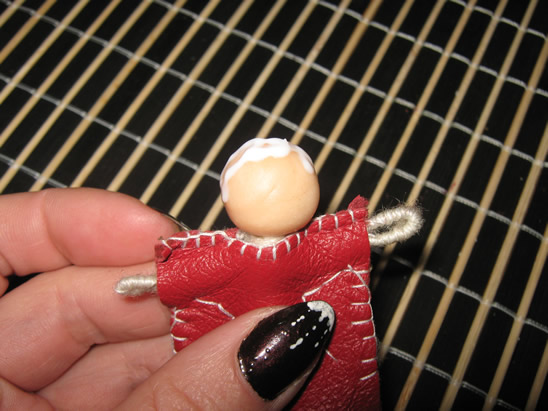
… then put the leather on her head, making a cone.
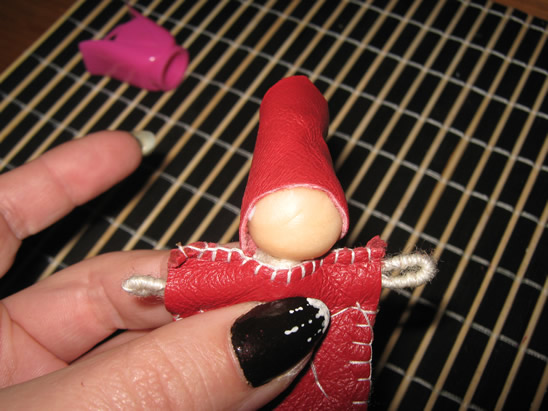
Keep it in place until it is dry.
Step 7
Take a little black paint with a toothpick…
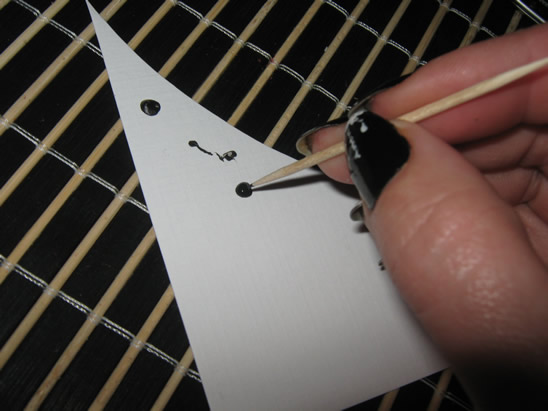
… and draw her eyes.
And some red paint to make her mouth.
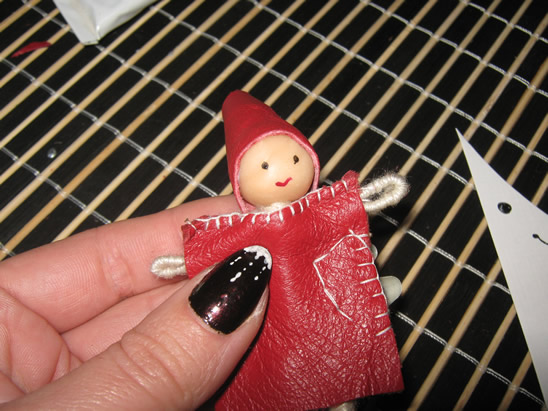
Take the pin…
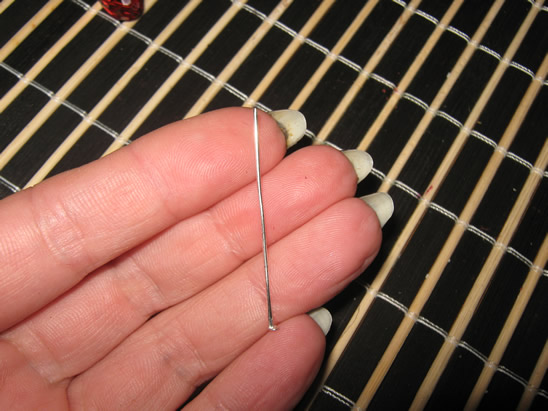
… and put the crystal on it.
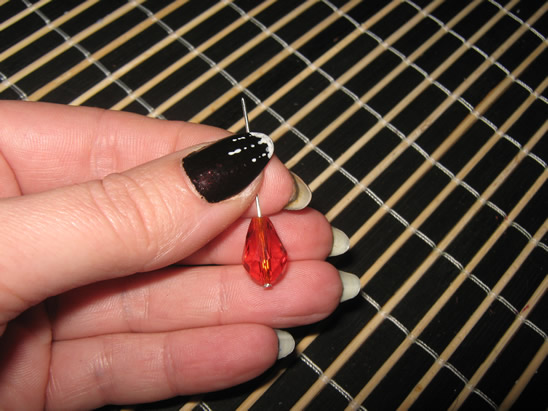
Bend it and hang it on her hand. Like this. Then close the loop.
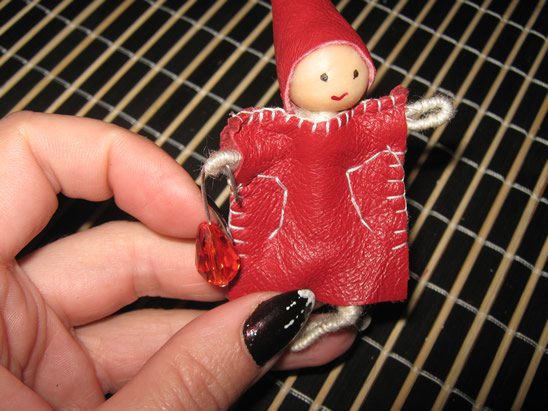
The last thing that must be done is to put a thick thread through her other hand and the fairy ornament is ready.
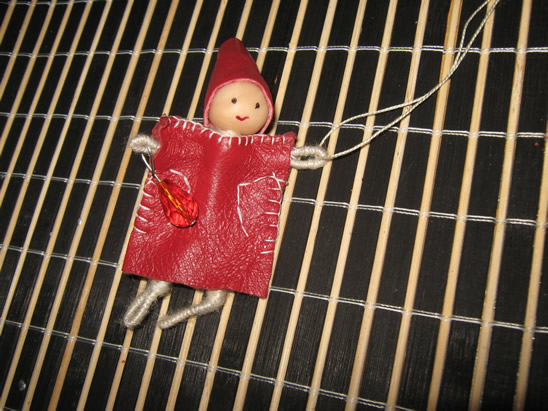
How adorable is this Christmas Fairy Ornament? So cute!! And, it will look even better hung on the Christmas tree.
Technorati Tags: Christmas crafts, xmas crafts, Christmas activities, xmas activities, December crafts, Holiday crafts, Holiday activities, ornaments, ornament crafts, Christmas Ornaments crafts, fairy crafts, fairy ornaments
