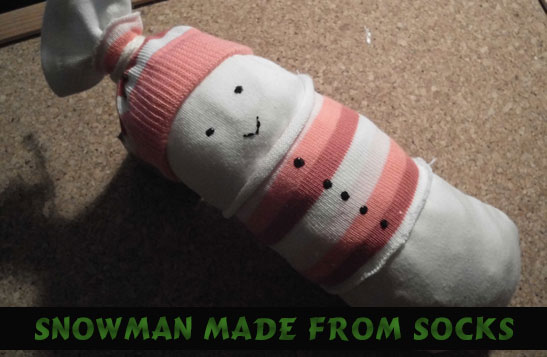
When you think of winter time what do you think of? Snow, of course. Well, what is the one thing that children love to make in the snow? A snowman. Today I’m going to show you how to make a snowman from socks. This is an adorable snowman stuffed toy that any child will love to snuggle with. And, if the child helped your make it…. they will enjoy it even more. This is a great winter time craft that can be enjoyed by children young and old.
Check out our other Winter Crafts and Sock Crafts.
Step by step tutorial offered by Laura from Dacian Moon Handmade
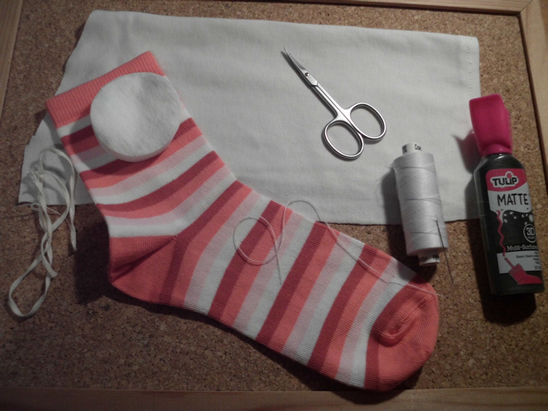
Materials Needed
– striped sock
– white fabric
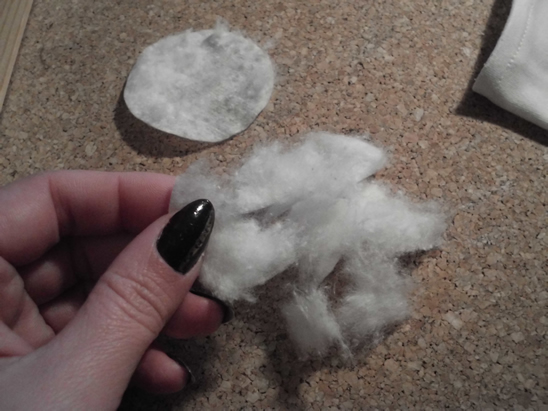
– filling material (I used some cotton pads broken into pieces)
– scissors
– ribbon
– black paint
– needle and thread
Step 1
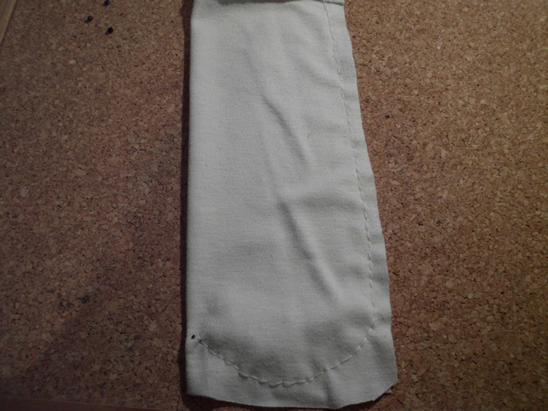
Measure the width of the socks on the fabric folded in two…
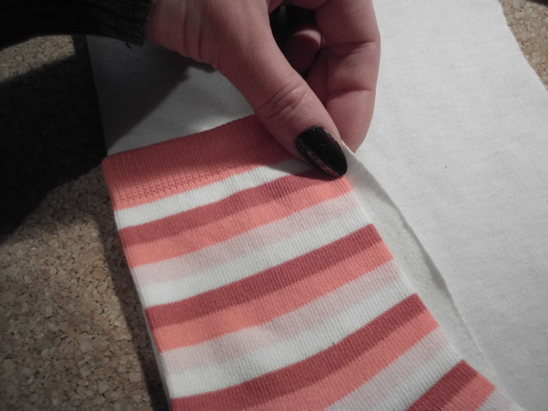
… and cut it out.
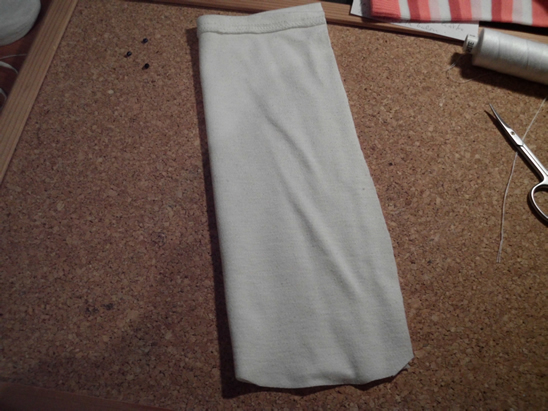
Sew the two sides together, letting an opening on the upper part.

Like this.
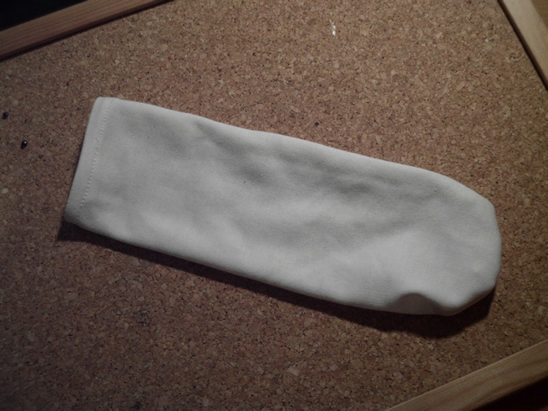
Turn it to the other side.
[ad#ahc]
Step 2
Shred the cotton pads into small pieces…
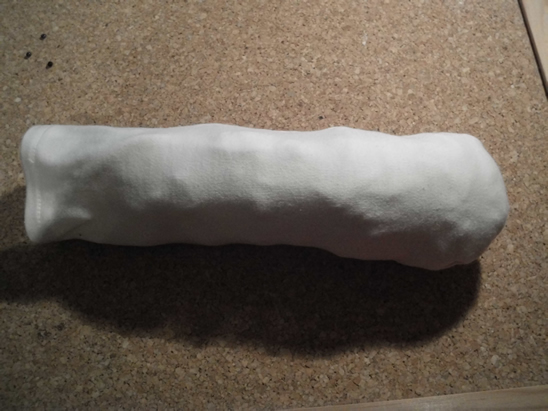
… and fill the sewed white fabric with it.
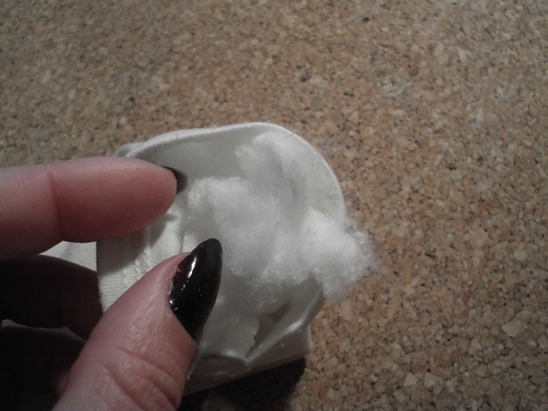
Like this.
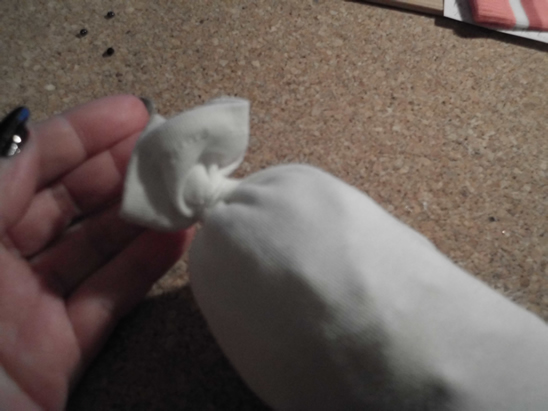
Tie the open end with the ribbon.
Step 3
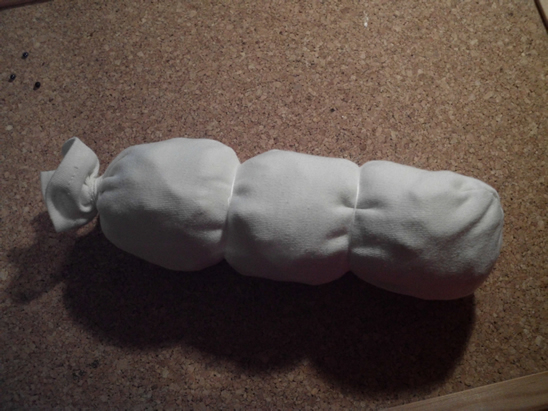
Use a thread to separate the 3 snowballs of the snowman.
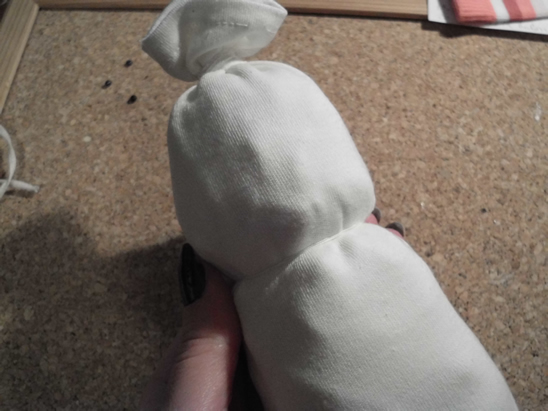
Like this.
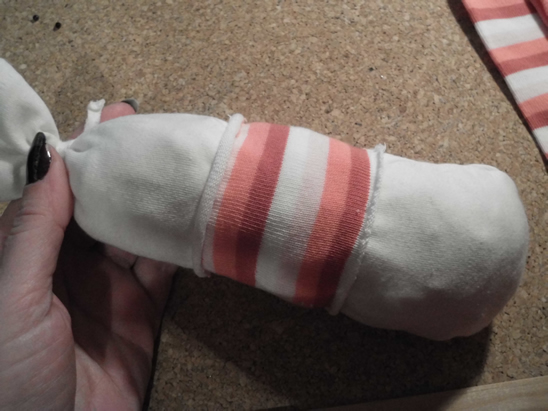
Step 4
Cut off the upper part of the sock …
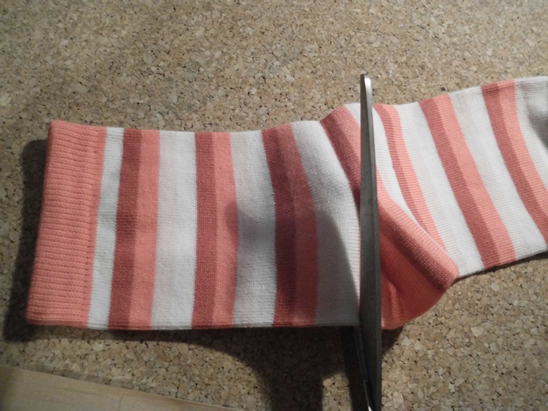
… then cut that part in half.

Dress the snowman with one, as a shirt.
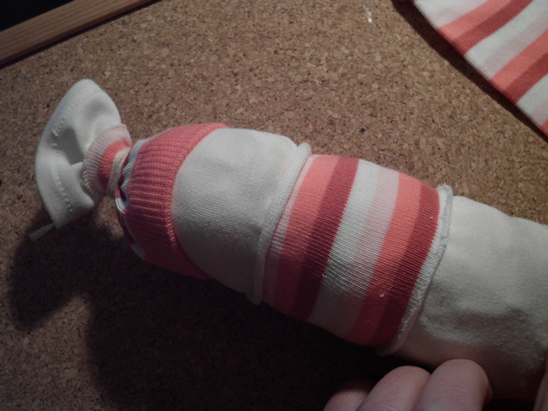
Put the other one on its head, as a cap.
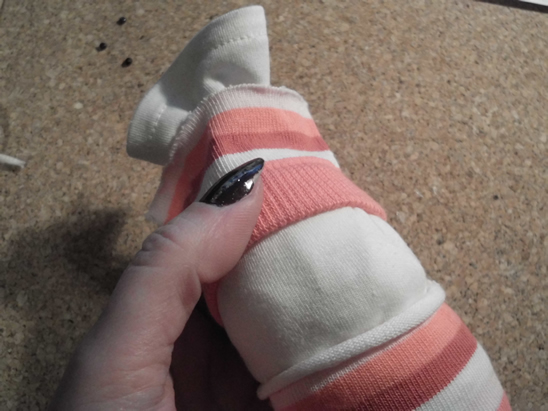
Use the ribbon to tie the cap to keep it in place.
Draw eyes, mouth and buttons on your snowman using black paint.
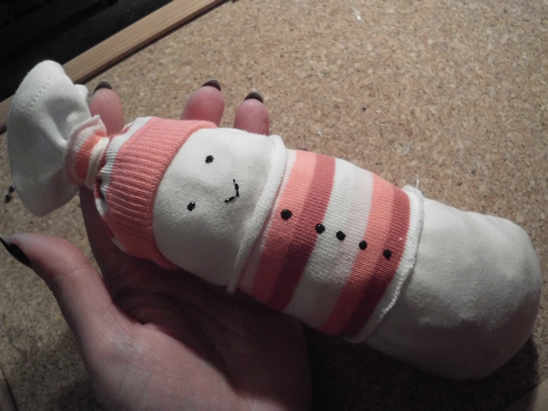
Check out this adorable sock snowman. You can give this to a friend or family member…. or enjoy it for yourself.
Technorati Tags: Winter crafts, Winter activities, inside winter activities, indoor winter activities, stuffed toys, stuffed toy crafts, stuffed animal crafts, snowman crafts, snowmen crafts, sewing crafts, children’s sewing crafts, sock crafts, sock toy crafts
