In ancient China, dragons did not breathe fire. Dragons were wise and caring. They guarded the wind, the rain, the rivers, precious metals and gems. So dragons are an important part of many Chinese festivals, including Chinese New Year. Let’s celebrate it by crafting this fridge magnet with the mini version of the dragon used during holiday parades and festivities.This crafts ideas was contributed by Laura from Dacian Moon Handmade
You Might Also Like Our Other Chinese New Year Crafts
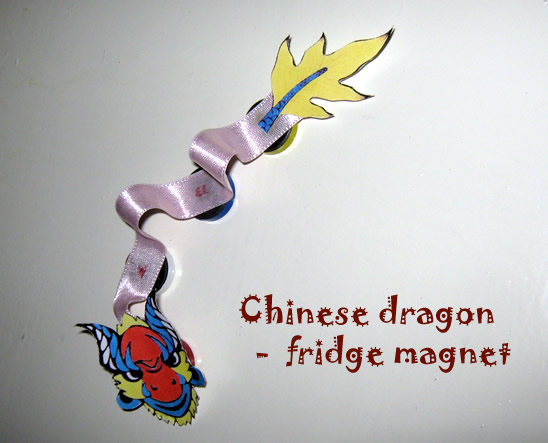
How to Craft a Chinese Dragon Fridge Magnet Craft for Chinese New Year
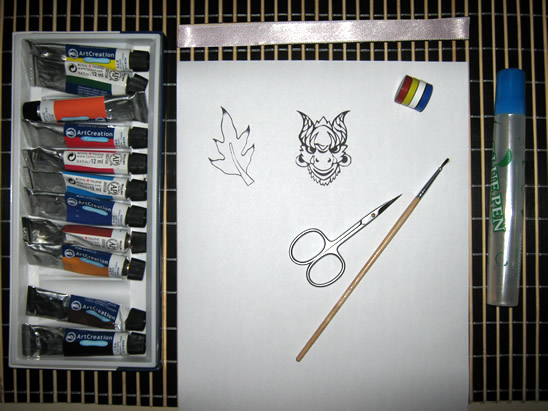
CRAFTS MATERIALS NEEDED:
– paper (not too thin)
– scissors
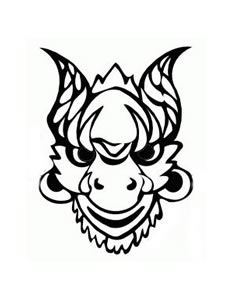
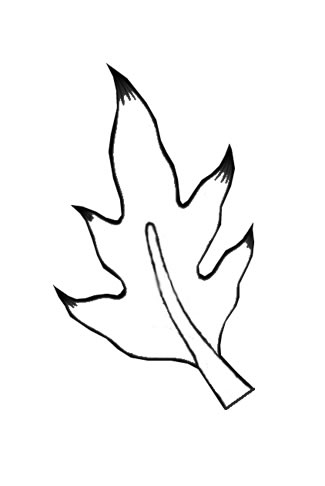
– design template (uncoloured dragon head and tail)
– 4 magnets
– craft glue
– ribbon (about 15 cm)
– paints
– paintbrush
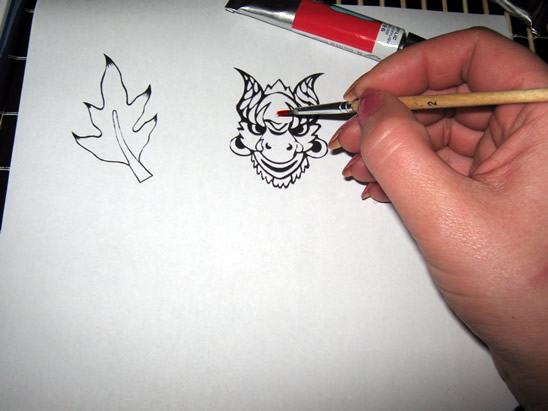
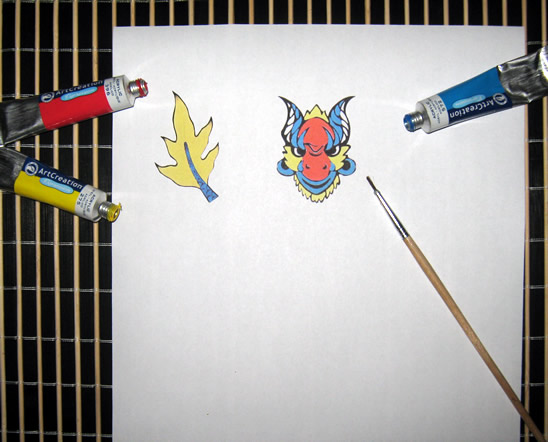
Step 1.
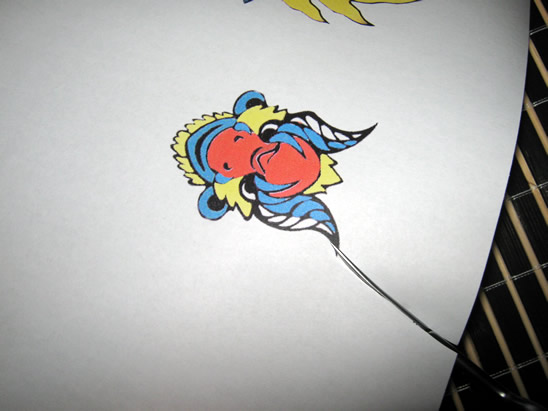
Print the Head and tail of the dragon, then paint them in any way you want your dragon to be. My dragon will guard the rain so it will have colours inspired by it. Blue and white like raindrops, red and yellow like lightnings and a little bit of dark red because of the storm 🙂
Here are my dragon head and tail painted. Let them dry well.
[ad#ahc]
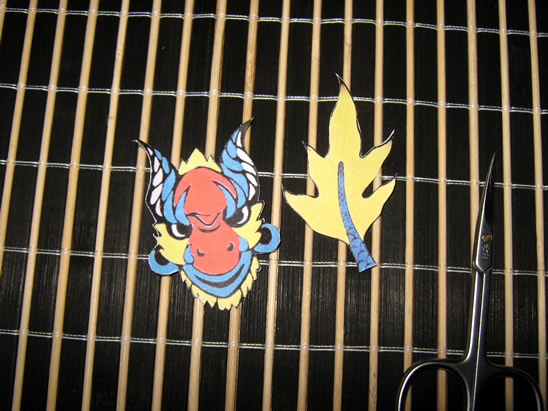
Step 2.
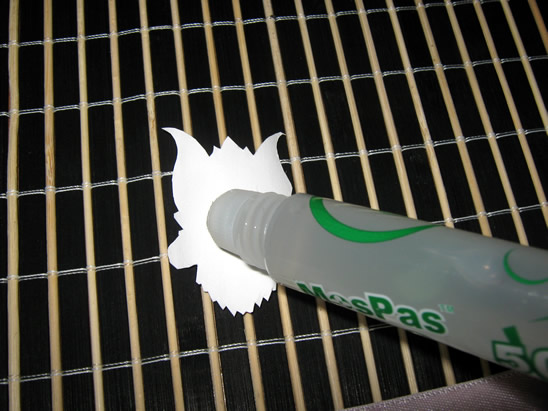
With the scissor, cut out the head and the tail.
Now we are ready to the next step.
Step 3.
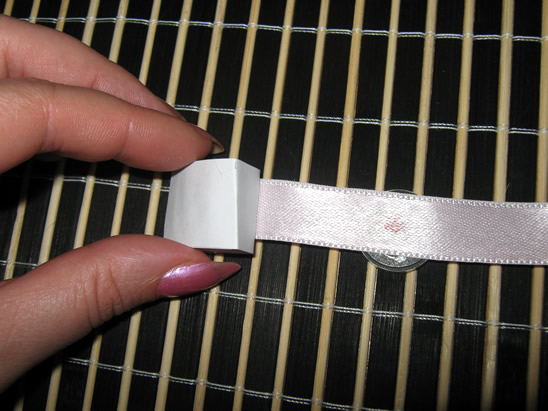
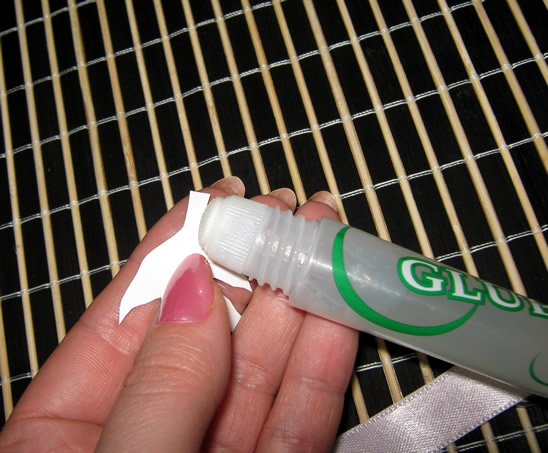
Cut a piece of paper of about 7.5 cm length and the same width as the ribbon (or a little bit larger)
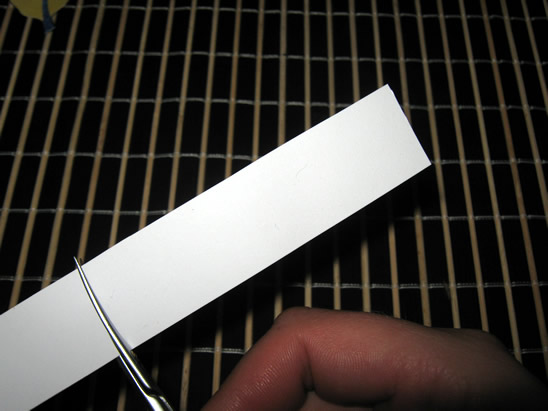
Fold it to form a triangle (2 cm x 2 cm x 1 cm) and fold the remaining 2.5 cm around the triangle
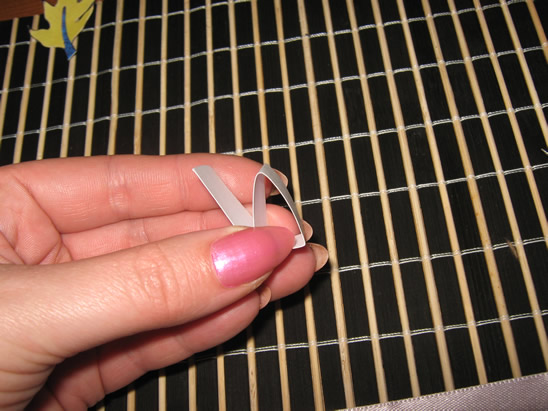
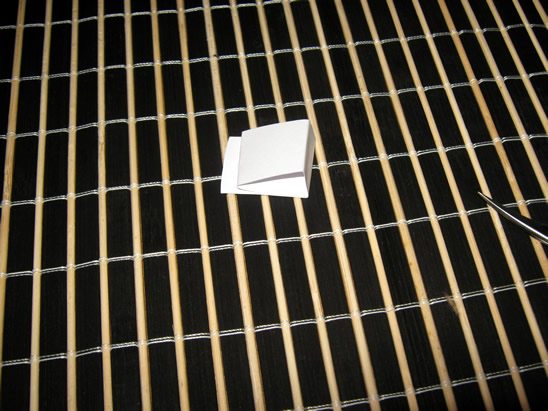
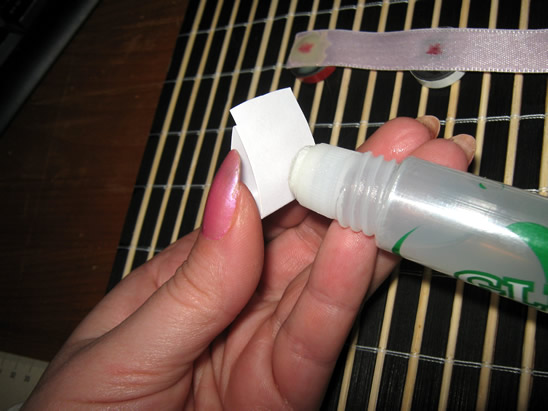
Apply a layer of glue on it,
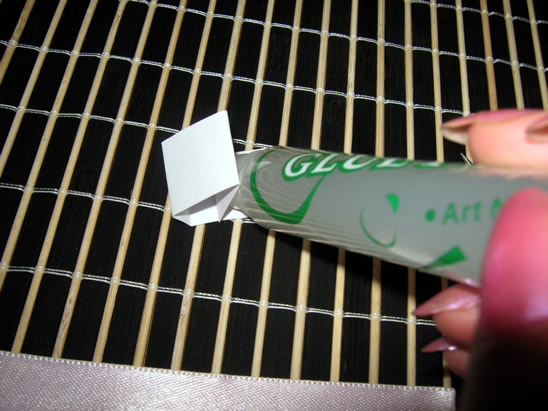
press and it should look like this:
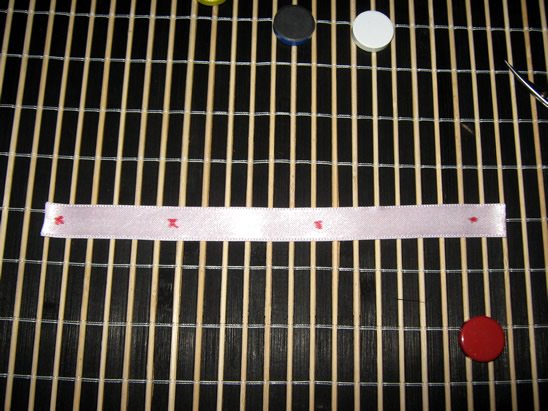
Step 4.
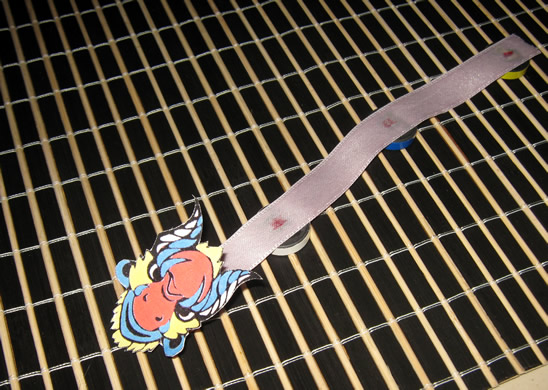
Lay flat the ribbon and mark the places where the magnets will be (the magnets are corresponding to his head, legs and tail). Take care that two of them must be close to ribbon ends.
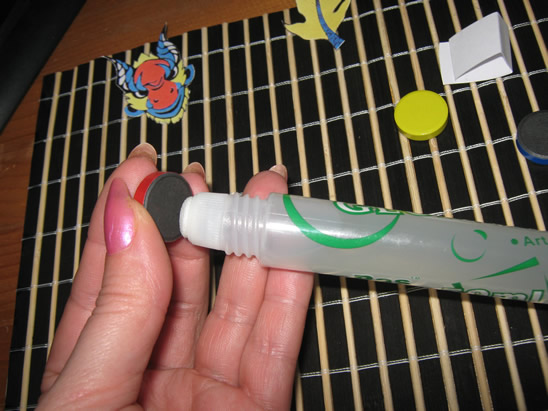
Apply a layer of glue on one magnet…
… and place it on it’s place.
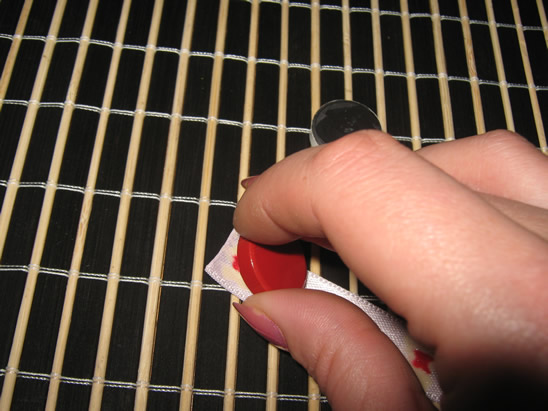
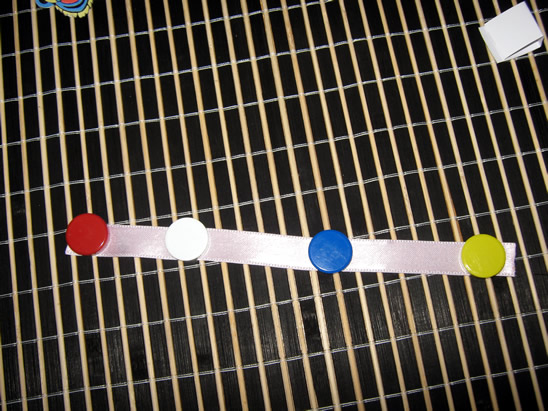
Do the same with the other magnets.
Step 5.
Turn the ribbon with the magnets down.
Apply a layer of glue on one large face of the triangle…
… and place it on the ribbon, where you want the head to be. Let it dry.
Apply some glue on the head (on unpainted face)…
… and stick it to the triangle, like in this photo.
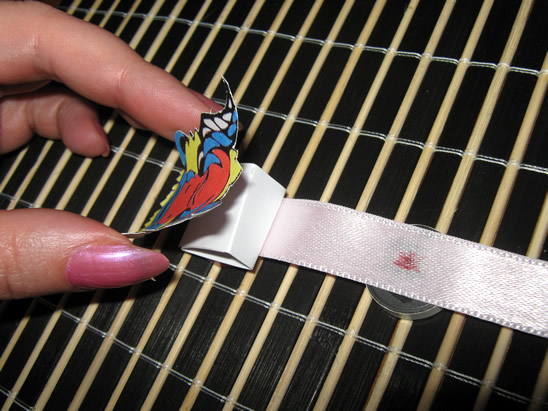
Now, our dragon have a head 🙂
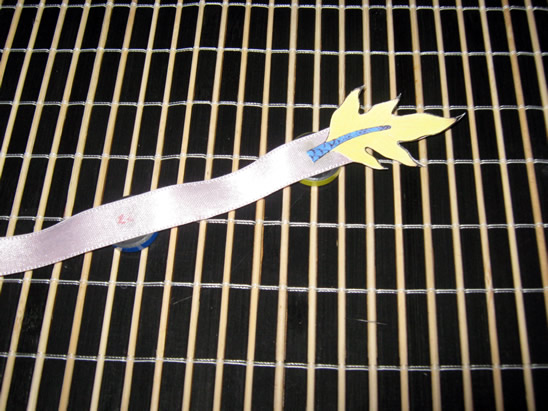
Step 6.
Apply a layer of glue on the first part of the tail (on unpainted face, of course).
And stick it where you want the tail to be (usually on the other end of the ribbon).
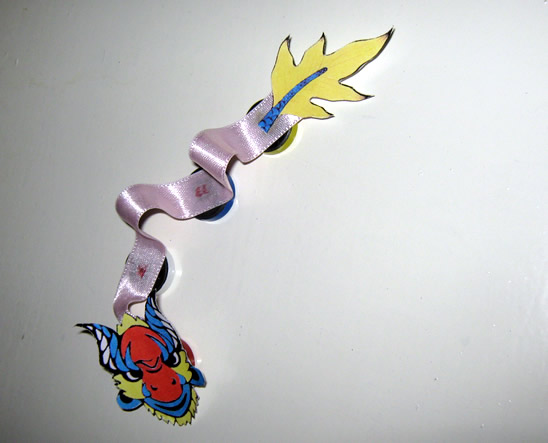
And… That’s it!
This is my Dragon, Guardian of Rain, in his place on the fridge 😀
Technorati Tags: chinese new year, chinese new year crafts, chinese new years crafts, magnet crafts, making magnets, fridge magnets, making fridge magnets, dragon crafts, making dragons, dragons, asian crafts, chinese crafts

Thank you so much for these great Chinese New Year crafts – I volunteer at the local Boys and Girls Club and I have spent a few hours looking for appropriate crafts for my group of tweens. I was about one click away from giving up on doing a project for Chinese New Year. Again – Thank You!
That is VERY nice to hear. I’m glad that you found what you need for working with your group!!!