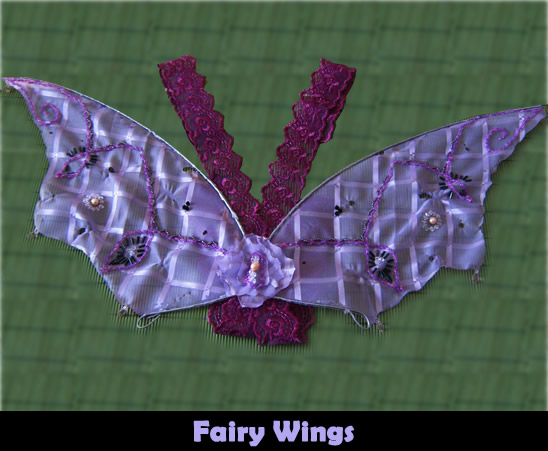
Earlier today I showed you how to make a Fairy Crown. Well, what fairy could be complete without fairy wings? Now, I’m going to help your little fairy become a true fairy this Halloween with their very own Fairy Wings. They will match the Fairy Crown brilliantly and your little girl will be thrilled with how wonderful they look.
Check out our other Halloween Crafts.
Laura from Dacian Moon Handmade will show you how to make wings to complete your fairy costume for Halloween.
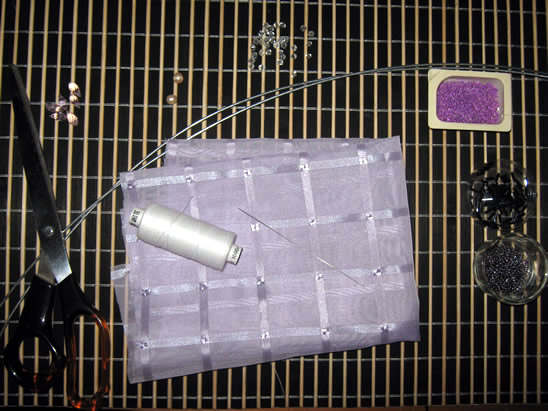
CRAFT MATERIALS NEEDED:
– organza
– 2 pieces of strong wire
– 1 piece of soft wire (about 15 cm)
– scissors
– needles and thread (I use white because my organza is light levander)
– assorted beads, crystals (or paints – the easier alternative)
– craft glue
– lace
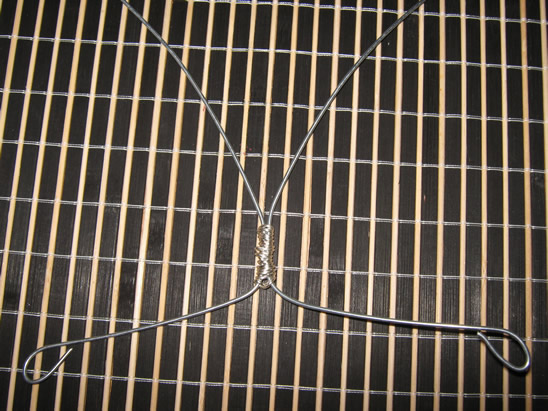
Step 1
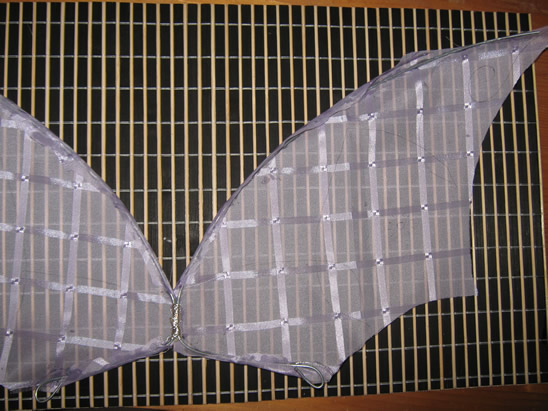
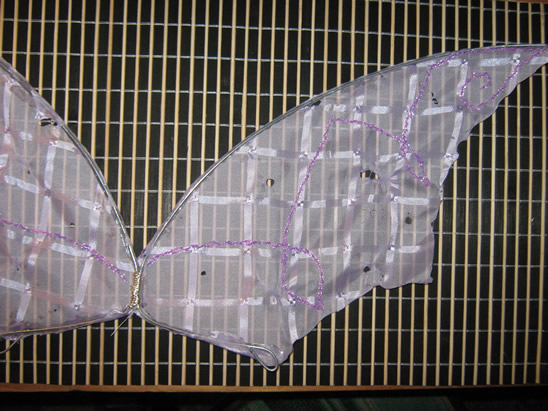
Take a piece of strong wire and bend it to form 2 sides of a wing, like this.
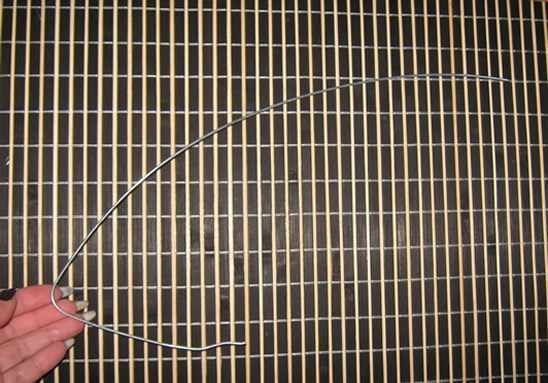
Make a loop on both ends of the wire.
Do the same with the other piece.
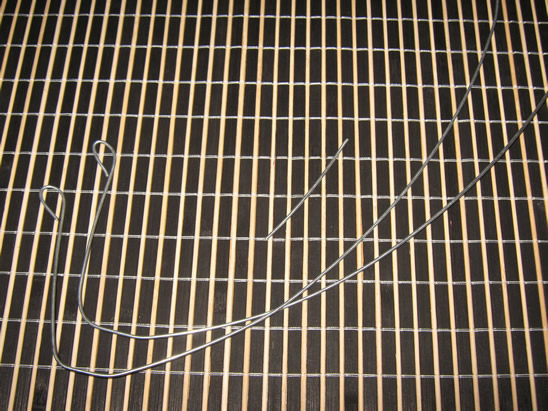
Using the soft wire affix the two wings together, like in the picture.
[ad#ahc]
Step 2
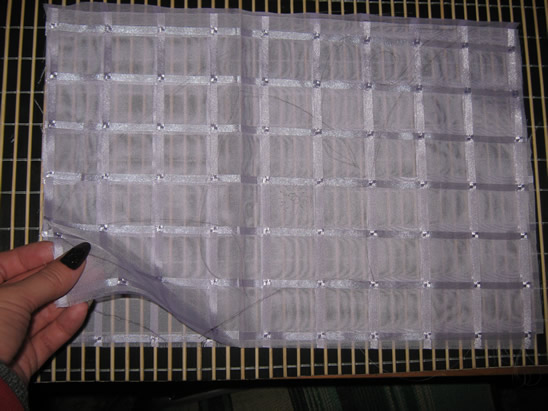
Cut the organza in half.
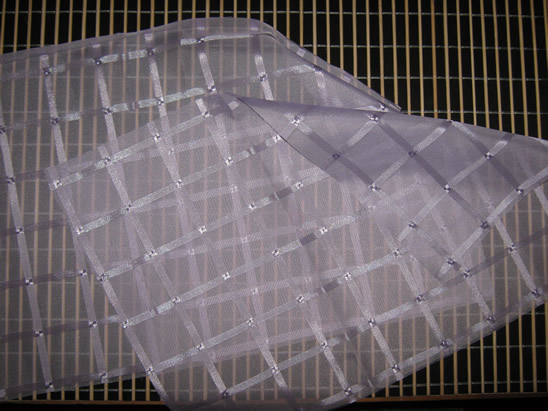
Place one under one wing…

… and draw its contour using a pen.
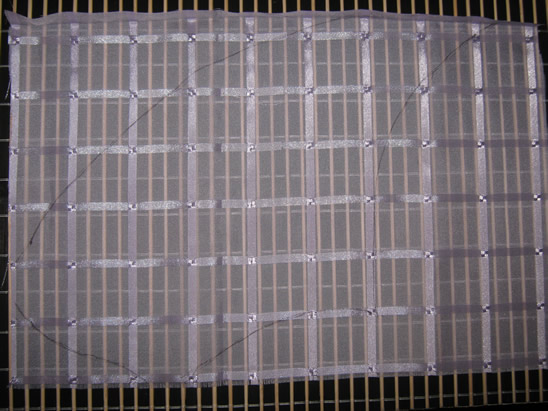
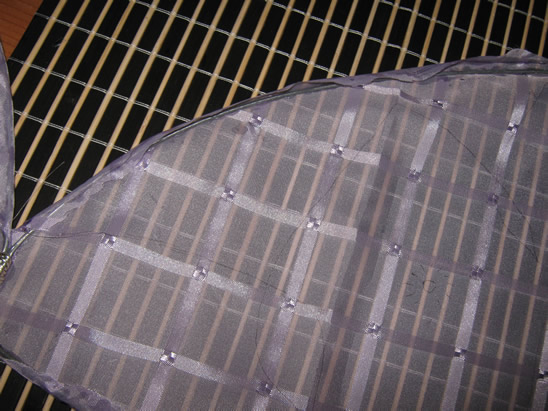
Complete the design.
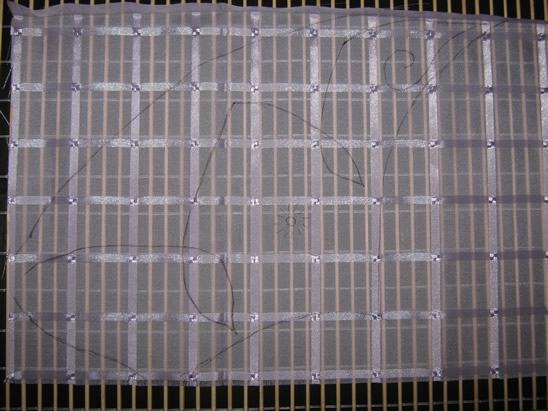
Place the other half of organza on top of that and copy the drawing (organza is transparent)
Step 3
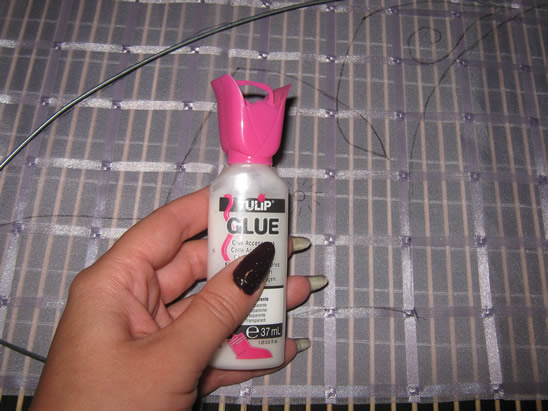
Take the craft glue (I use Tulip glue because is glue for textiles and you can wash the wings if they get dirty).
And place a generous layer on the wire (don’t worry, it is transparent when it is dry).
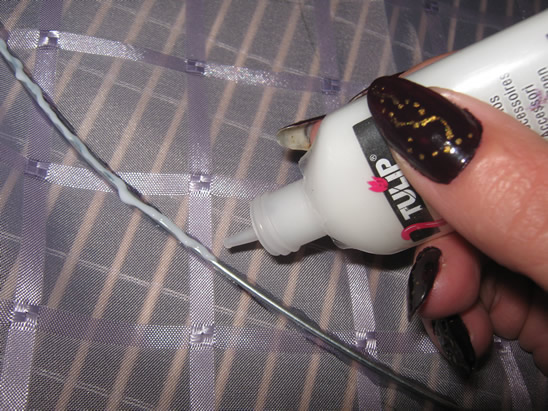
Press the wire on the organza, following the contour, to glue them together. Let it dry well (until you can’t see the glue anymore).
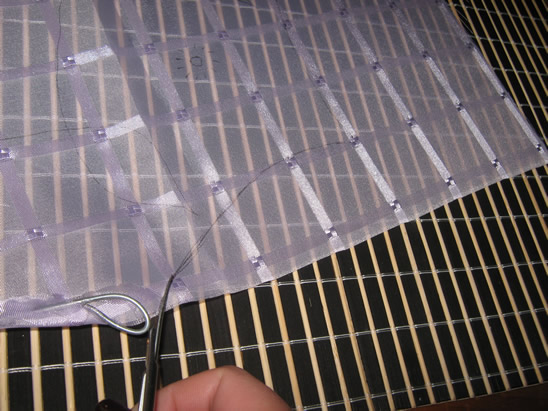
Cut out the extra organza along the wire.
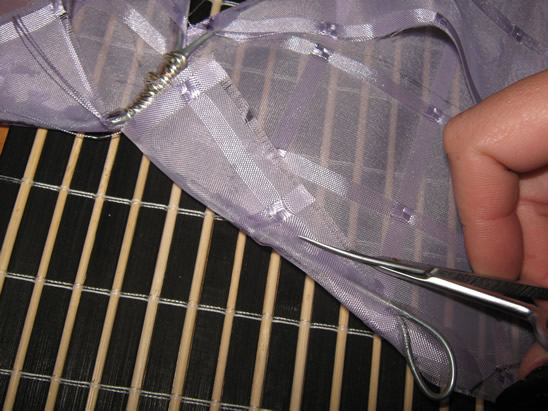
Like this.
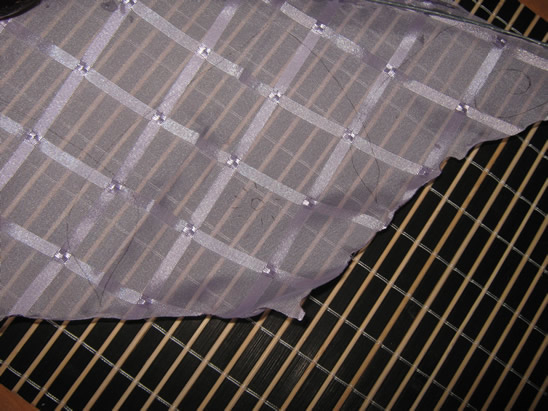
Then cut on the contour on the free side.
Now we have the wings 🙂
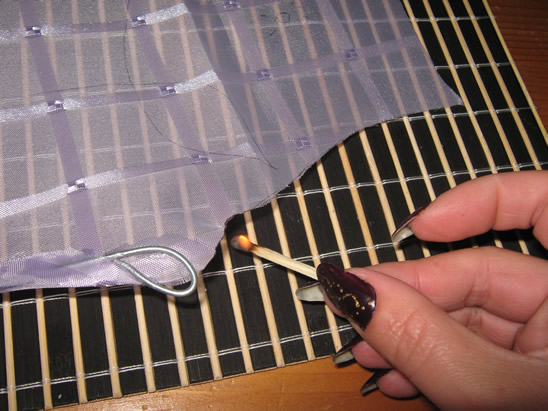
Step 4
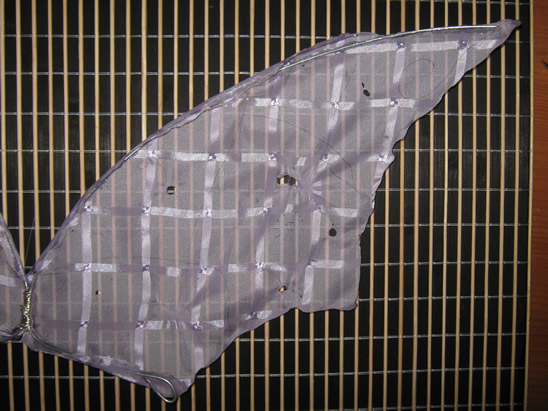
To keep them in place, you must burn the edges. Use a match or a lighter and bring it close to the organza. Don’t keep it long. Just go around it.
***This is a step for an ADULT only***
It will look like that.
You can add some personality and texture by making some small burns from place to place on the wings. I like to use organza because it melts.
Step 5
Now let’s start decorating the wings.
The easiest way is to use paints to bring your idea to life.
I will walk the longer way 🙂
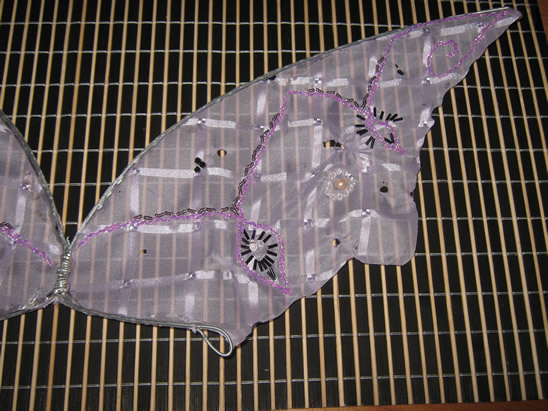
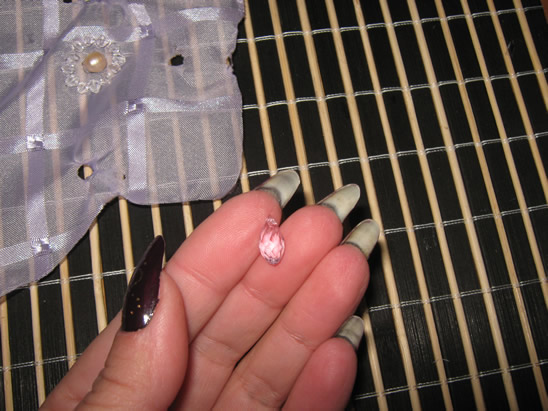
Because the organza is light lavender I choose pink and grey seed beads, dark grey tube beads, 3 pearls, transparent crystals and 6 tear crystals.
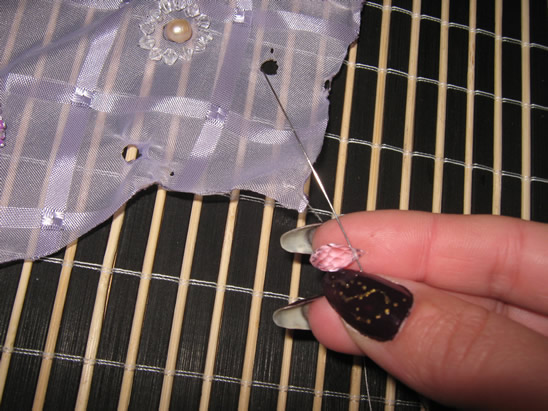
Start on one edge of the design.
Using a needle for beads (one very thin in order to go through the beads) place 3 seed beads on it then sew.
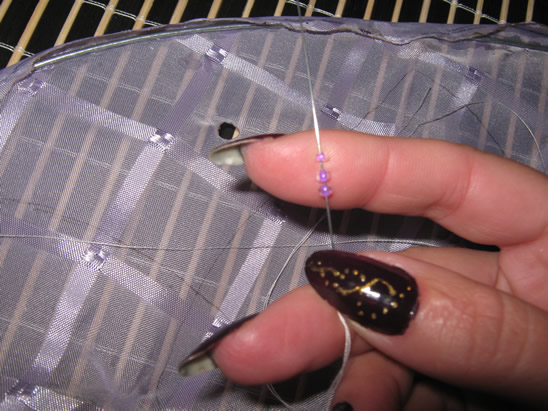
Repeat that operation following the design lines.
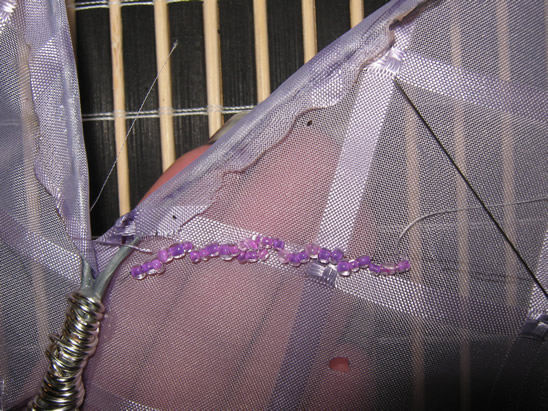
Like this. You will sew a small amount of beads at once (3 beads) because another way it will not look well, and it can break.
Use the other beads, crystals… to complete your design.
Step 6
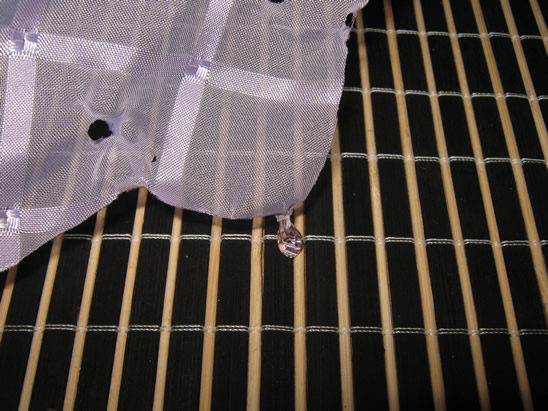
Take the tear crystals…
And sew them on the three corners of every wing…
… to dangle.
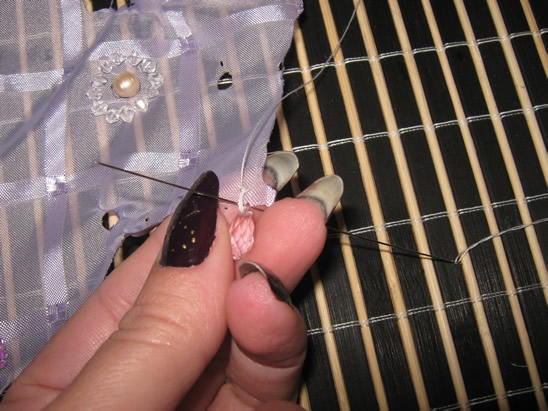
Like that.
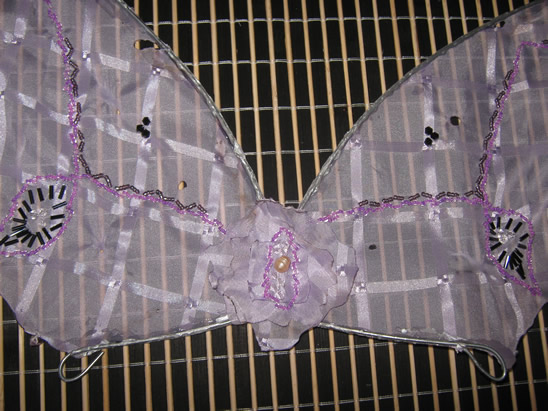
This is one wing finished.
Step 7
Cut 3 little squares (the big one with the side of 10 cm, the second 7 cm and the little one 5 cm)
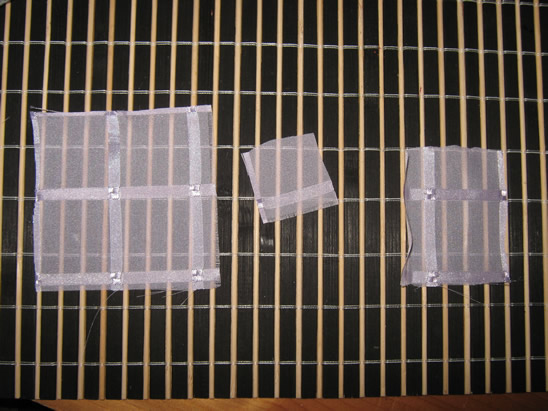
Burn the edges.
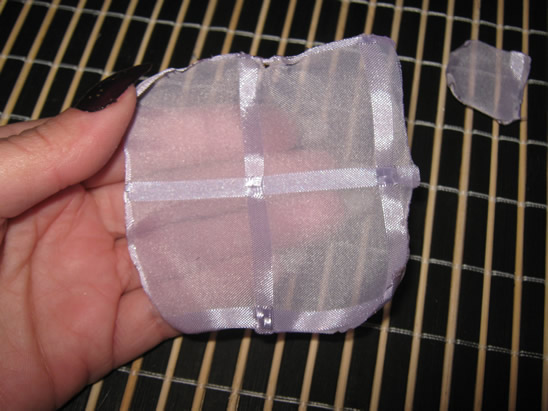
Sew them together…
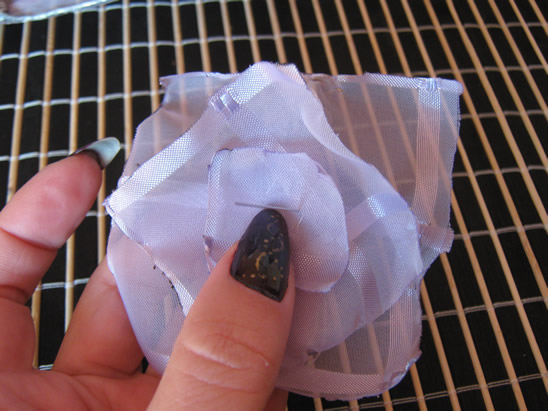
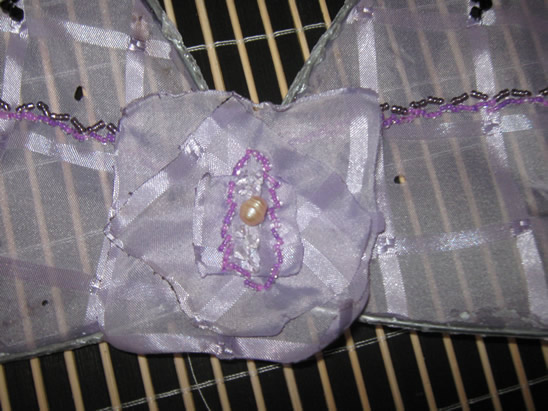
… and place them on the center, where the wings are linked.
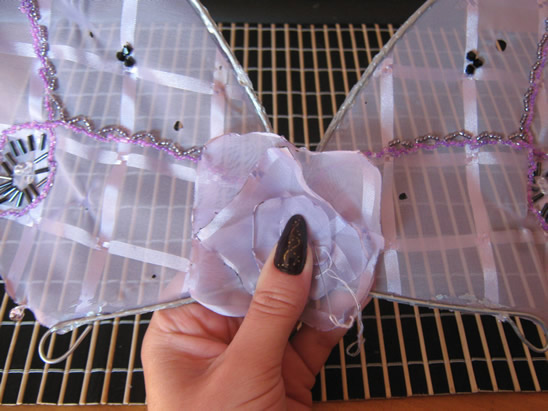
If you want, you can add beads here too… to match the wings.
Also, you can cut the squares on any you want, but take care when you’ll burn their edges after that.
Step 8
Turn the wings.
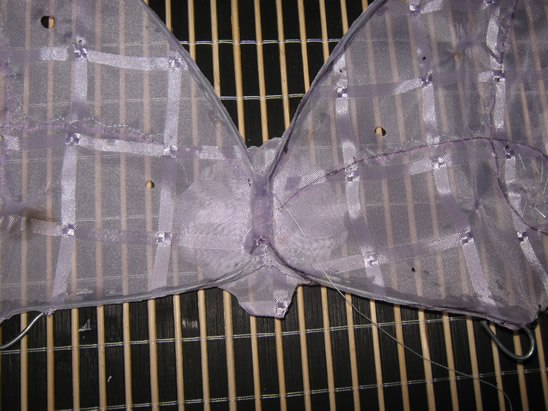
Cut two pieces of lace long enough to put the wings as a backpack.
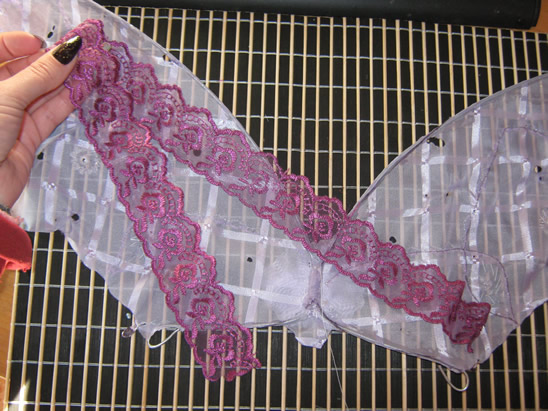
Sew them on the back of the wings, letting the upper part longer…
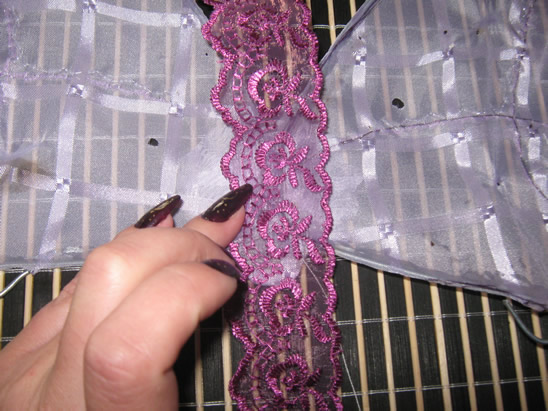
… like this.
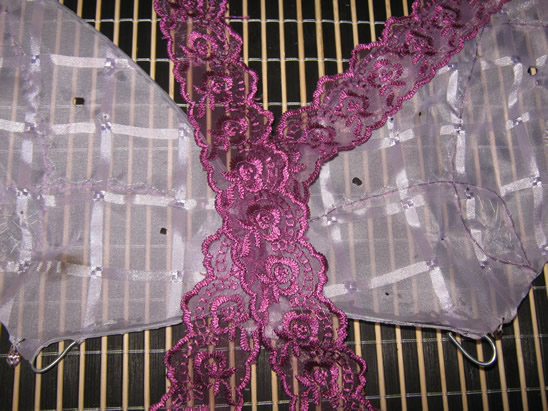
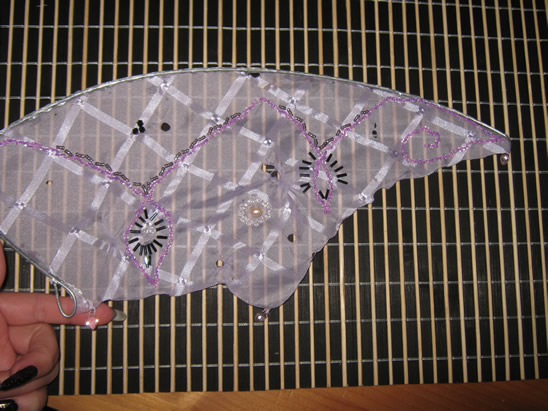
Now the wings are ready. You can close them on the front with safety pins, brooches or two buttons.
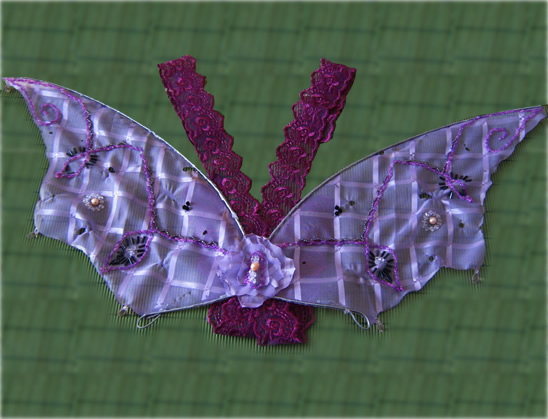
The finished Fairy Wings are beautiful and will look so adorable on any little fairy. She will love wearing her fairy costume well after Halloween has finished…. it will be great for dress-up fun any day of the year. Check out our Fairy Crown craft too.
Technorati Tags: Costumes, Halloween, Dress-up, Fairy, Fairies, Fairy Costumes, Halloween Crafts, Dress-up Crafts, Fairy Wings, Fairy Crafts

Leave a comment