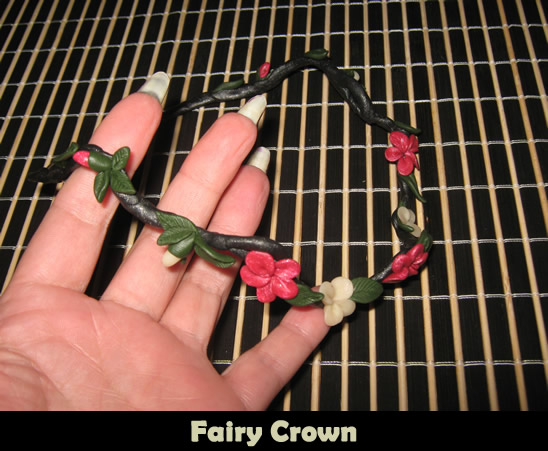
When my daughter was little all she could talk about were fairies. She was fascinated with them and loved to dress up and imitate them. My daughter would have loved this craft had I known about it then. Today I will show you how to make a Fairy Crown. It would be perfect for Halloween or dress-up any other day of the year.
Check out our other Halloween Crafts.
Tutorial offered by Laura from Dacian Moon Handmade . Children need help from an adult for this tutorial.
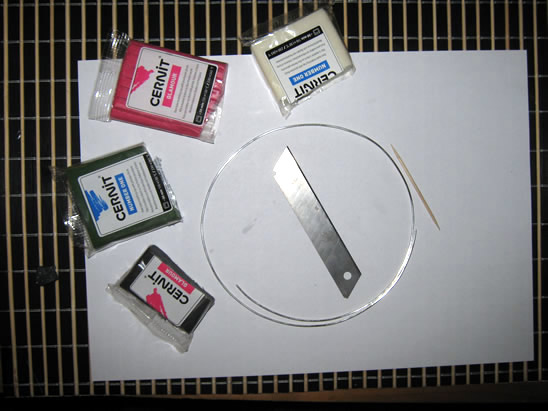
CRAFT MATERIALS NEEDED:
– black, green, red and white polymer clay (or any other color you want for the flowers)
– cutter
– toothpick
– soft wire
– baking tray
– baking paper
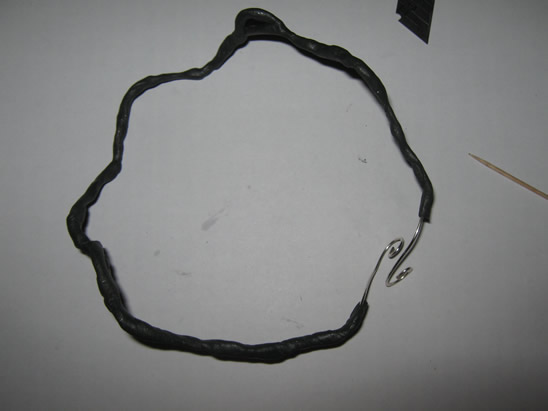
Step 1 – The Armature
Take the wire and measure how much you need for your crown (by putting it over your head). Cut the rest.
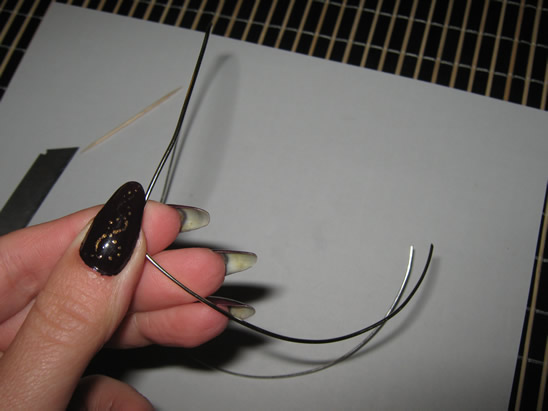
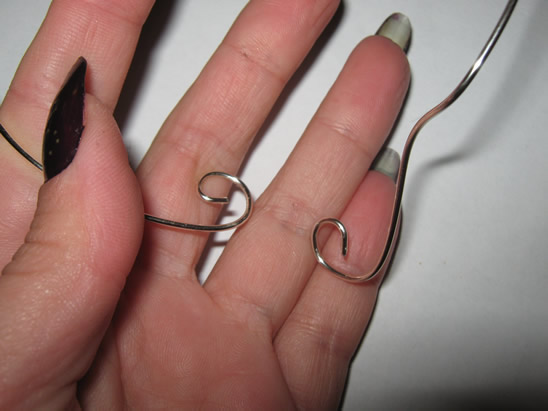
Make waves with the wire and make it circle.
On both ends make a small spiral – this will be the closing.
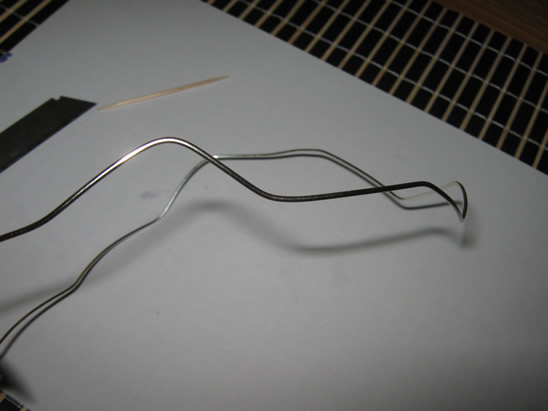
With the wire you cut before… make some new branches for the crown, like this.
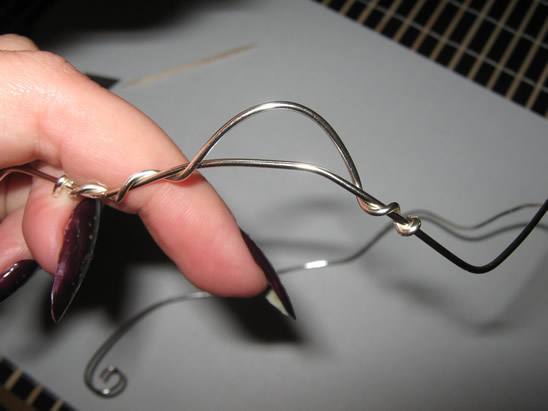
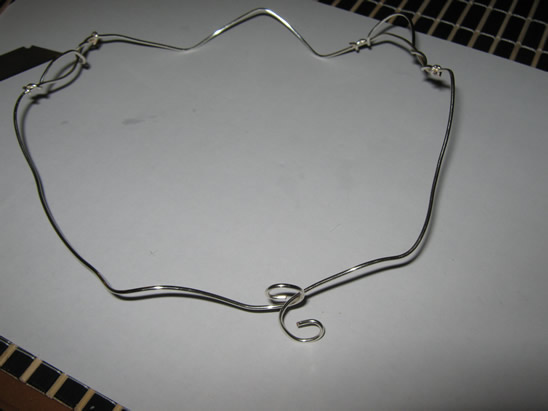
Well, the armature is ready.
[ad#ahc]
Step 2 – The Branches
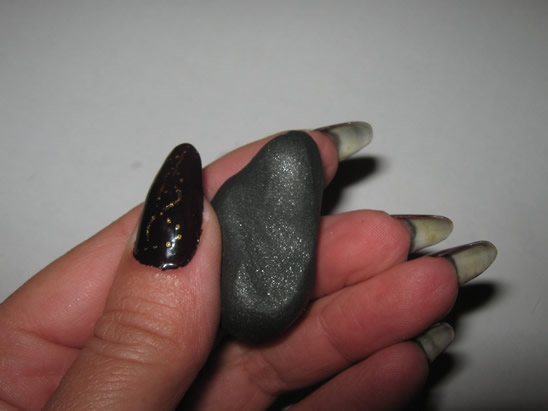
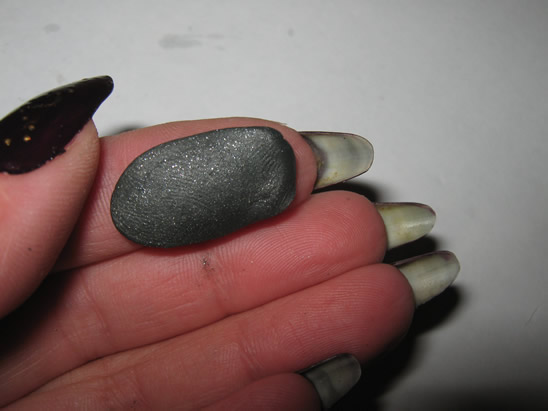
Take a piece of black polymer clay and condition it.
(Condition polymer clay by hand, simply mix it and squish it with your fingers. You may want to roll it into a log between your palms, fold it in half, and then roll again)
Flatten it.
Start covering the wire with it…
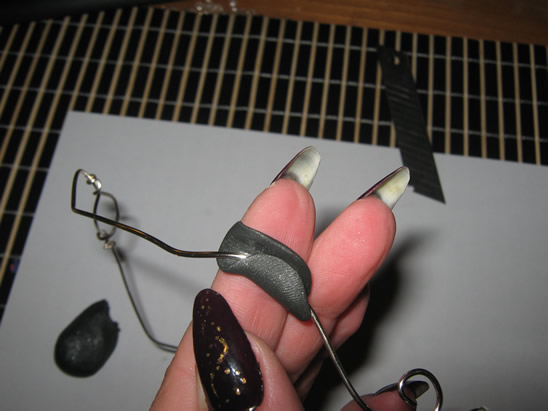
… by turning it around the wire.
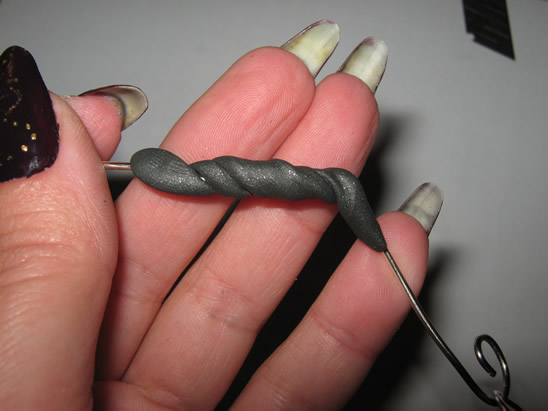
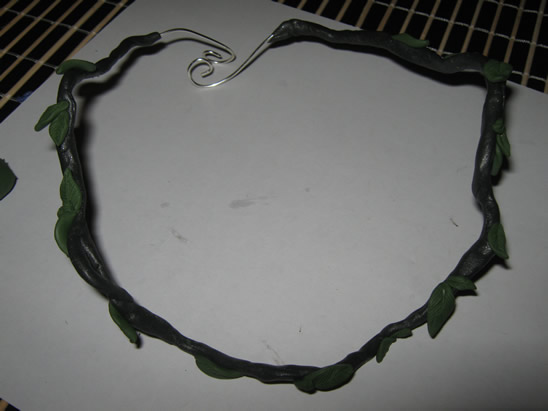
This is the armature completely covered. We will let the ending spirals uncovered because when it is baked the polymer clay is hard and you can’t bend it to close the crown.
Step 3- The Leaves
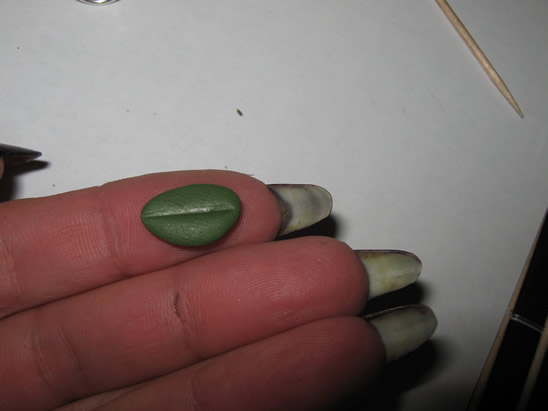
Condition the green clay.
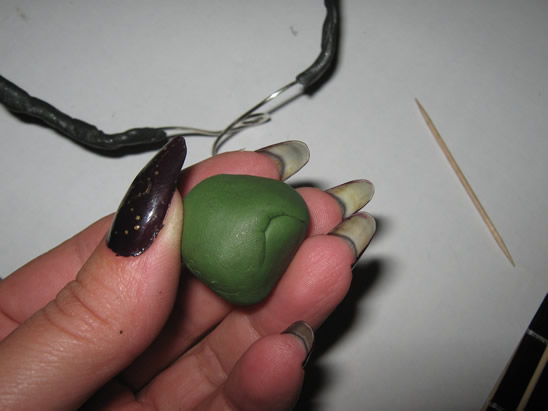
Take a small piece of it and flatten it.
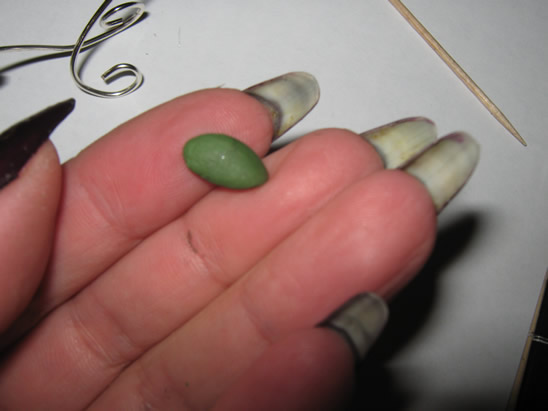
Squish it gently between two fingers on one end…
… then on the other end.
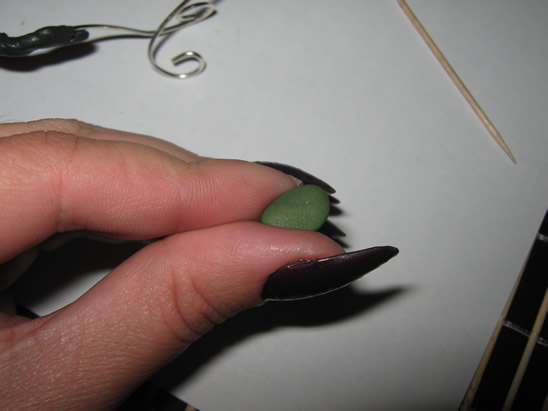
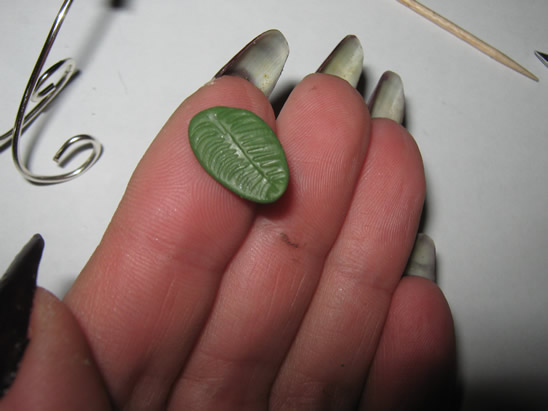
Using the toothpick make a crease on the middle of the leaf.
With the toothpick or with your nails make small creases like in the picture.
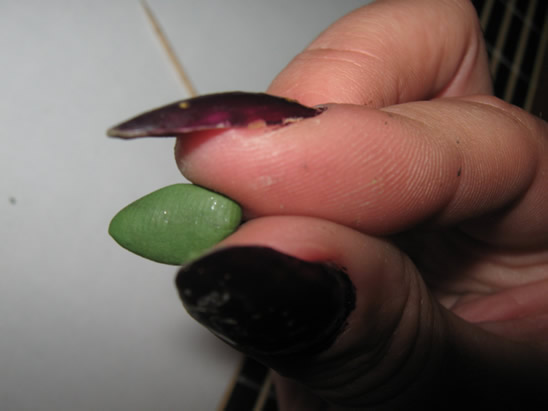
You will notice that the leaf had flatten again so squish the endings again to improve its form…
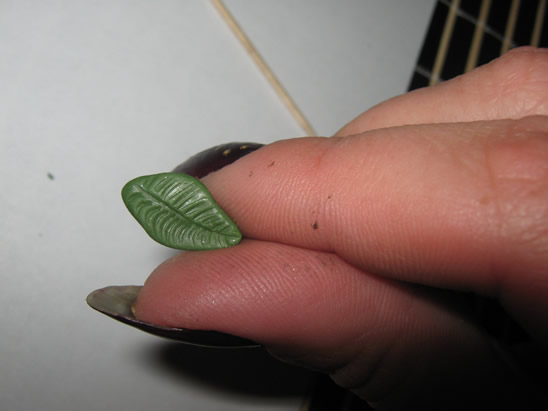
… and place it on the branch.
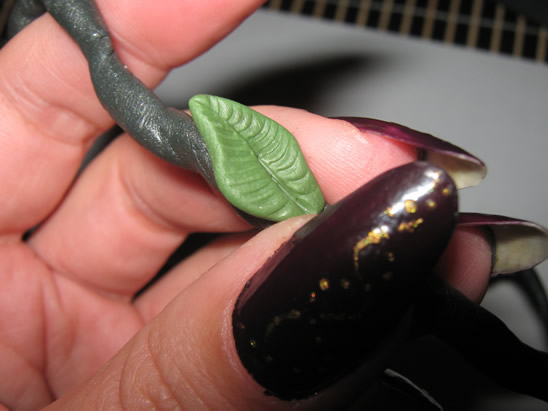
Add as many leaves you want to make it look good.
Step 4 – The Flowers
Condition the red clay.
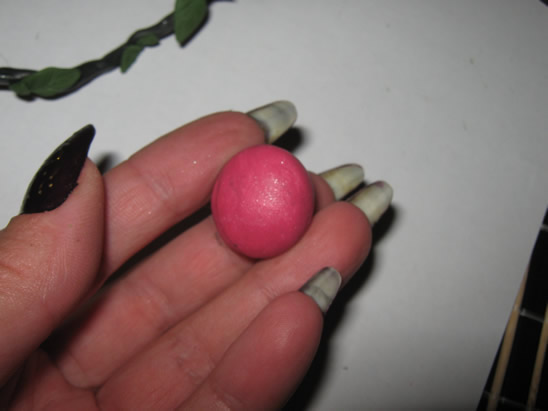
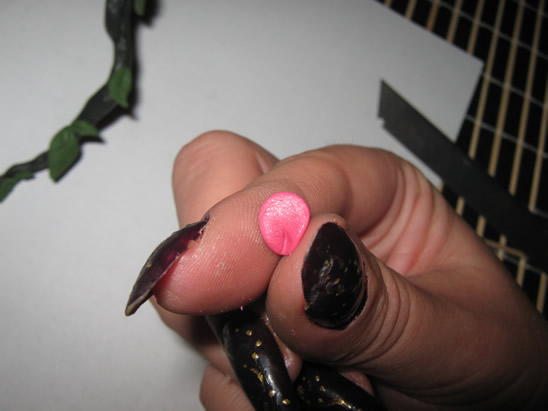
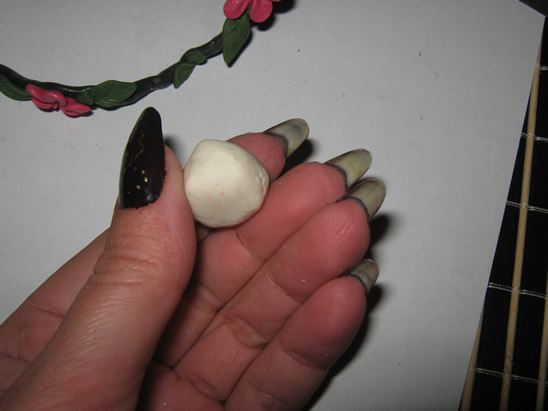
Take a small piece of it, make a ball and flatten it.
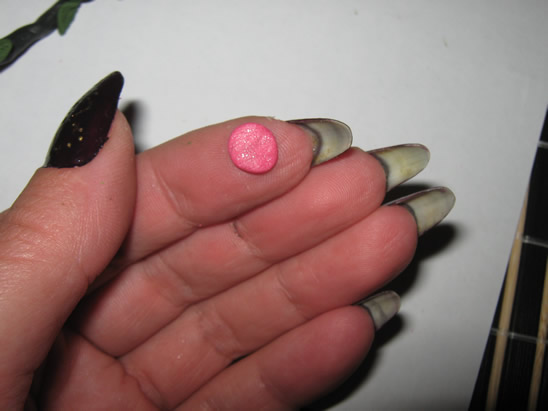
Make a sign with your nail on it …
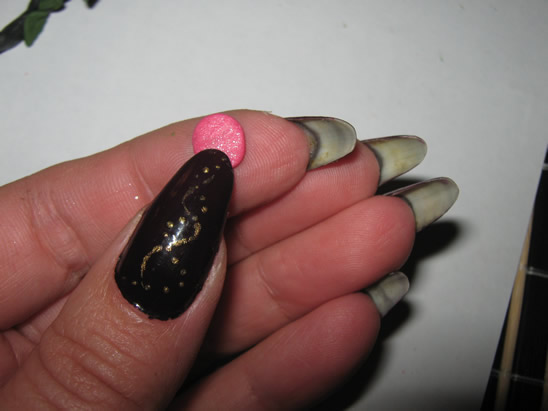
… then squish it between two fingers around the sign to make a petal. Like this.
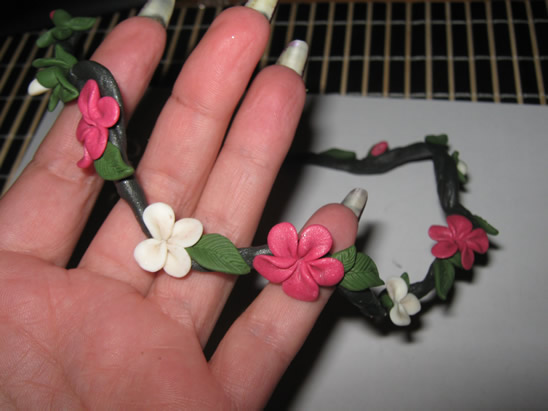
Place it on the branch.
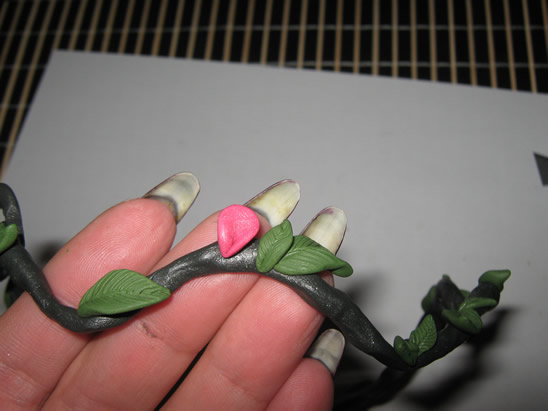
Add four more petals and you have a flower 😀
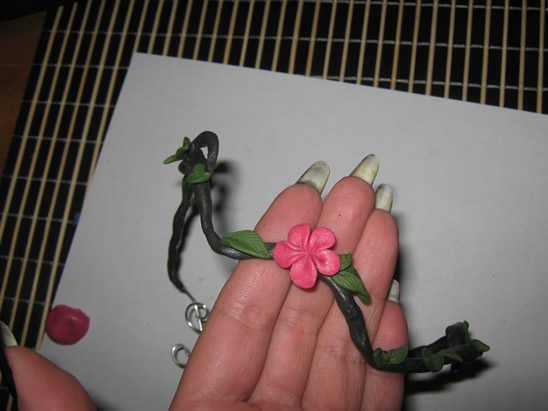
Add as many red flowers as you want.
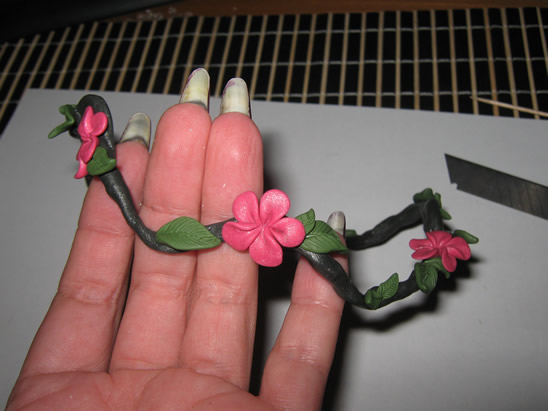
Then take the white clay …
… and add white flowers.
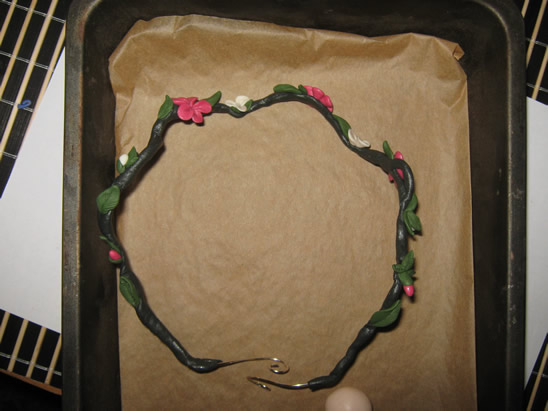
Step 5 – The Baking
When you are satisfied with your crown place it on the baking tray… bake it according to the instructions on the polymer clay package (they depend on the brand you use: fimo, cernit, sculpey…, but usually it is one half hour at 230 F or 110 C) – this is the part when you could use a little help.
Let it cool down and you have a beautiful fairy crown.
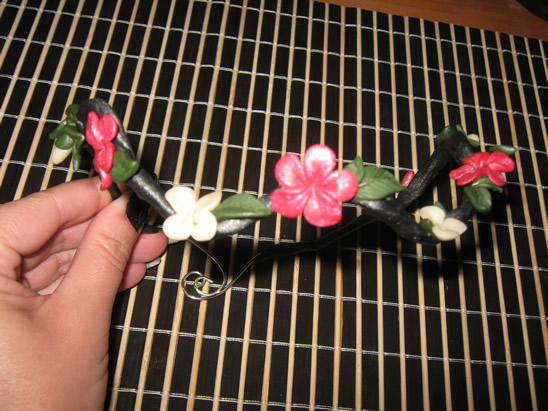
I love this fairy crown…. it turned out so beautiful. Any girl would love to play dress-up and wear the fairy crown. It would top off any fairy costume perfectly. Also check out How to Make Fairy Wings craft that would go beautifully with this Fairy Crown.
Technorati Tags: Costumes, Halloween, Dress-up, Fairy, Fairies, Fairy Costumes, Halloween Crafts, Dress-up Crafts, Fairy Crown, Fairy Crafts

Leave a comment