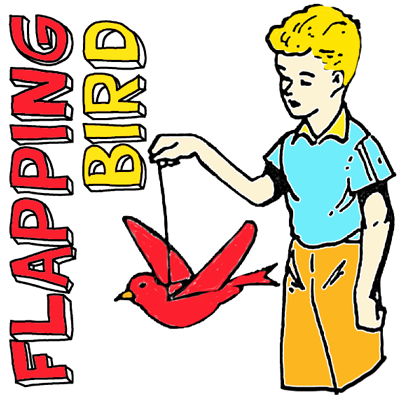
Today I’m going to show you how to make a flying bird decoration. When made correctly this bird will flap his wings with just a bit of movement of the string. Crafters of all ages will enjoy making this craft…. even the youngest. We provide many templates that you can choose from to make this flying bird. You can choose one of the colored templates or you can print off the black & white template and color the bird yourself. The choice is yours. So, grab the materials needed and let’s get started.
Check our our other Toy Crafts.
Materials Needed
Printer & Paper
Scissors
Glue or Tape
String
Crayons, Markers or Colored Pencils (optional)
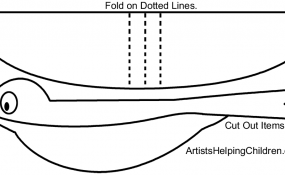
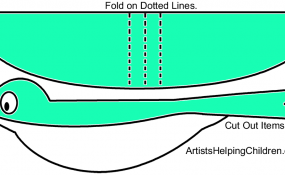
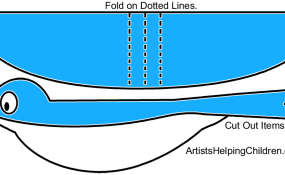
Click on template images below to make larger and to print.
Black & White Template
Aqua template
Blue Template
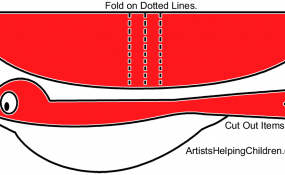
Red template
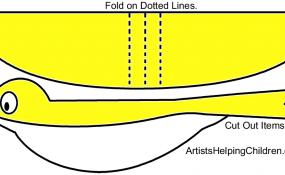
Yellow template
Step 1
Print template.
[ad#ahc]
Step 2
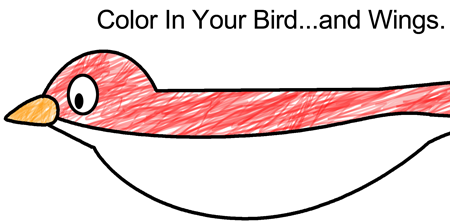
If you printed the black & white template…. color in your bird and wings.
Step 3
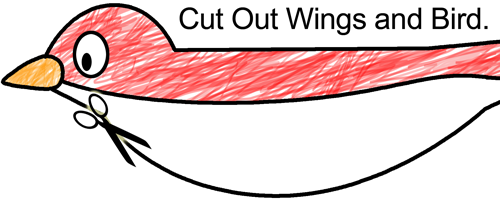
Cut out wings and bird.
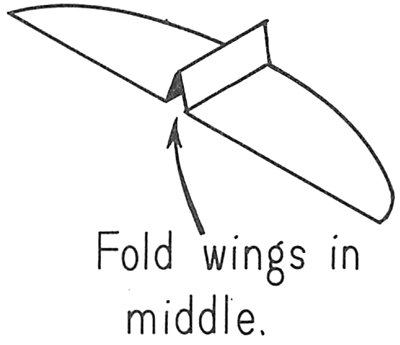
Step 4
Fold wings in middle.
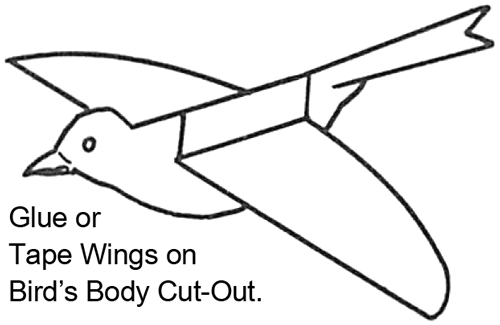
Step 5
Glue or tape wings on bird’s body cut-out.
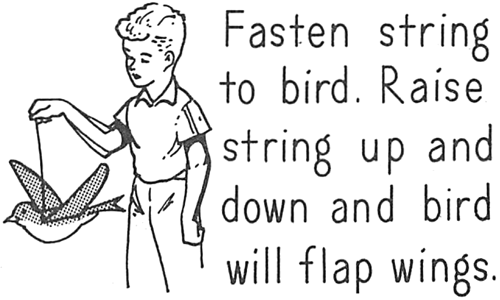
Step 6
Fasten string to bird. Raise string up and down and bird will flap wings.
And, that’s it… you just finished making your flying bird decoration. Isn’t it cool with just raising your string up and down you can make the bird appear as if he is flying. Enjoy playing with your flying bird.
Technorati Tags: preschool crafts, bird crafts, bird crafts for kids, toy crafts, toy crafts for kids, string crafts, string crafts for kids, coloring crafts, bird decoration crafts, bird decoration crafts for kids


Thank you very much
thanks for this craft! my kids loved it. 🙂