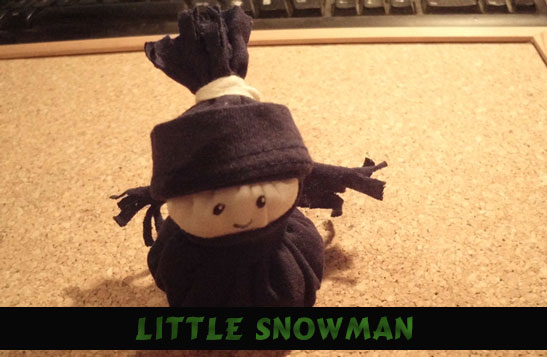
Today we will show you how to make this cute little fabric snowman. He is a lot of fun to make and even more fun to play with. On this cold Winter day, I thought this would be a great craft to share with you.
Step by step tutorial offered by Laura from Dacian Moon Handmade
How to Make a Cute Little Fabric Snowman
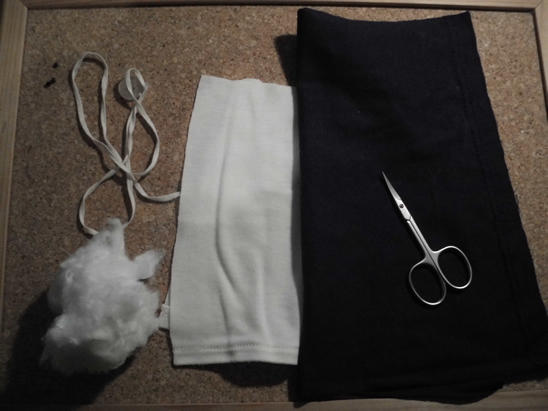
CRAFTS MATERIALS NEEDED:
– dark blue fabric
– white fabric
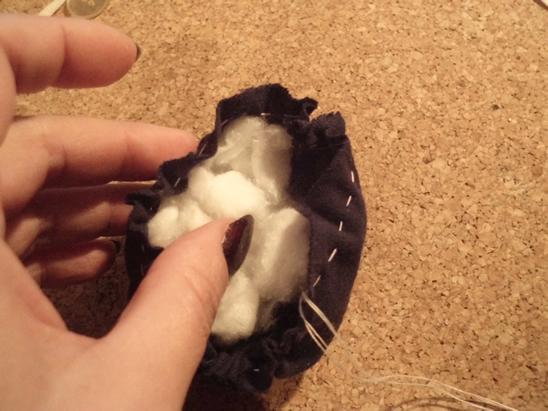
– filling material (I use some cotton pads broken into pieces)
– scissors
– ribbon
– black paint or marker
– button
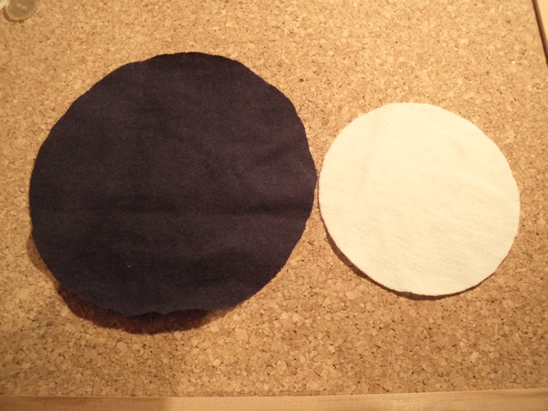
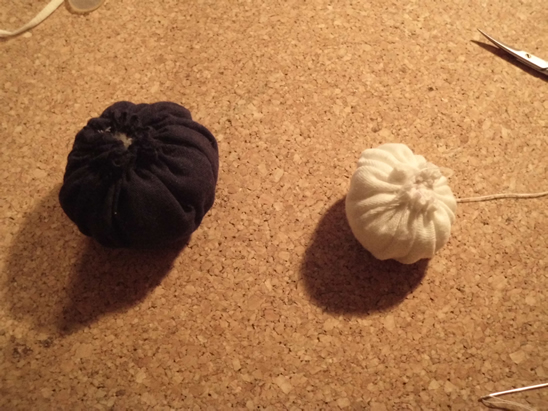
Step 1.
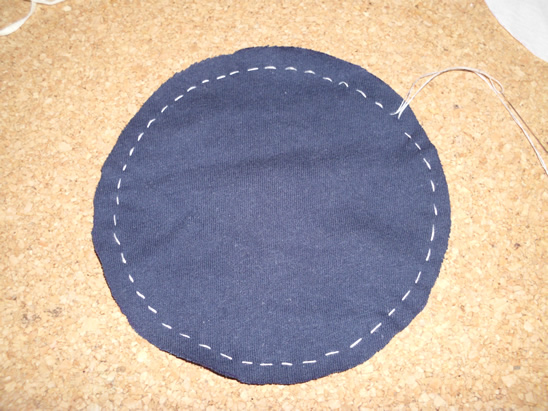
Cut a disc of blue fabric and a smaller one of white fabric.
Step 2.
Start sewing around the edges…
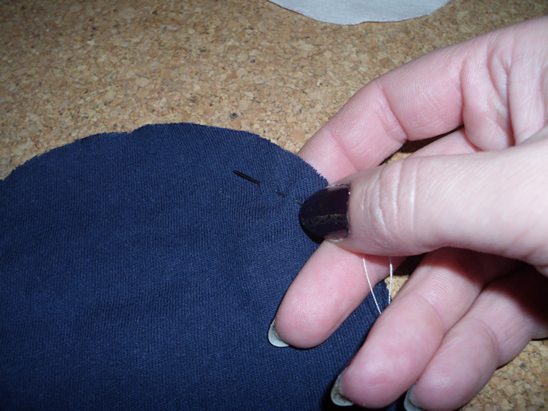
… like this.
[ad#ahc]
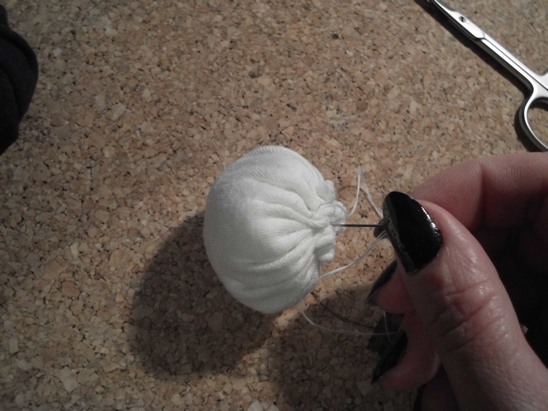
Pull the thread ends …
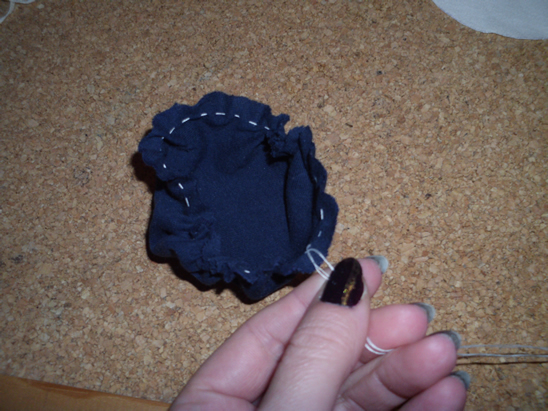
… and fill the inside with the filling material.
Tie the thread ends.
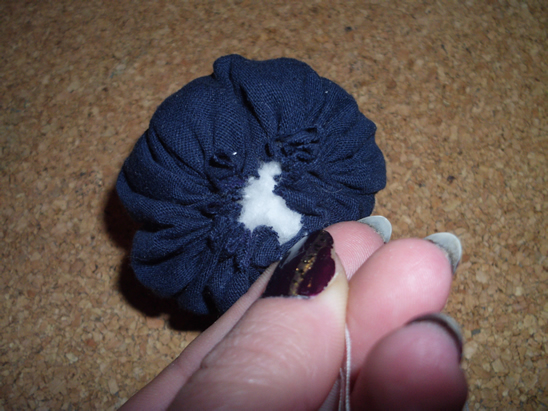
Do the same for the white disc.
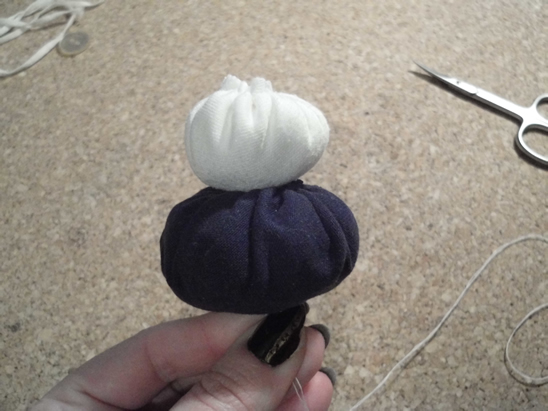
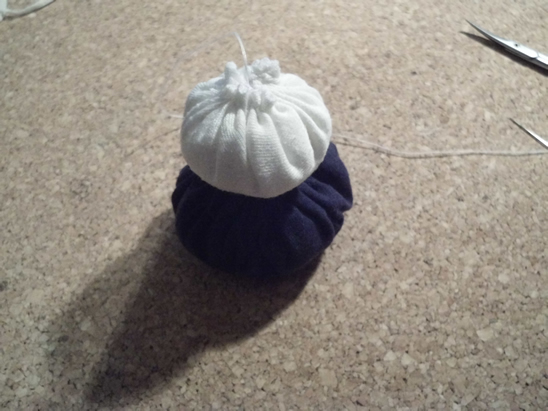
Step 3.
Put the needle and thread through the middle of white part…
… then through the middle of the blue part…
… and through the button (we will use the button to make a solid part on the base. It will help our snowman to stay.)
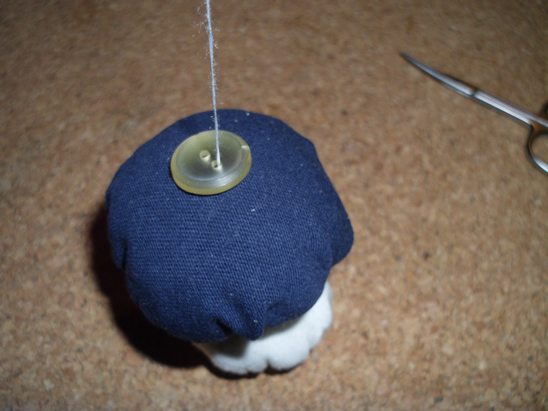
Get back through the blue part and the white part to fix all parts together.
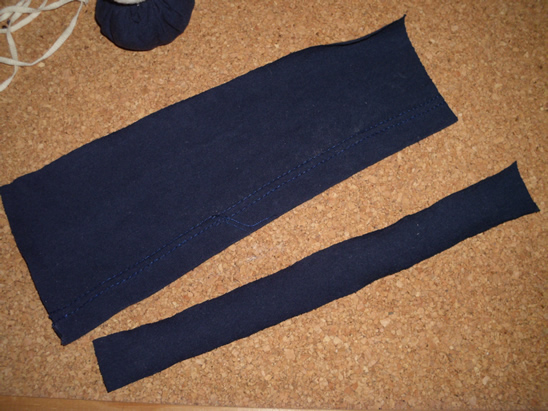
Step 4.
Cut two rectangles of blue fabric, one wider than the other.
Fold the lower part on the big one…
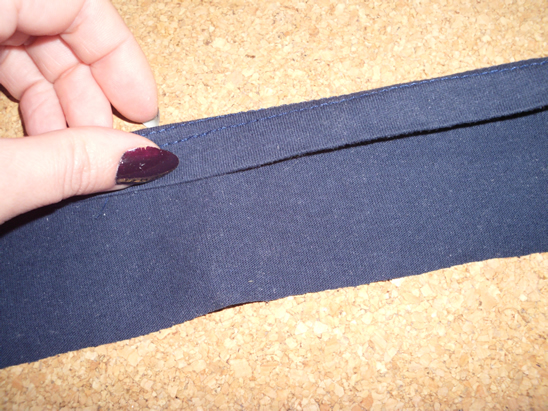
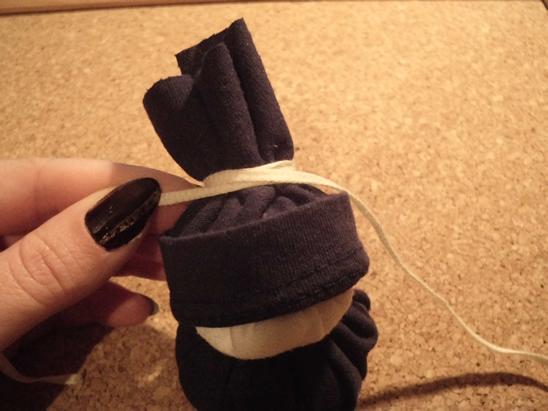
… and wrap it around the snowman’s head (the white part)
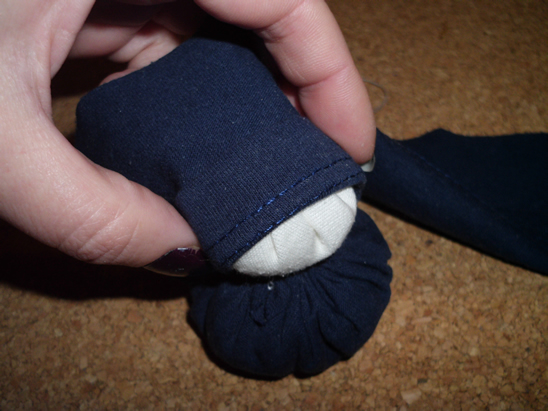
Use the ribbon to tie it, like this. Now the snowman have a hat.
Step 5.
Let’s make a scarf now. Take the other blue fabric rectangle…
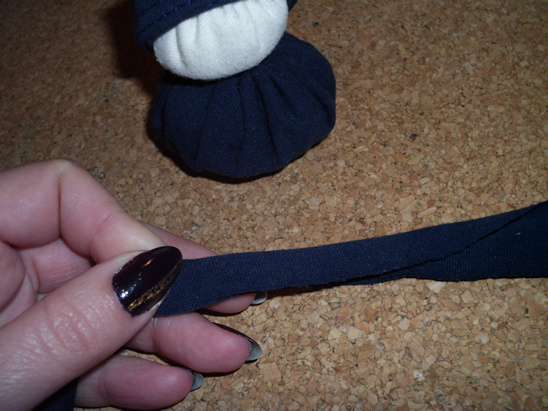
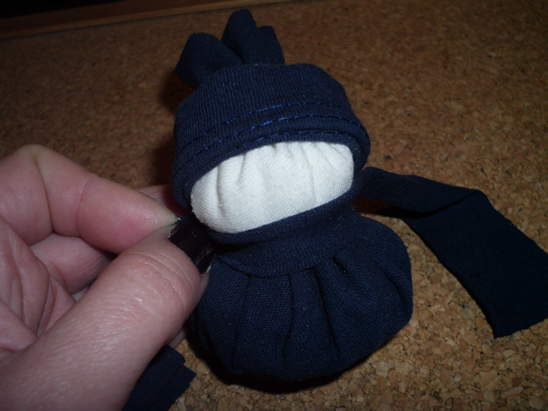
… and wrap it around the neck of your snowman, then tie it.
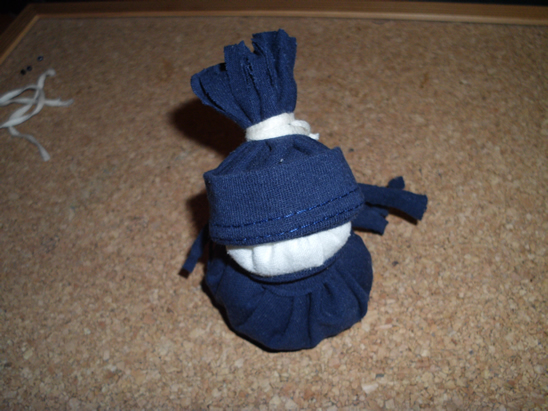
Make some cuts on both ends of the scarf and on the upper part of the hat.
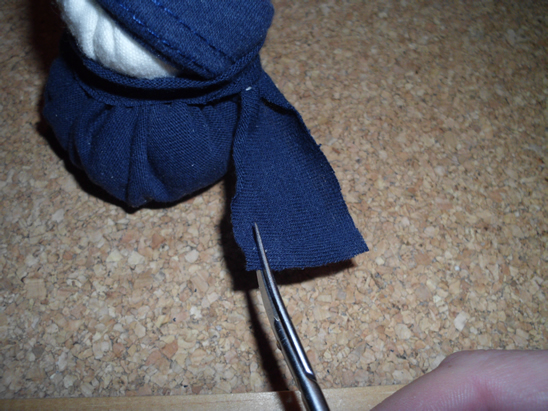
Thus, the hat and scarf will have fringes.
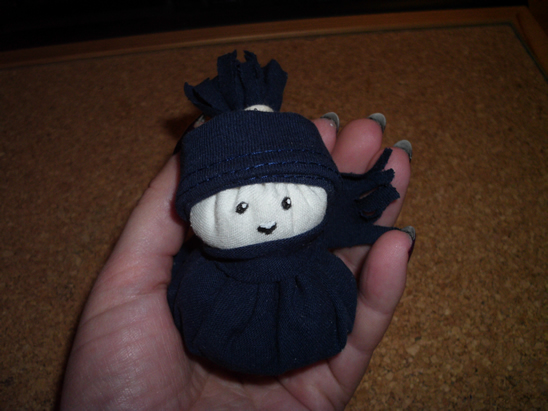
Use black paint / marker to draw eyes and mouth, and your little snowman is ready.
Technorati Tags: winter crafts, snowman crafts, stuffed snowman, snowman, making a snowman, snow crafts, winter crafts for kids
