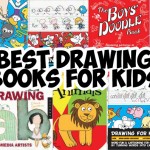
Here is a list of our favorite kids’ drawing books, targeted towards young kids, and elementary school home-schooled children.
How to Make Cool Stuff
Here is a list of our favorite kids’ drawing books, targeted towards young kids, and elementary school home-schooled children.
Learn how to make this adorable Christmas tree with the following simple-to-follow, step by step instructions.
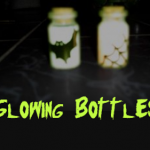
Learn how to make glowing decorated bottles for Halloween decorations…a great craft for kids.
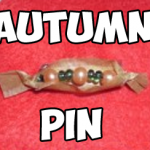
Learn how to make a cute little brooch to wear during Fall or you can even wear it on Thanksgiving day 🙂 You can even make one for all of your guests.
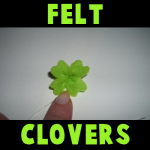
Learn how to sew a realistic looking shamrock or felt clover for wearing on Saint Patricks Day. A great first-time sewing craft for older children. Have fun!
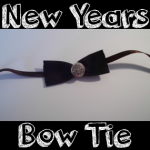
Are you allowed to stay up until midnight on New Years Eve and want to look all dressed up and spiffy? Here is a cute craft for kids to make a bow tie to wear an outfit with a classic style, perfect for any New Year party.
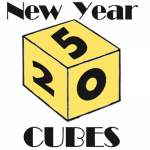
How about making a cube with the numbers 2015 (or whatever year it happens to be when you see this tutorial). A fun thing to do is to write a letter about what you hope for the following year. Put it inside the cube. Don’t look at it until the following year.
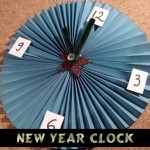
Here is a fun craft for younger kids who can’t stay up to 12:00 yet. You can make a countdown to 12 and have a pre-party with your young children, counting down to 12. This way your children don’t feel like they missed out on any of the New Year celebrations.
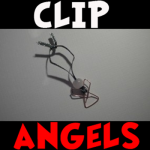
You can make a cute little paperclip angel to hang on your Christmas tree or to just decorate your bedroom or house. These are super easy to make and all of the materials are probably sitting around your house somewhere.
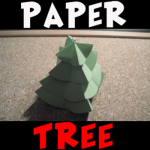
Learn how to use green construction paper and a pin to form a beautiful Christmas tree that really stands.
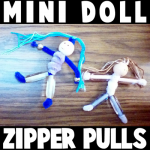
Learn how to make zipper pulls that look like miniature doll figures. Be creative and make them in all shapes, sizes, and colors. These zipper pulls are perfect for decorating your backpack as you go back to school.
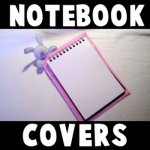
School is about to start yet again and we thought you would love this craft to make a hand-sewn notebook cover. It is a super cute notebook cover that includes a stuffed bunny rabbit at the top. You love to write on it!
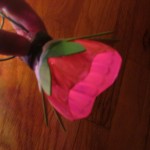
This flower light bulb craft is a great way to spend a rainy weekend, and also a terrific way to teach kids about recycling and reusing everyday objects. Explain to your child that there’s more than one way to recycle one thing into something else. You can turn used soda bottles into a string of flower lights for spring!
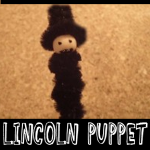
It is February which means that it is time for Presidents Day again. How about celebrating this great holiday with an Abe Lincoln Finger Puppet? We will show you today how to make a Lincoln puppet out of pipe cleaners.
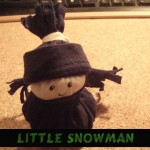
Today we will show you how to make this cute little fabric snowman. He is a lot of fun to make and even more fun to play with. On this cold Winter day, I thought this would be a great craft to share with you.
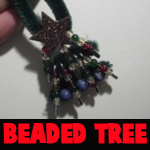
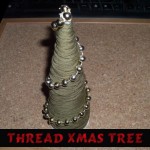
Here is a crafts tutorial to make a Christmas tree from pipe cleaners, safety pins, and some beads. With this craft, you make a beautiful Christmas tree that is also an ornament.