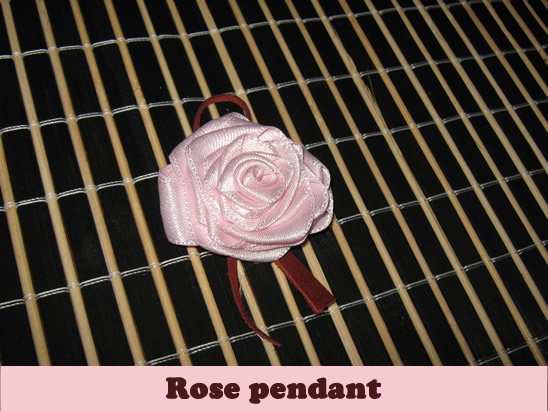
The Holidays are coming up really quickly. And, with the Holidays comes the joy of gift giving. For today’s craft I’m going to show you how to make a Rose Pendant perfect for giving to a special person this Holiday season. Made from ribbon and a piece of leather….. this craft is sure to be loved by anyone receiving it as a gift. So, let’s get started.
Step by step tutorial offered by Laura from Dacian Moon Handmade
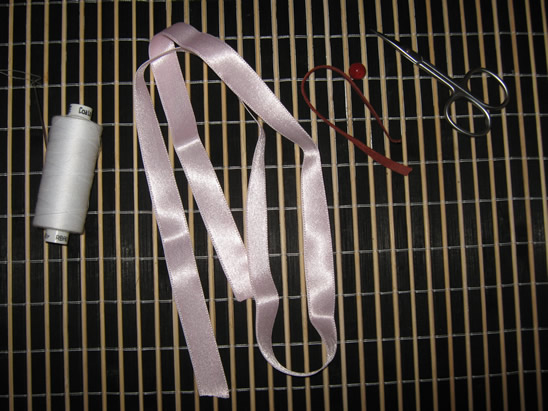
MATERIALS NEEDED:
– pink satin ribbon
– some burgundy leather
– scissors
– needle and thread
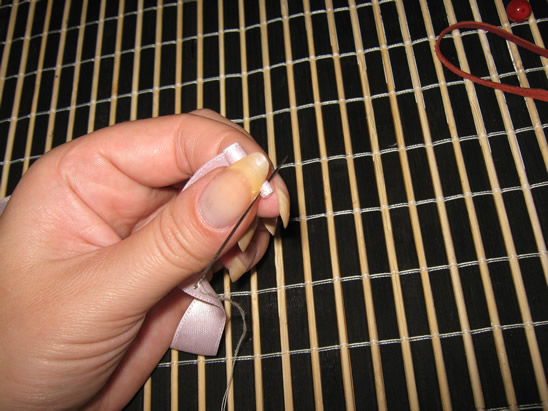
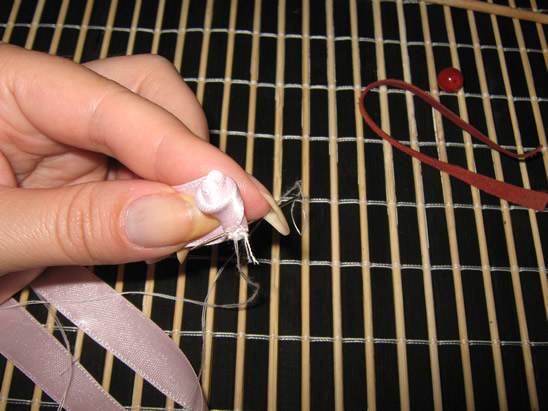
Step 1
Take the ribbon and roll it tight for two – three times.

Secure the base by sewing it. This will make the work a lot easier.
[ad#ahc]
Step 2
Now fold the ribbon against itself …
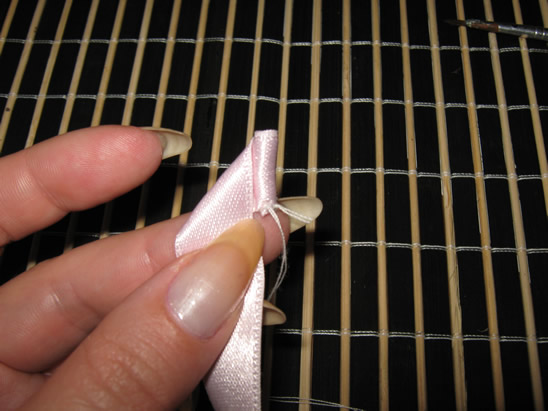
… and continue to gently roll around the center…
… like that.
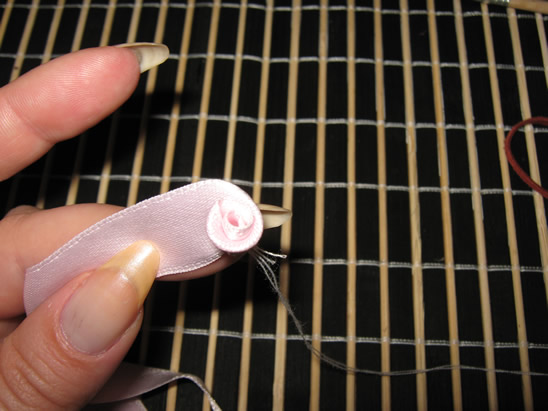
Now secure again by sewing it.
Step 3
Repeat step 2: fold….
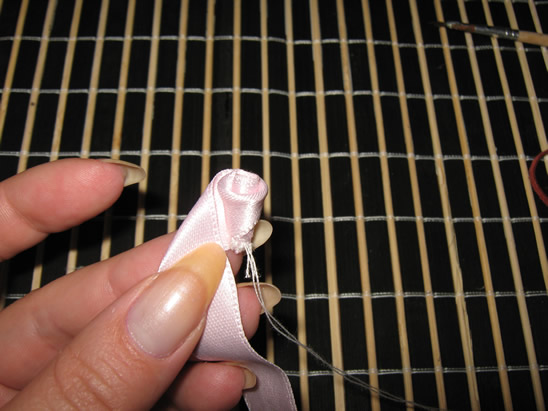
… and roll … then sew.

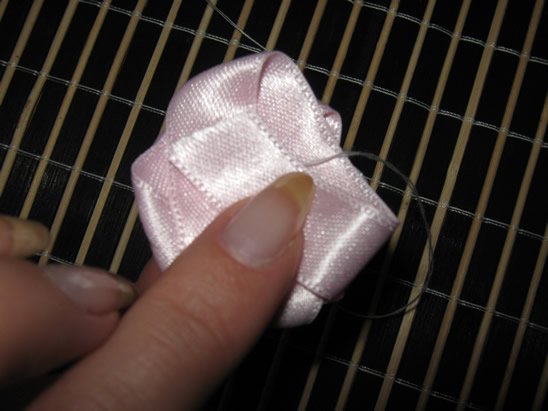
Step 4
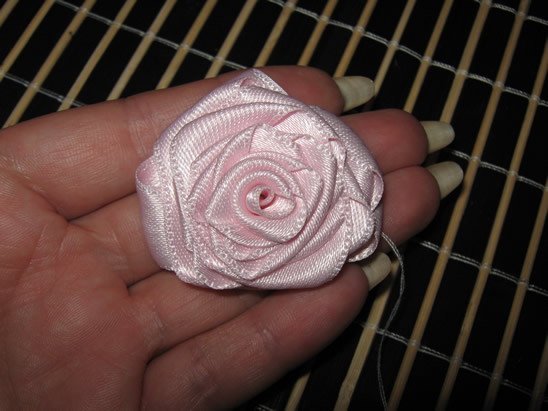
Do that again and again until the ribbon is ending. It should look like that.

Step 5
Bring the last part of ribbon behind the rose and sew it there.
This is the rose.
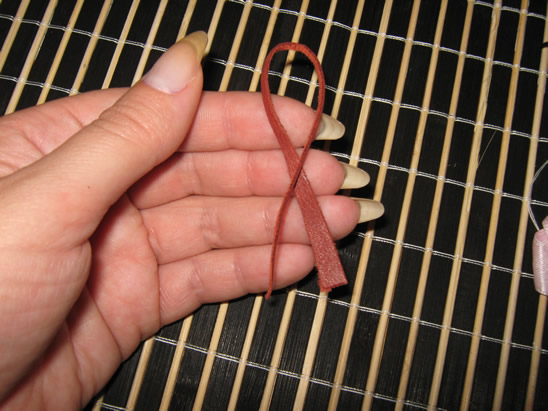
Step 6
Take the burgundy leather and put it like that on the back of the rose.
Sew it there.
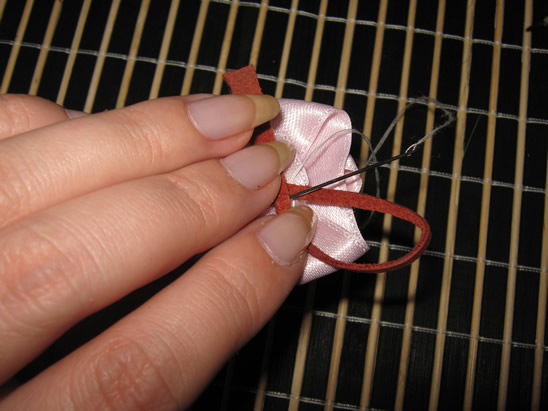
Now the pendant is ready.

And, there you go…. you made a Rose Pendant perfect for gift giving this Holiday Season. How did your Rose Pendant turn out? What color did you make your Rose? Let me know in the comments below. Now, the real question is…. who are you going to give it to this Holiday? Whoever it is…. they are sure to love it.
Technorati Tags: decorative pins, jewelry, jewelry pins, pendants, jewelry pendants, craft for girls, jewelry crafts, jewelry crafts for kids, kids crafts
