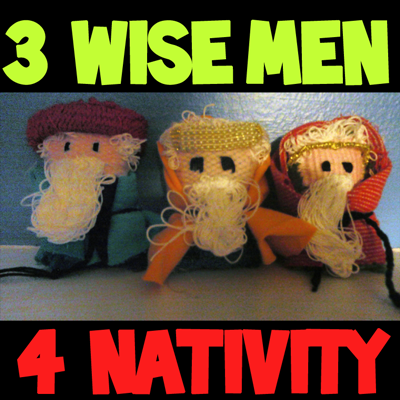
Today I have a great craft perfect for the Christmas Holiday Season. I am going to show you how to Weave the 3 Wise Men for a Nativity Scene. There are a lot of steps to this craft, but I don’t want you to be intimidated by that. The craft isn’t too complicated…. there are just a lot of steps because I wanted to be detailed in my instructions for you. And, keep an eye out… I will be showing you how to Weave a Baby Jesus for this Nativity Scene in the next day or so too.
Check out our other Christmas Crafts.
Materials Needed
2″ x 4″ Piece of Cardboard
Pencil
Ruler
Scissors
Yarn or String (Different colors for skin, beard, hair, clothes and crowns)
Needle
Fork
Black and Gold String or Thread
Rock, Stones, or Coins (something heavy)
Cotton for Filling
Safety Pin
Fabric from Old Clothes or Baby Clothes
Tape
Twist Tie
Sturdy Cardboard Box
Small Beads
Step 1
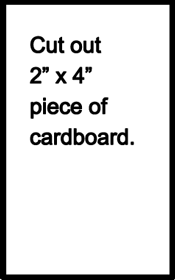
Cut out 2″ x 4″ piece of cardboard.
[ad#ahc]
Step 2
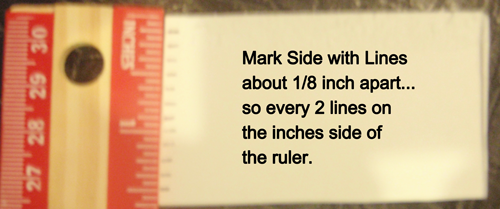
Mark sides with lines about 1/8 inch apart… so every two lines on the inches side of the ruler.
Step 3
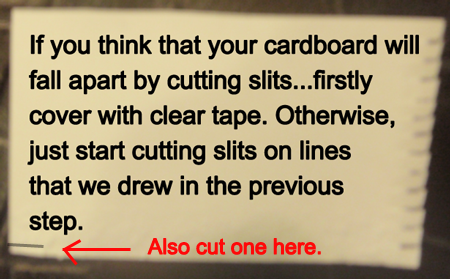
If you think that your cardboard will fall apart by cutting slits… firstly cover with clear tape. Otherwise, just start cutting slits on lines that we drew in the previous step.
Step 4
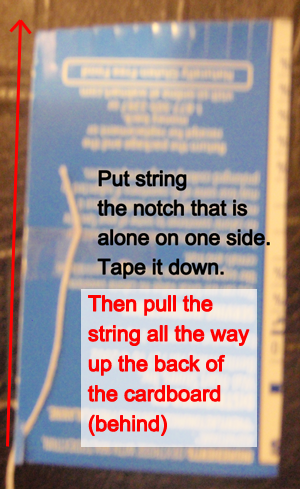
Put string in the notch that is alone on one side. Tape it down. Then pull the string all the way up the back of the cardboard.
Step 5
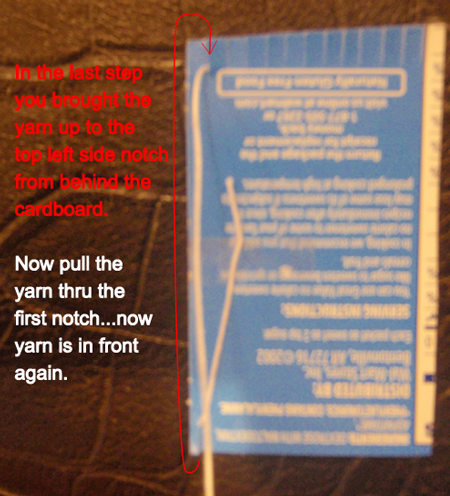
In the last step you brought the yarn up to the top left side notch from behind the cardboard. Now, pull the yarn thru the first notch… now yarn is in front again.
Step 6
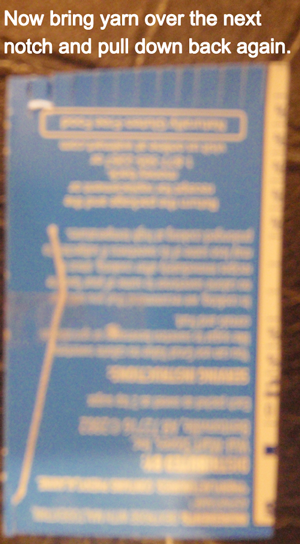
Now, bring the yarn over the next notch and pull down back again.
Step 7
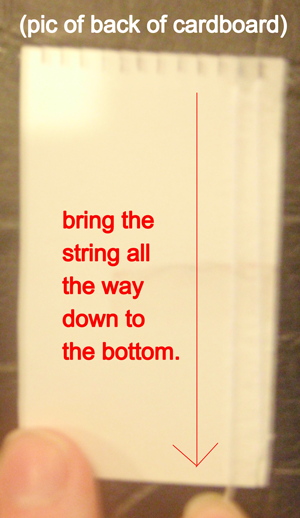
Bring the string all the way down to the bottom.
Step 8
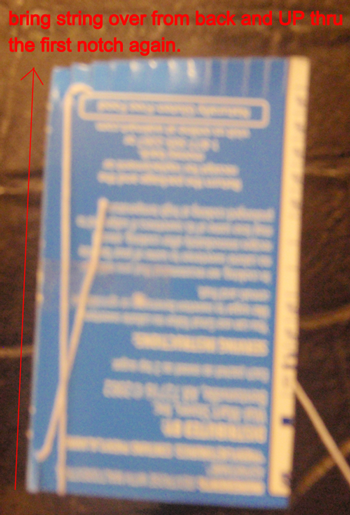
Bring string over from back and up thru the first notch again.
Step 9
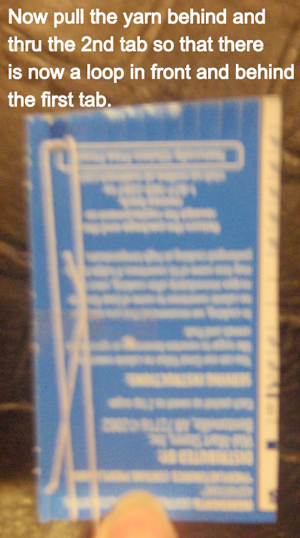
Now, pull the yarn behind and thru the 2nd tab so that there is now a loop in front and behind the first tab.
Step 10
Now, bring yarn down behind cardboard and up thru next slit. Make loop in front of tab and bring down back of cardboard again.
Step 11
Now, bring yarn down back and up bottom and thru the slit and make a loop in back and down next slit and down front again… continue this pattern.
Step 12
When done… tape string down.
Step 13
Thread a needle with yarn or string.
Step 14
Make your yarn as long as you want it to be. Pull the yarn over and under each piece of yarn and leave a short tail. ***Notice that you start weaving on the side that does not have loops.
Step 15
Now, turn the cardboard over and you will weave on this side too. On the other side, you went UNDER the last thread…. so here go OVER the first thread.
Step 16
Keep weaving on both sides of the cardboard. Every few times or so, take the fork and push the threads down.
Step 17
When the thread is nearing the end, then push the needle down thru loops in past rows….
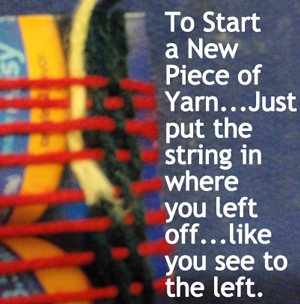
… To start a new piece of yarn… just put the string in where you left off… like you see above.
Step 18
When you get to about the half way point… change the yarn to skin color – which could be brown, tan, pink, cream, etc. Go as far to the top as you can.
Alternative Way to Make the Face
Step A
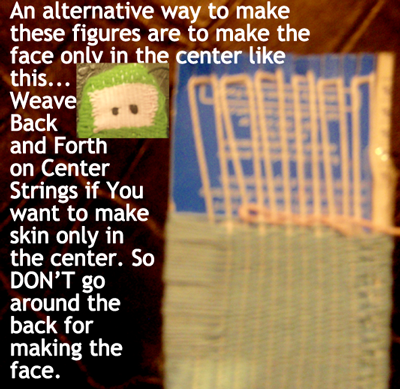
An alternative way to make these figures are to make the face only in the center (like small image above). Weave back and forth on center strings if you want to make skin only in the center. So, don’t go around the back for making the face.
Step B
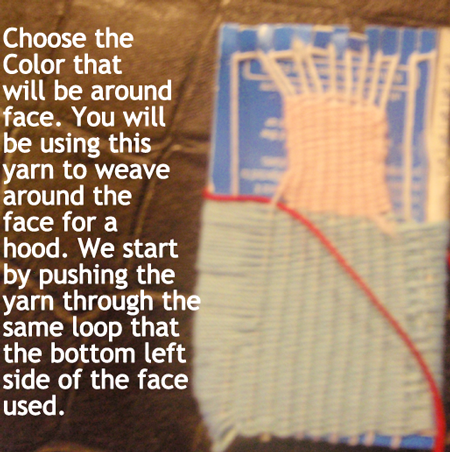
Choose the color that will be around the face. You will be using this yarn to weave around the face for a hood. We start by pushing the yarn through the same loop that the bottom left side of the face used.
Step C
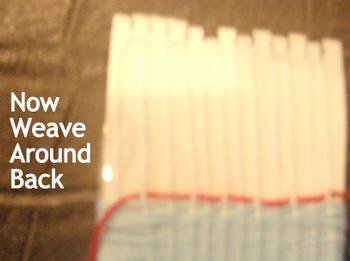
Now, weave around back.
Step D
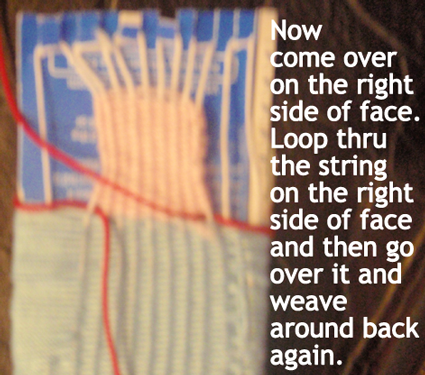
Now, come over on the right side of the face. Loop thru the string on the right side of the face and then go over it and weave around back again.
Step E
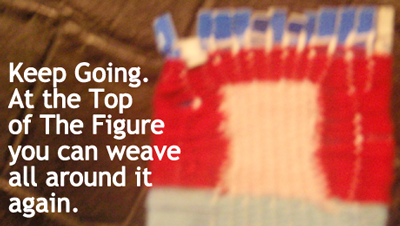
Keep going. At the top of the figure you can weave all around it again.
Step 19
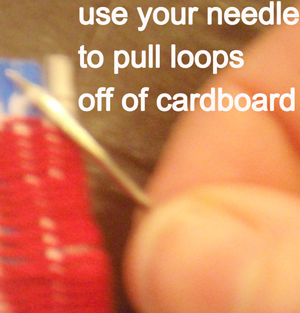
Use your needle to pull the loops off of cardboard.
Step 20
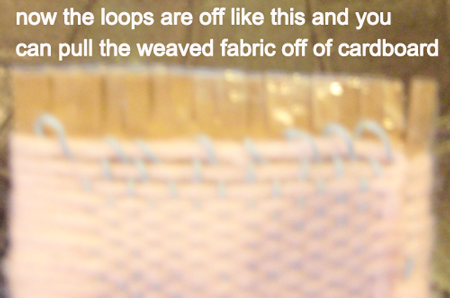
The loops are now off like this… you can now pull the weaved fabric off of cardboard.
Step 21
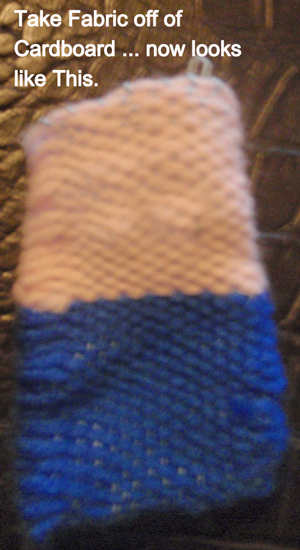
Take fabric off of cardboard…. it now looks like above image.
Step 22
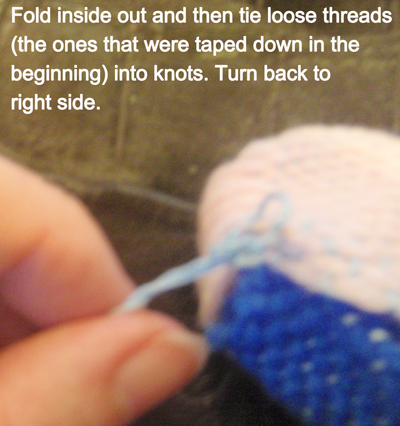
Fold inside out and then tie loose threads (the ones that were taped down in the beginning) into knots. Turn back to right side.
Step 23
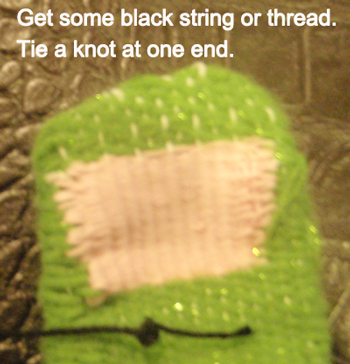
Get some black string or thread. Tie a knot at one end.
Step 24
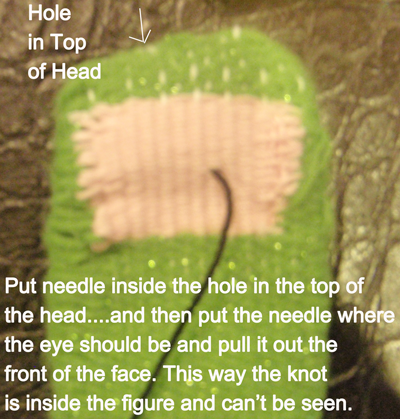
Put needle inside of hole on top of the head… and then put the needle where the eye should be and pull it out the front of the face. This way the knot is inside the figure and can’t be seen.
Step 25
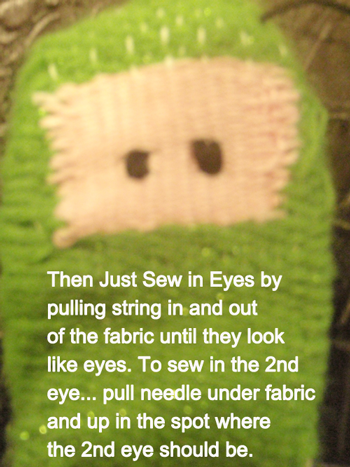
Then just sew in eyes by pulling string in and out of the fabric until they look like eyes. To sew in the 2nd eye… pull needle under fabric and up in the spot where the 2nd eye should be.
Step 26
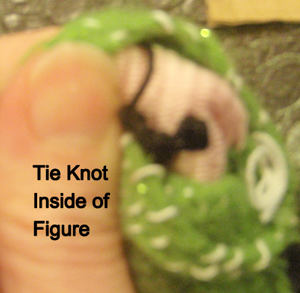
Tie a knot inside of figure.
Step 27
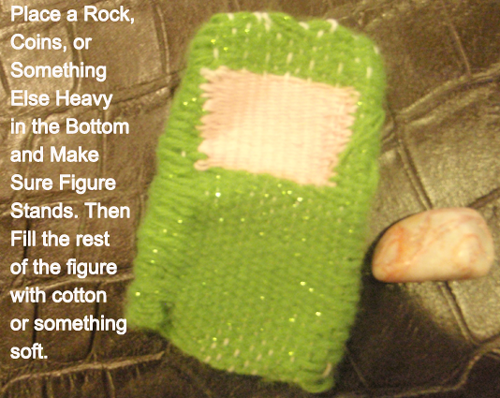
Place a rock, coins or something else heavy in the bottom and make sure figure stands. Then fill the rest of the figure with cotton or something soft.
Step 28
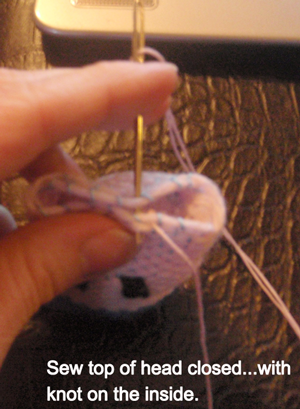
Sew top of head closed… with knot on the inside.
Step 29
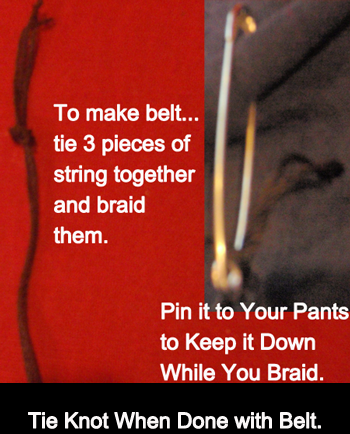
To make belt… tie 3 pieces of string together and braid them. Pin it to your pants to keep it down while you braid. Tie knot when done with belt.
Step 30
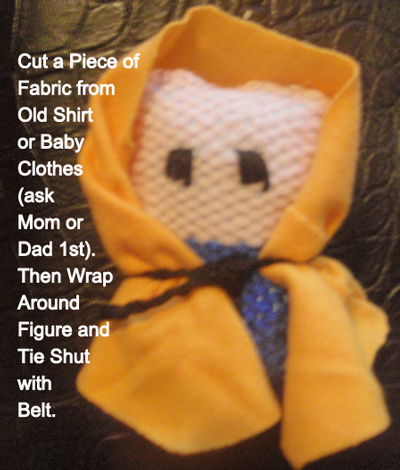
Cut a piece of fabric from old shirt or baby clothes (ask Mom or Dad first). Then wrap around figure and tie shut with belt.
Step 31
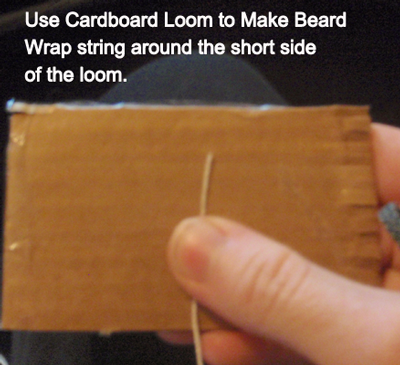
Use cardboard loom to make the beard. Wrap string around the short side of the loom.
Step 32
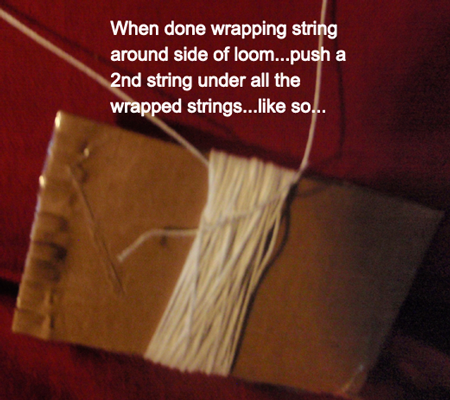
When done wrapping string around side of loom… push a 2nd string under all the wrapped strings… like so.
Step 33
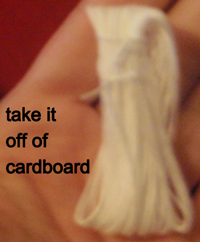
Take it off of cardboard.
Step 34
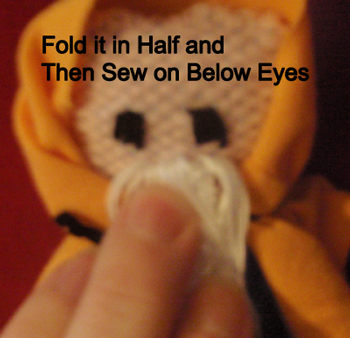
Fold it in half and then sew it on below the eyes.
Step 35
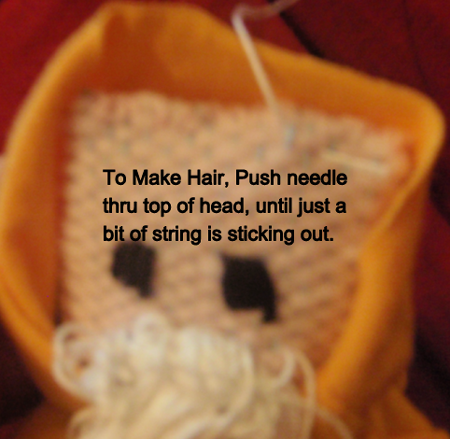
To make hair, push needle thru top of head, until just a bit of string is sticking out.
Step 36
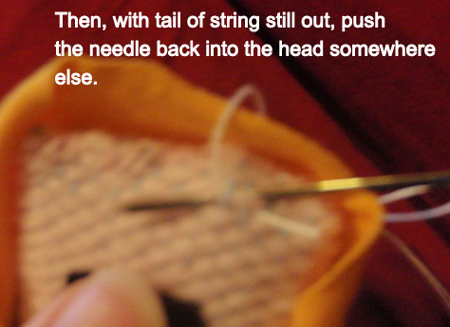
Then, with tail of string still out, push the needle back into the head somewhere else.
Step 37
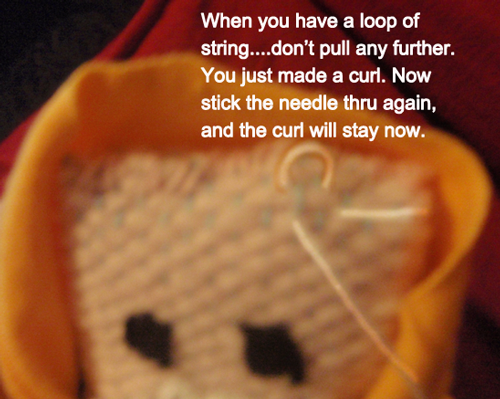
When you have a loop of string… don’t pull any further. You just made a curl. Now, stick the needle thru again… and the curl will stay now.
Step 38
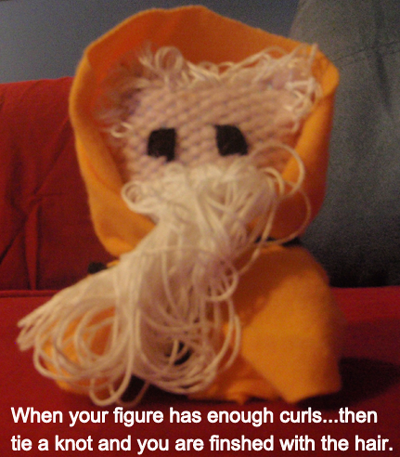
When your figure has enough curls… then tie a knot and you are finished with the hair.
Step 39
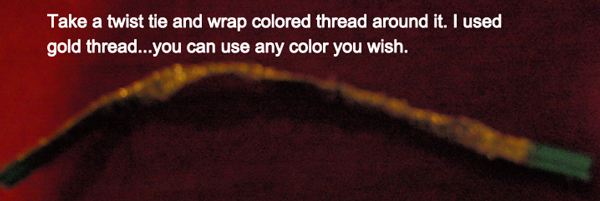
Tie a twist tie and wrap colored thread around it. I used gold thread… you can use any color you wish.
Step 40
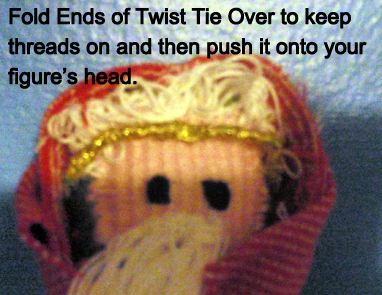
Fold ends of twist tie over to keep threads on and then push it onto your figure’s head.
Step 41
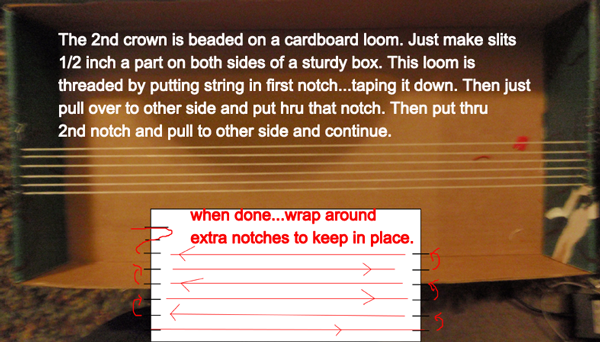
The 2nd crown is beaded on a cardboard loom. Just make slits 1/2 inch apart on both sides of a sturdy box. The loom is threaded by putting string in first notch… taping it down. Then just pull over to other side and put thru that notch. Then put thru 2nd notch and pull to other side and continue. When done… wrap around extra notches to keep in place.
Step 42
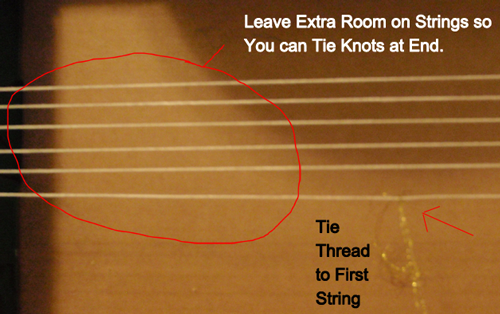
Tie thread to first string. ***Make sure to leave extra room on strings so you can tie knots at end.
Step 43
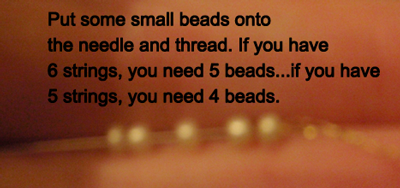
Put some small beads onto the needle and thread. If you have 6 strings, you need 5 beads…. If you have 5 strings, you need 4 beads.
Step 44
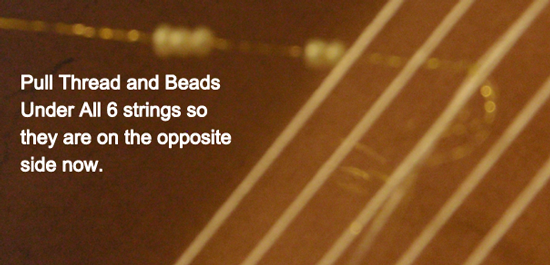
Pull threads and beads under all 6 strings, so they are on the opposite side now.
Step 45
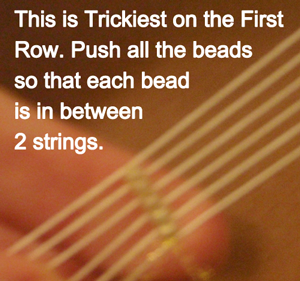
The first row is the trickiest… and then each row gets easier. Push all the beads so that each bead is in between 2 strings.
Step 46
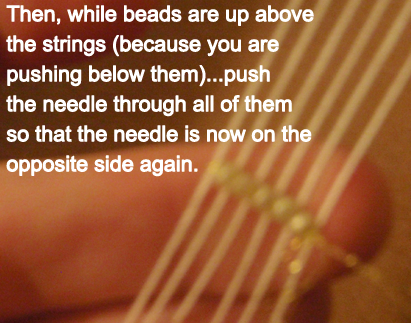
Then, while beads are up above the strings (because you are pushing below them)… push the needle thru all of them so that the needle is now on the opposite side again.
Step 47
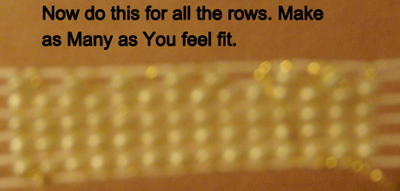
Now, do this for all the rows. Make as many as you feel fit.
Step 48
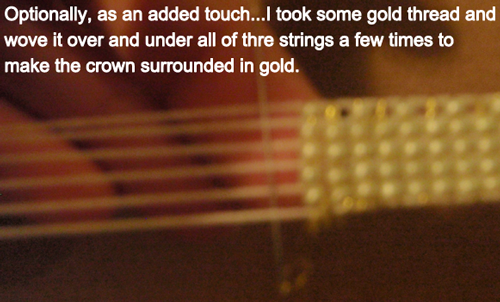
Optionally, as an added touch… I took some gold thread and wove it over and under all of the strings a few times to make the crown surrounded in gold.
Step 49
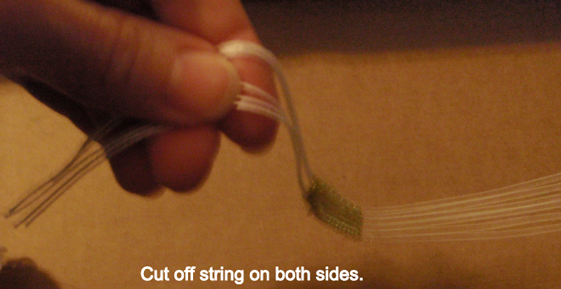
Cut off string on both sides.
Step 50
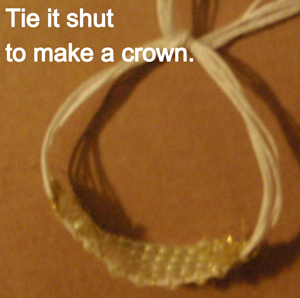
Tie it shut to make a crown.
Step 51
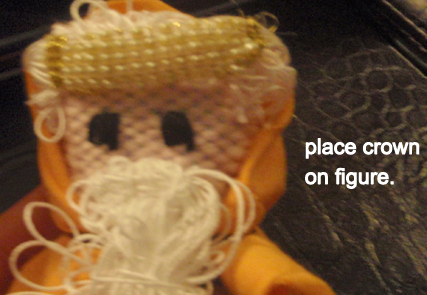
Place crown on figure.
Step 52
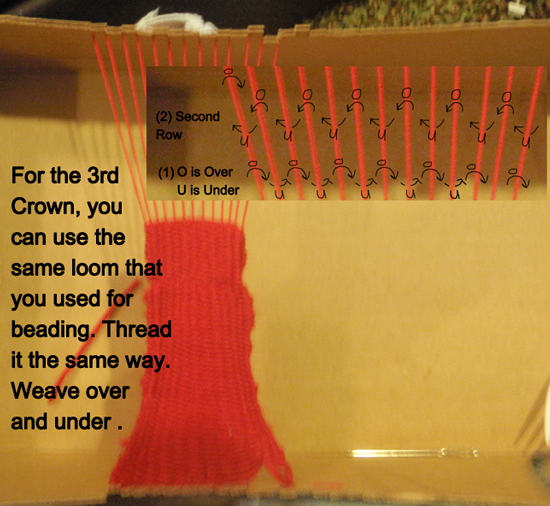
For the 3rd crown, you can use the same loom that you used for beading. Thread it the same way. Weave over and under.
Step 53
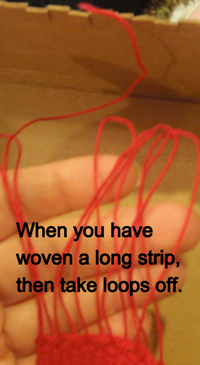
When you have woven a long strip, then take loops off.
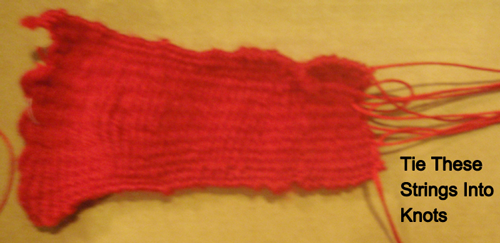
Step 54
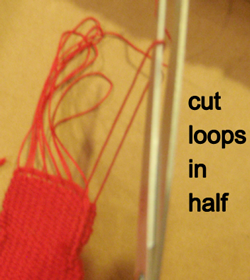
Cut loops in half.
Step 55
Tie these strings into knots.
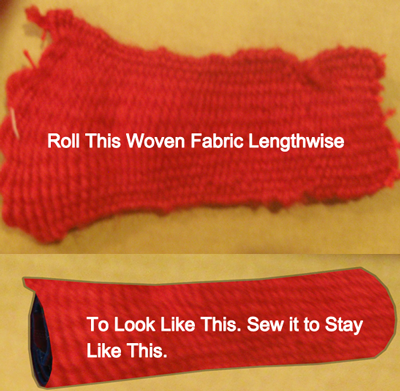
Step 56
Roll this woven fabric lengthwise…. like above image. Sew it so it stays like that.
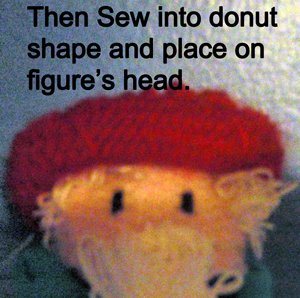
Step 57
Then sew into donut shape and place on figure’s head.
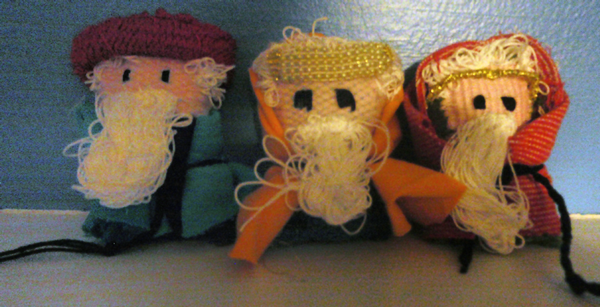
You have just finished weaving the 3 Wise Men for a Nativity Scene…. How did they turn out? Please let me know in the comments below. Also, take a picture of your Wise Men and share them in the comment as well. I’d love to see them. Come back to check out how to Weave a Baby Jesus for a Nativity Scene as well the Mary & Joseph craft, Yarn Clothespin Sheep craft and the Yarn Clothespin Donkey craft to complete your Nativity Scene.
Technorati Tags: Christmas crafts, xmas crafts, Christmas activities, xmas activities, December crafts, Holiday crafts, Holiday activities, decorations, Christmas decorations, Christmas decoration crafts, nativity scene, nativity scene crafts, 3 wise men, 3 wise men crafts, nativity activities




Leave a comment