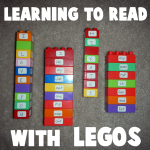
Learn how to use Duplo and Lego Blocks to get your child to learn his or her sight words. Also learn how to use them to help your child learn to form and sound out words. This is a lot of fun!
How to Make Cool Stuff
Learn how to use Duplo and Lego Blocks to get your child to learn his or her sight words. Also learn how to use them to help your child learn to form and sound out words. This is a lot of fun!
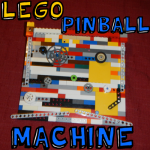
Learn how to make your very own Lego pinball machine as my son walks you thru using your on-hand Legos to build your own simple machine. Have fun.