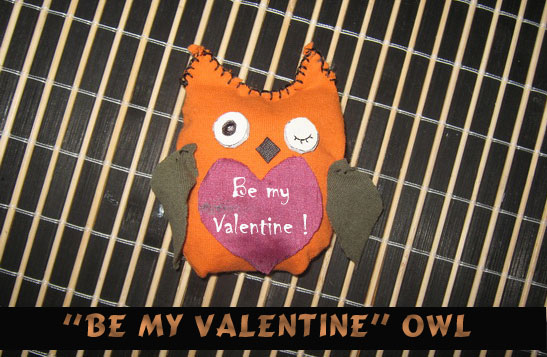
Today I’m going to show you how to make a stuffed Owl toy. And, not just any stuffed Owl toy, but a “Be My Valentine” Owl that you can give to someone special this Valentines Day. Imagine their surprise when they receive something that you made yourself. Or, if you would prefer to keep it…. don’t even give it to someone. Instead of writing “Be My Valentine” on the heart you can leave it blank or write whatever message you would like. So, whether it is for you or someone special…. either way it is sure to be loved. Let’s get started.
Check out our other Valentines Day Crafts.
Tutorial offered by Laura from Dacian Moon Handmade.
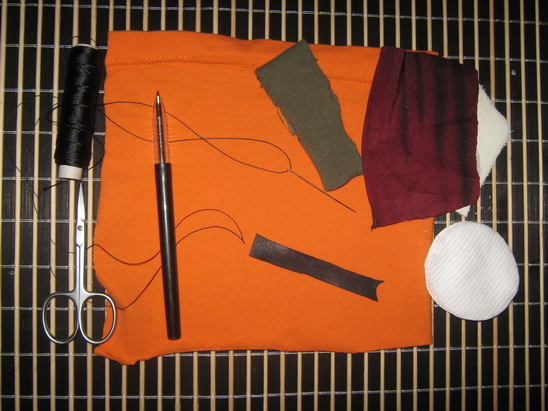
Materials Needed
– three pieces of fabric (a large piece – about 16 cm x16 cm – the color that the owl will have, a smaller piece in a contrasting color and a red piece of about 5 cm x 5 cm)
– small pieces of white and black (or brown) leather
– scissors
– pen
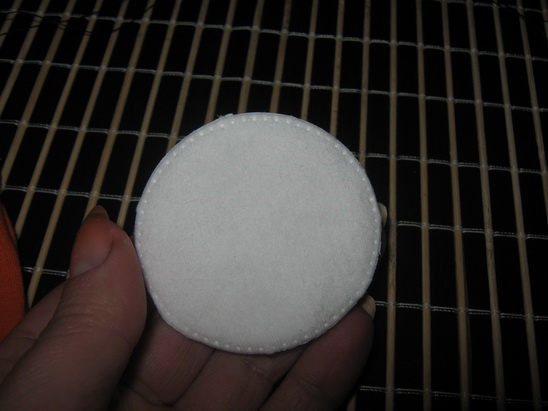
– stuffing material (I used some cotton pads)
– needle and thread
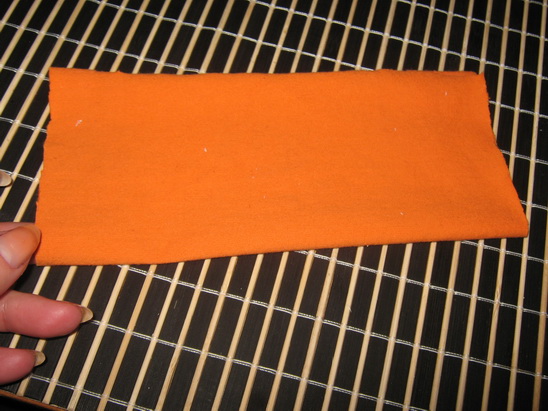
Step 1
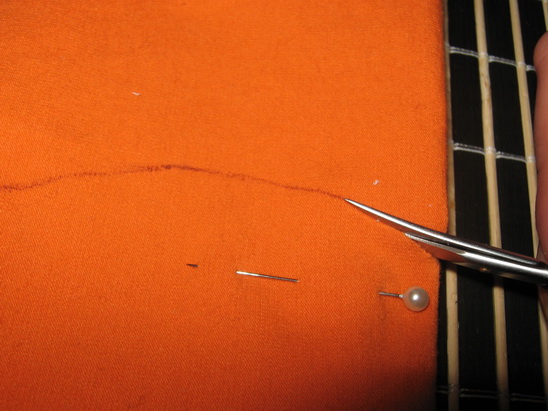
Fold the large fabric piece in half.
Draw the outline of the owl using your pen. Like this.
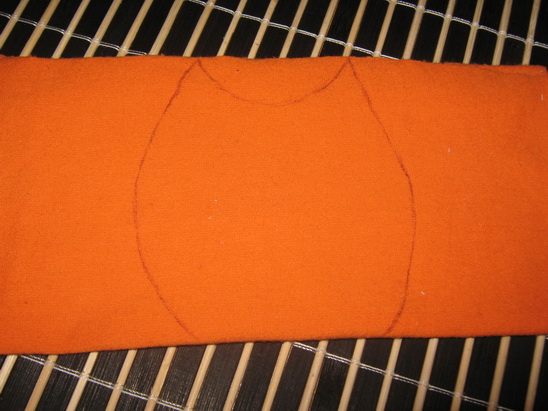
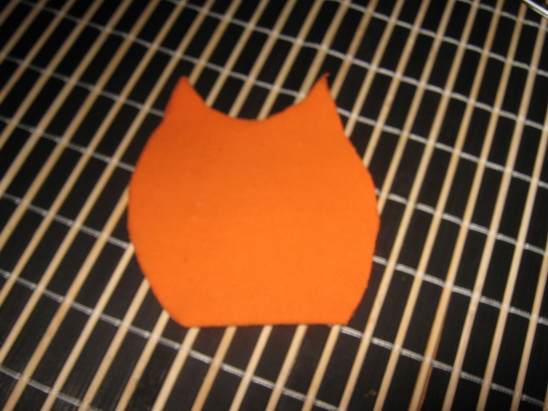
Cut it out. You will find it useful to use some pins to keep the two parts together.
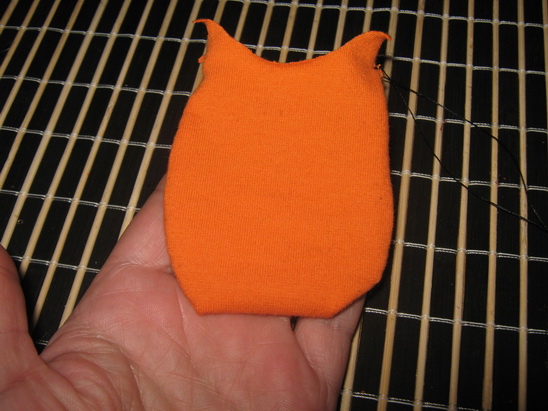
It will look like this.
[ad#ahc]
Step 2
Start sewing the two parts together…
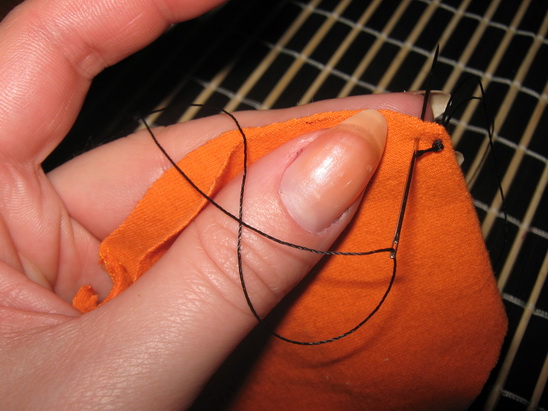
… like this.
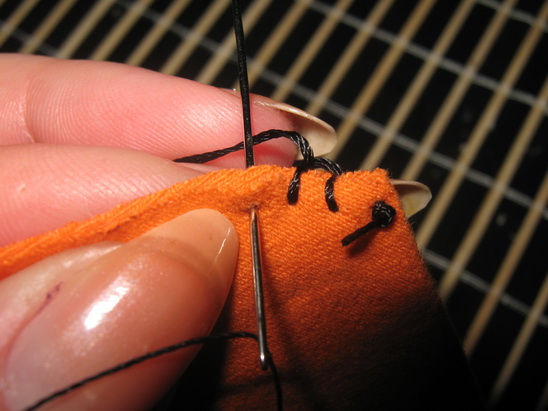
Stop when you reach the ears.
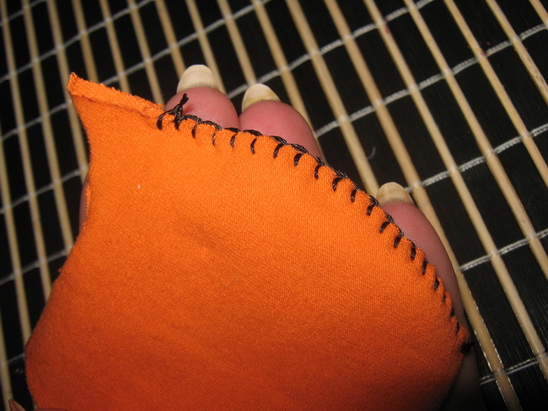
Sew the other side too.
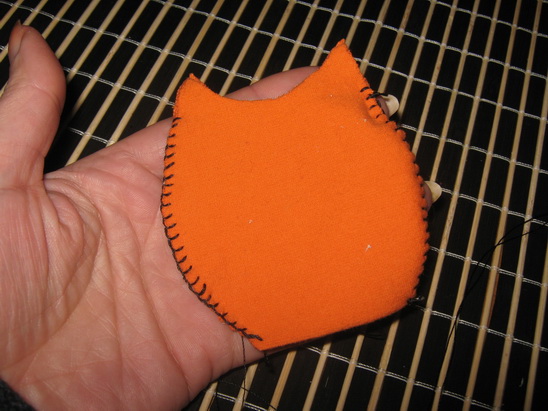
Step 3
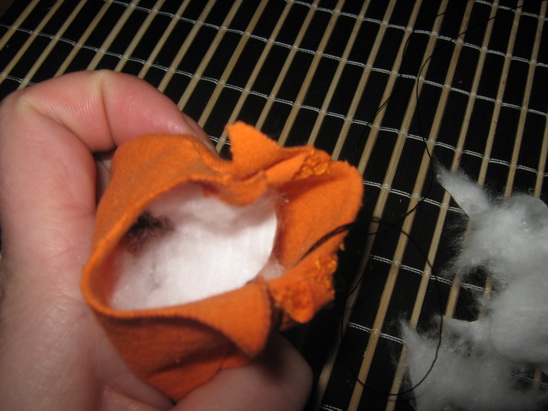
Turn it inside out.
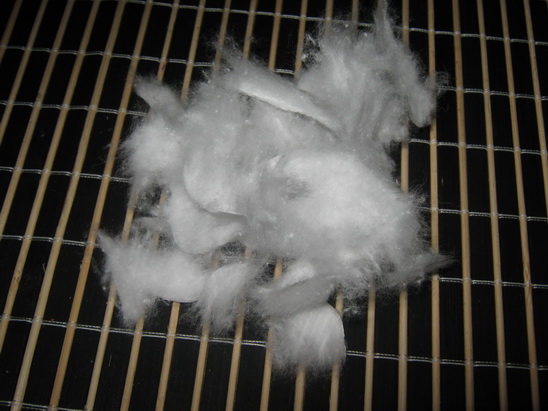
Prepare the stuffing material .
I tore the cotton pads into small fluffy pieces.
Stuff your little bird so that it has a wonderfully squishy and cuddly softness.
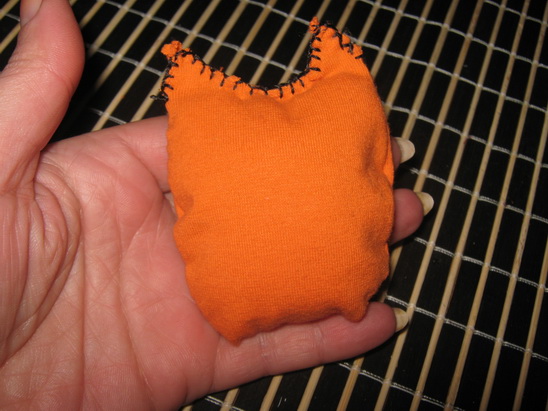
When you are satisfied, sew the top.
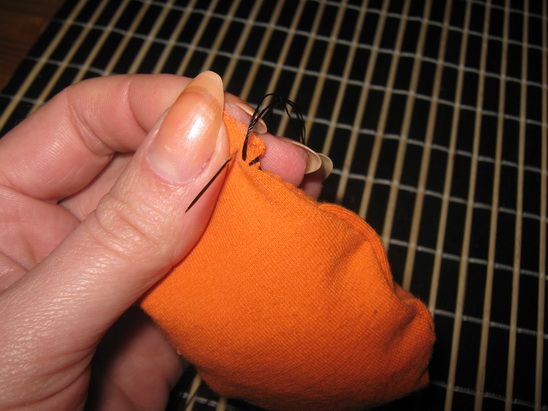
Like this.
Step 4
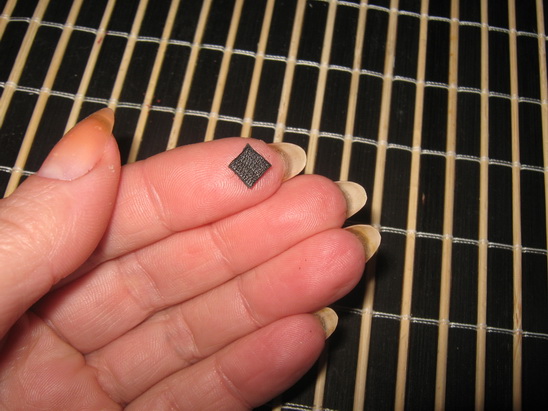
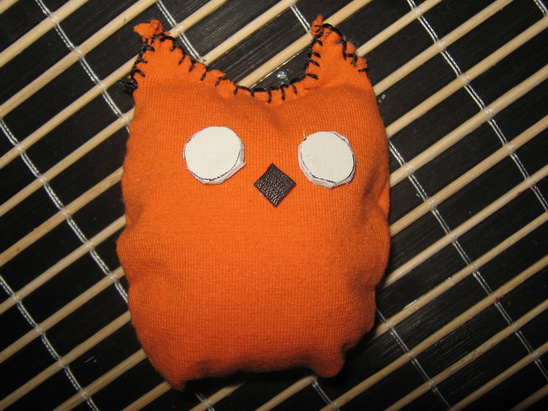
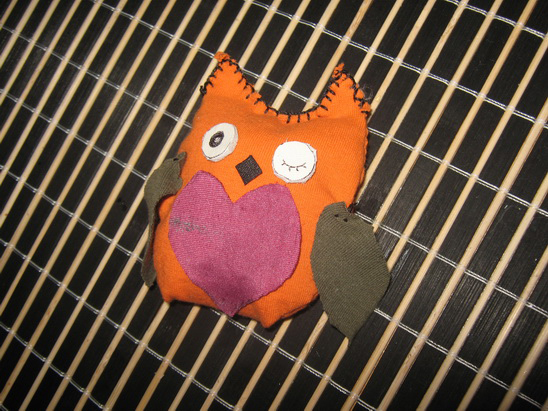
Draw two circles on the piece of white leather.
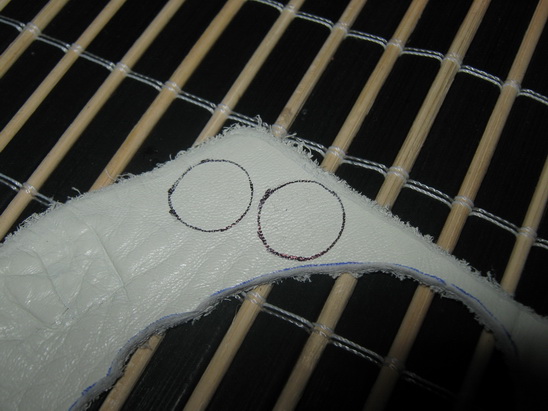
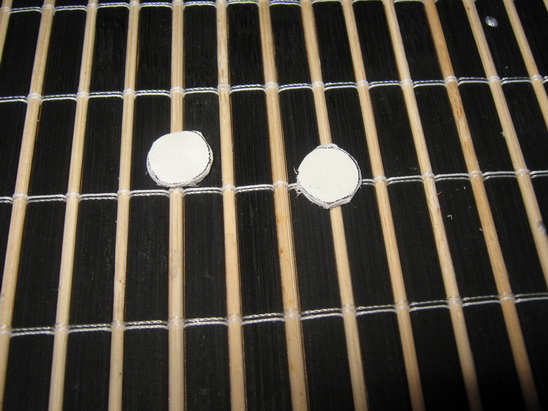
Cut them out.
Apply a layer of glue on the back of one…
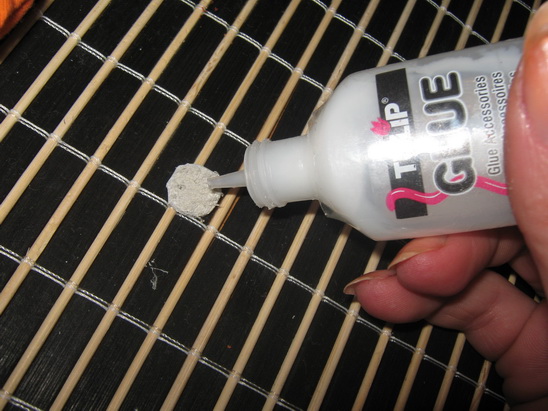
… and place it where the eye should be. Do the same with the other one.
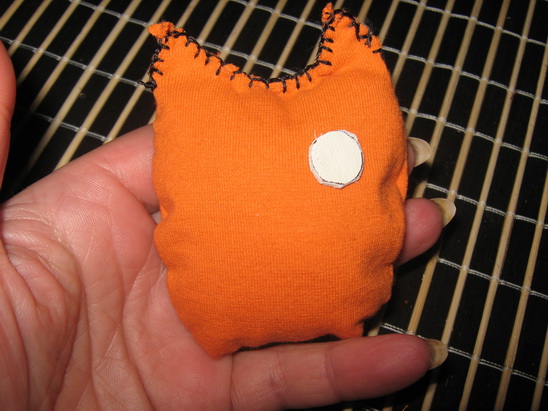
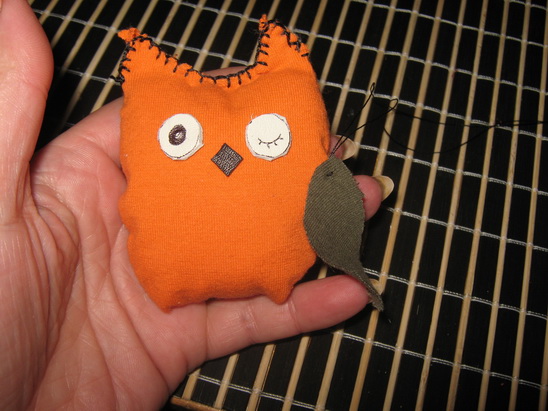
Take the black / brown leather…
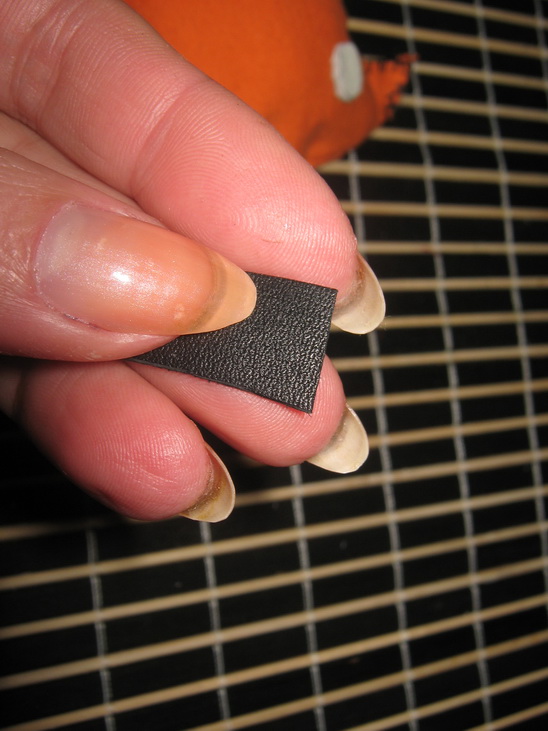
… and cut out a diamond from it.
This is the beak and we will stick it between the two eyes.
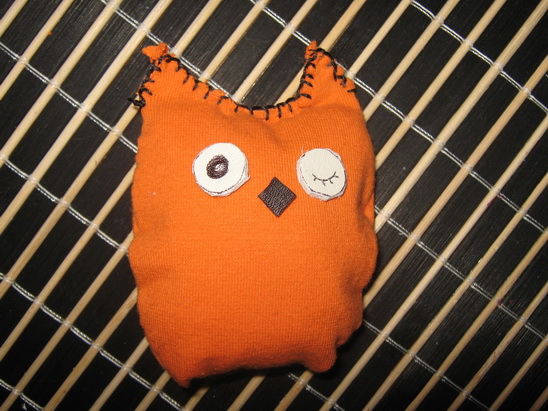
Use the pen to give it some personality by finishing the eyes.
Step 5
Cut 2 wings from the fabric in contrasting color. Like this.
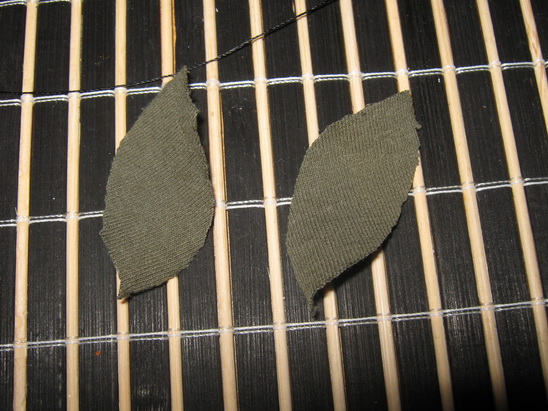
Then sew them on the two sides of the owl…
… like this.
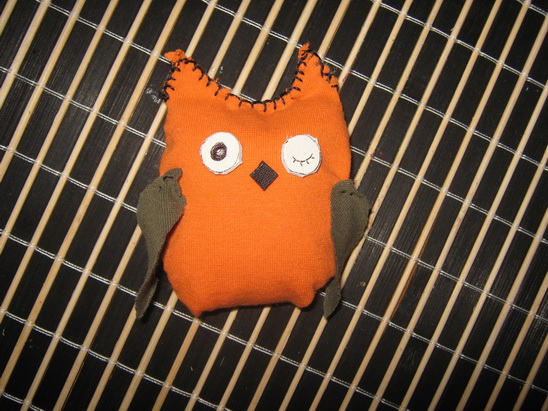
Step 6
Draw a heart on red fabric.
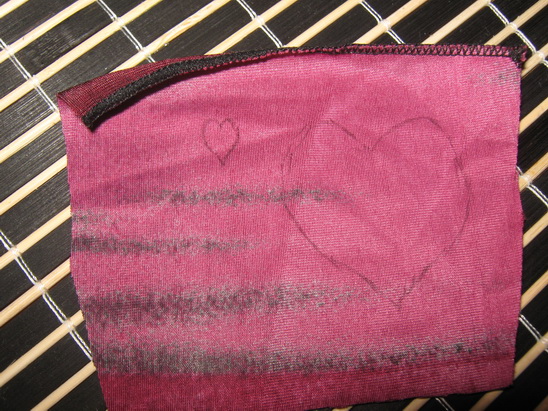
Cut it out, then apply a layer of glue on its back.
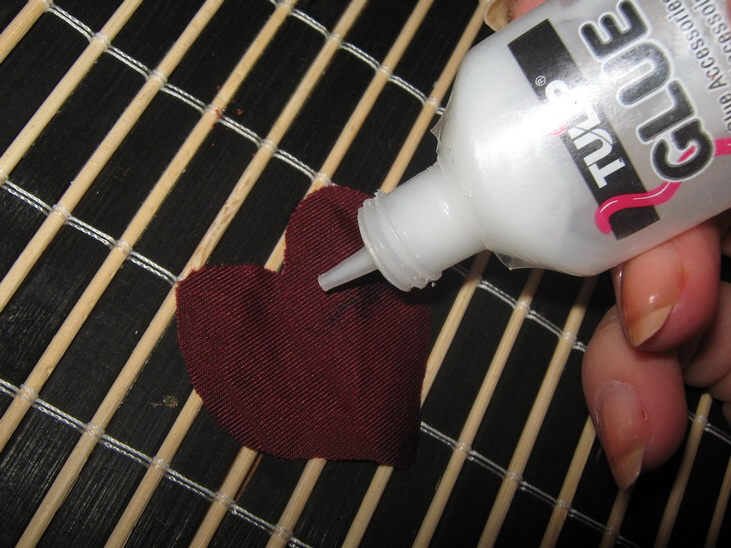
Place it under the beak, like this.
Now you can let it like this, decorate it or write “Be my Valentine !” on it, like I did.
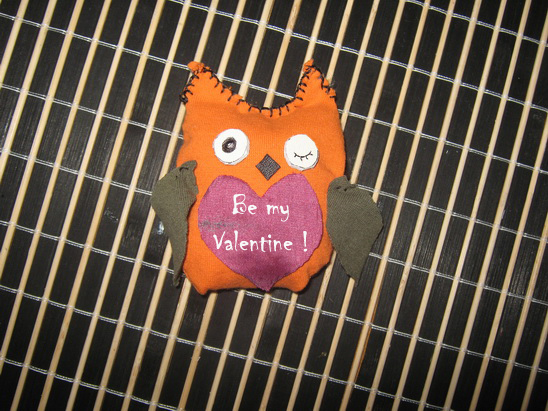
And, there you have it…. you just finished the “Be My Valentine” Owl. Did you make your owl like mine or did you do something different? Let me know in the comments below. If you want, take a picture of the owl and share that too in the comments…. I’d love to see it.
Technorati Tags: Valentines Day crafts, valentines day decorations, valentines day decoration crafts, valentines day gifts, valentines day gift crafts, valentines day crafts for kids, valentines day, stuffed toy, stuffed toy crafts, owl crafts, be my valentine crafts, crafts for kids
