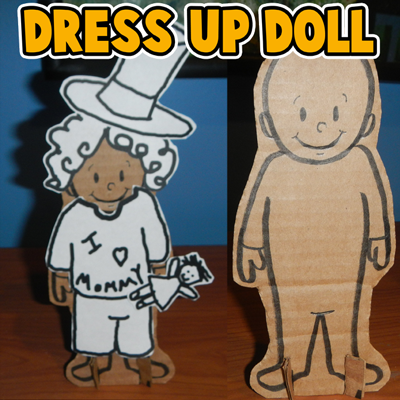
When I was a little girl I would have so much fun dressing up paper dolls. You know…. the paper dolls you buy in a book at the store where you cut out the clothes to put on them? I loved them. I used to spend hours dressing up the paper dolls and changing their clothes over and over again. Well, today I’m going to show you how to make with your children a stand-up dress-up doll. I got the idea from a post I saw on another site ( ikatbag.com). You are going to make the doll out of cardboard… it is much stiffer and will hold up to many, many clothes changes. Also, in this craft you will find 4 different template sheets of different accessories for your dress-up doll. That means hours of fun for you and your children dressing up the doll. So, grab the few materials needed and let’s get started.
Check out our other Doll Making Crafts.
Materials Needed
Printer & Paper
Scissors
Black Marker
Cardboard
Paste or Glue (optional)
Glue Dots
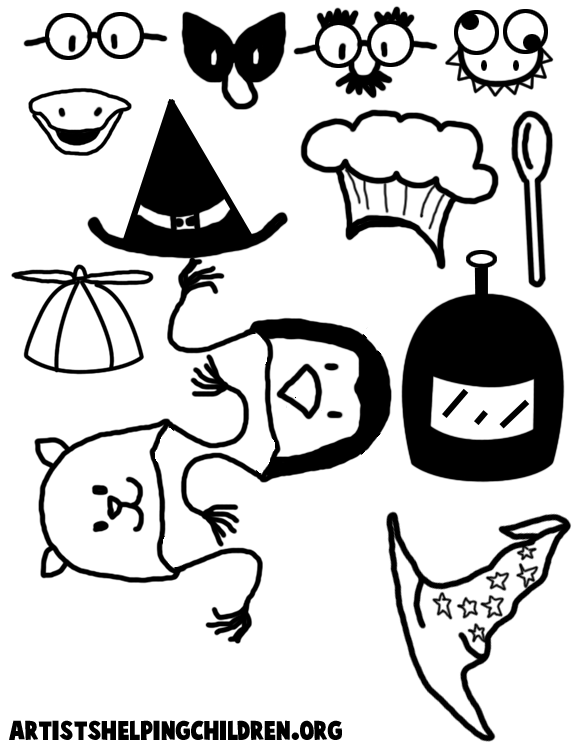
Click on template images below to open and to print off.
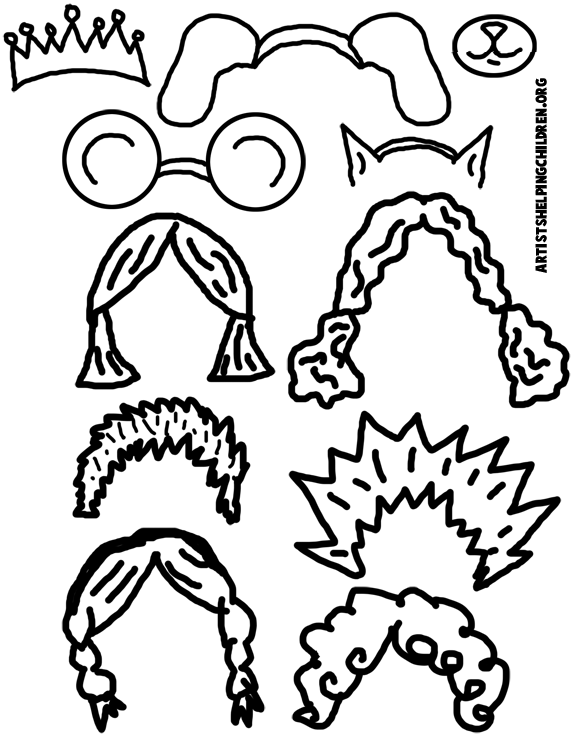
Accessories Template 1
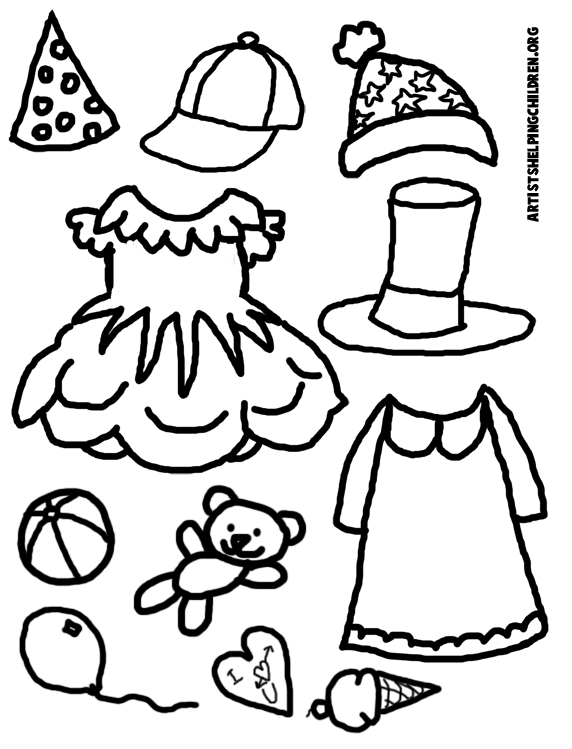
Accessories Template 2
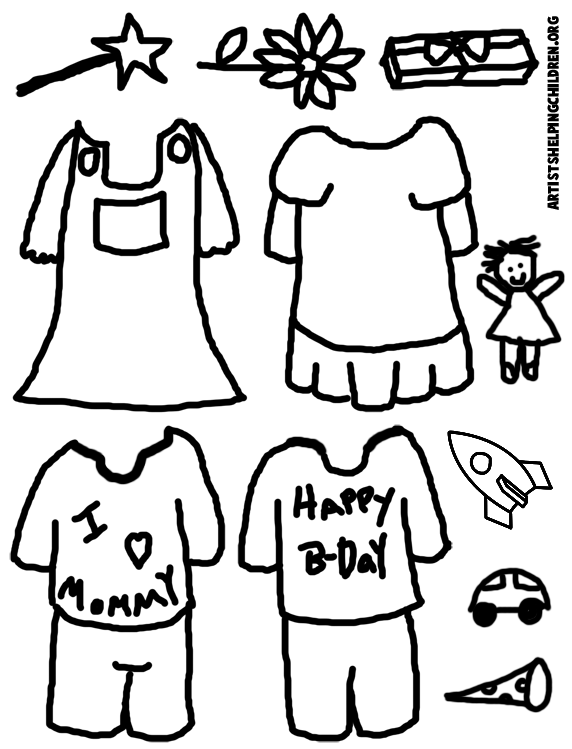
Accessories Template 3
Accessories Template 4
Stand Up Dress Up Doll Template
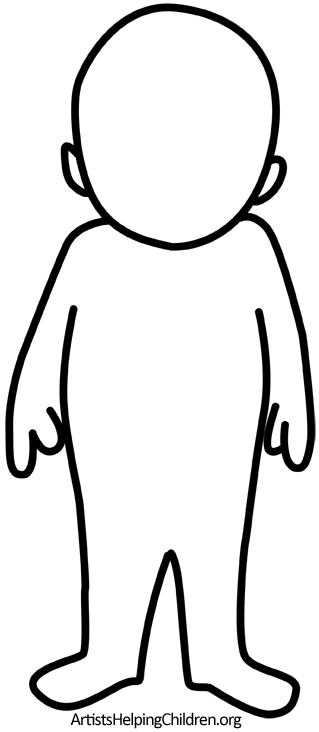
Step 1

Print out template. Cut it out. Then trace it or paste it onto cardboard.
[ad#ahc]
Step 2
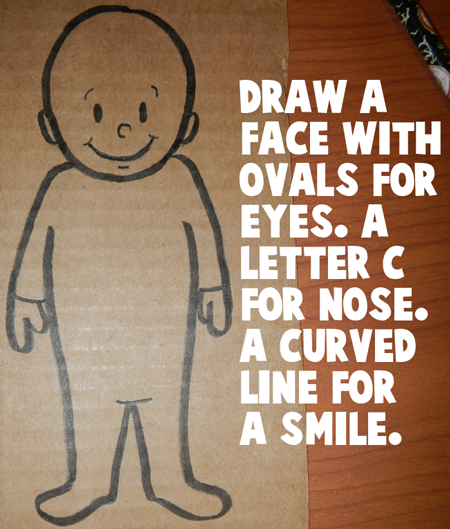
Draw a face with ovals for eyes. A letter “C” for the nose. A curved line for the smile.
Step 3
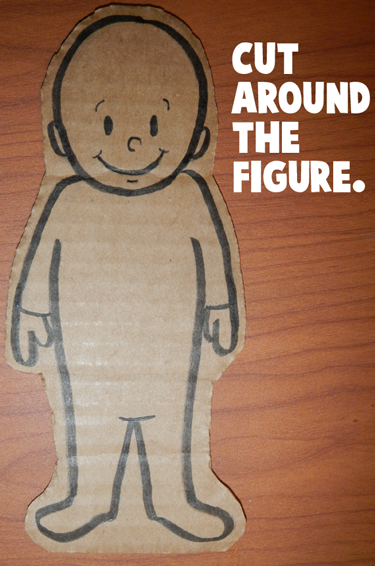
Cut around the figure.
Step 4
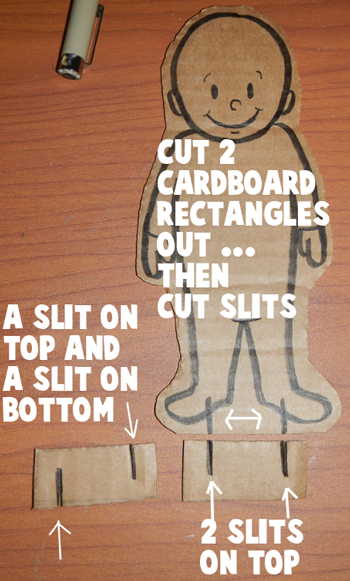
Cut two cardboard rectangles out. Then cut the following slits out…. On one cardboard cut a slit on the top and a slit on the bottom. On the other cardboard rectangle cut two slits on the top.
Step 5

Now put the cardboard rectangle’s slits into the doll’s feet slits.
Step 6
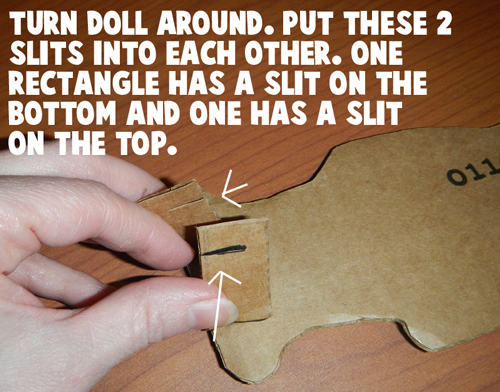
Turn doll around. Put these two slits into each other. One rectangle has a slit on the bottom and one has a slit on the top.
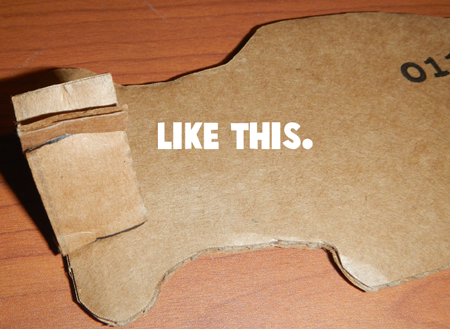
Like this.
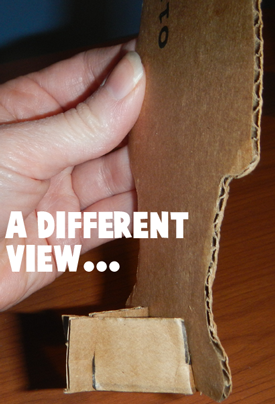
Here is a different view.
Step 7
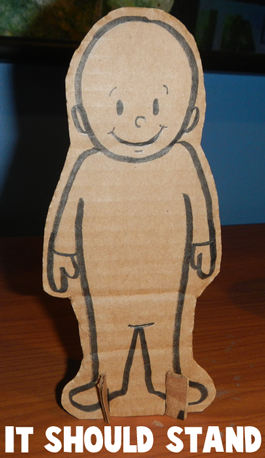
It should stand.
Step 8
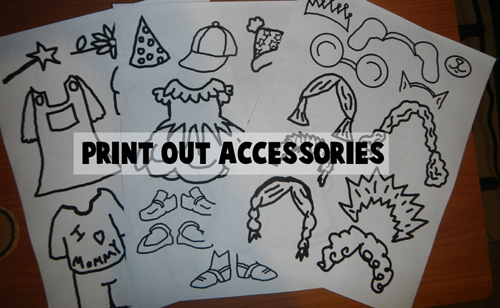
Print out accessories.
Step 9
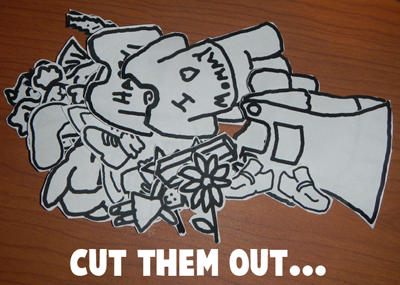
Cut them out.
Step 10
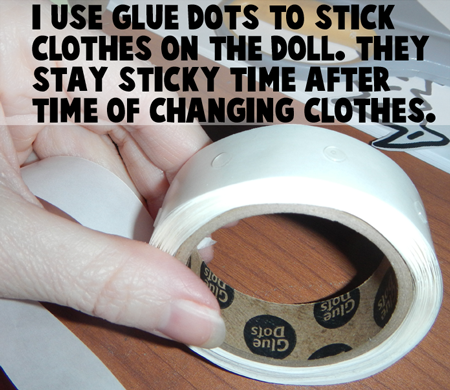
I used glue dots to stick the clothes on the doll. They stay sticky time after time of changing clothes.
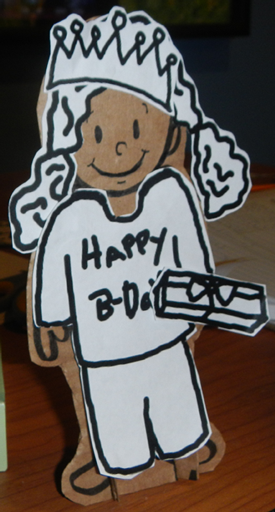
Here are some examples of how to dress up your new stand up dress up doll.
Example 1
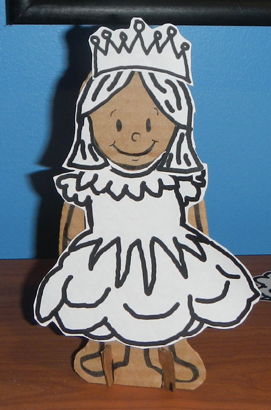
Example 2
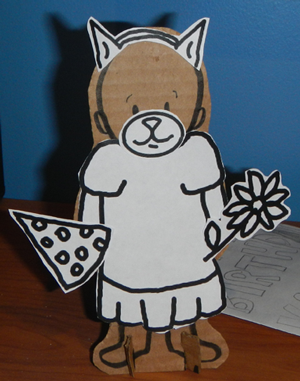
Example 3
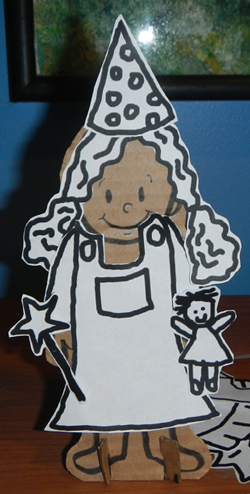
Example 4
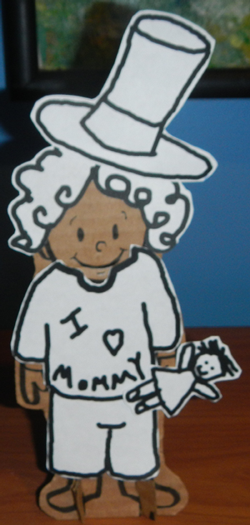
Example 5
I bet you and your children had fun making these stand up dress up dolls….. but wait till you see the amount of fun they have dressing them up too. They will love it. I gave you 5 examples of ways to dress up your doll…. How many other ways can your child come up with? Have fun!!
Technorati Tags: doll crafts, how to make a doll, paper dolls, paper doll crafts, cardboard doll, dress-up dolls, paper dress-up dolls, toy crafts, girl crafts, crafts for girls, dress-up activities, dress-up crafts, kids crafts, crafts for kids, stand-up dolls, cardboard crafts, cardboard activities, paper toys, paper toy crafts

Hi,
I love the doll idea. My homeschool class is studying figure drawing, and although this doll project seems a bit elementary for my middle school group, any figure demonstration gives students an idea of proportion. In fact it could open the door for using other materials for a more permanent realistic doll with cloth accessories, but I am just imagining where we will go with this.
Love your site and thank you for helping us other artist!
Dolores
Thanks Dolores! Its good to know that someone found this helpful!!!