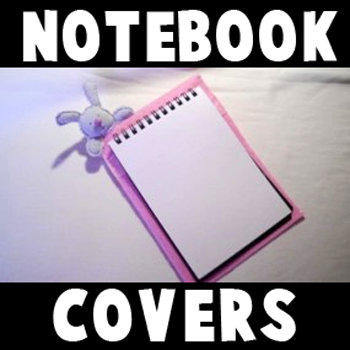
School is about to start yet again and we thought you would love this craft to make a hand-sewn notebook cover. It is a super cute notebook cover that includes a stuffed bunny rabbit at the top. You love to write on it! Laura from Dacian Moon Handmade will show you, step by step, how make it.
How to Make a Sewn Notebook Cover with Cute Bunny on Top for Girls
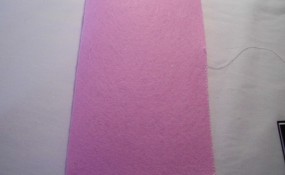
CRAFTS MATERIALS NEEDED:
– light colored fabric
– pink felt
– pen
– notebook
– scissors
– pink ribbon
– pink bead for the nose
– instant glue
– filling material
– black paint marker

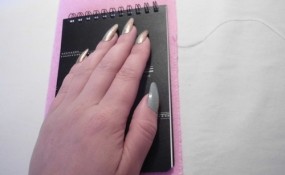
Step 1
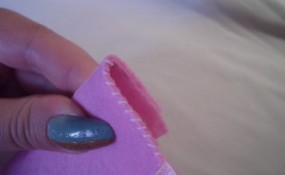
Fold the felt in half and place the notebook over it.
Let about 0.5 cm on both parts (left and right) and cut the extra felt.
[ad#ahc]
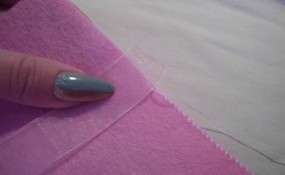
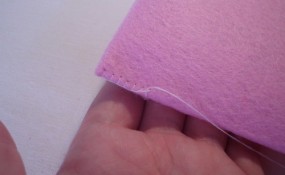
Step 2.
Sew the two parts together until you reach about 3/4 of it.
Measure with the notebook if the height is OK. You should have about 2.5 cm to the notebook spire.
Step 3.
Put the ribbon here …
… and sew it in place.
Like this.
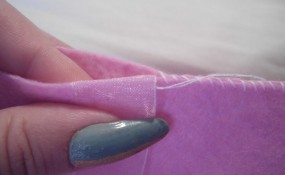
Step 4.
Continue sewing for another 3 cm then fold the felt backward…
And sew the parts together. This way, the upper part will be stronger.
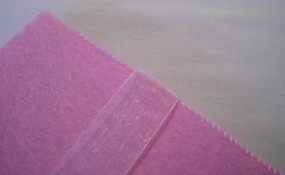
Do the same on the other part.

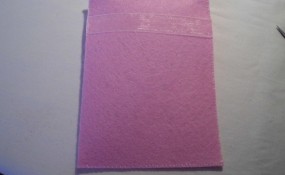
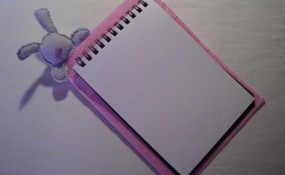
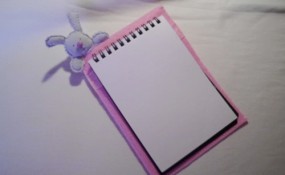
The Cover will look like this.
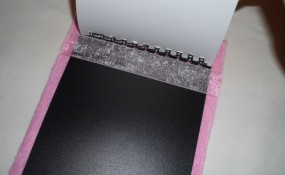
Now separate the default covers of the notebook and put them between the ribbon and felt.
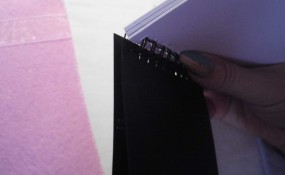
Like this.
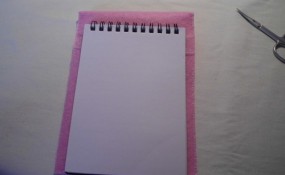
This is our notebook 😉 Do you think we can make it cuter?
Step 5.
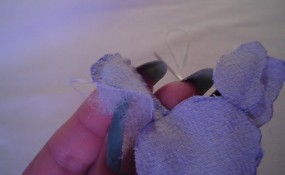
Of course! Let’s make a bunny! Draw a head with 2 long ears and two small paws on fabric.
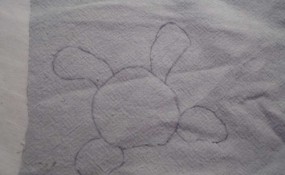
Cut them out.
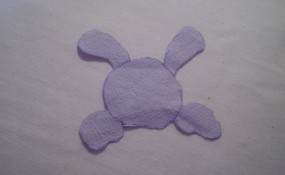
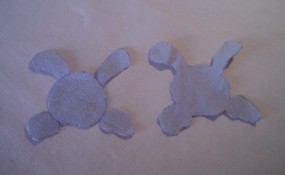
Place it again on fabric and draw the outline. Cut the second bunny out.
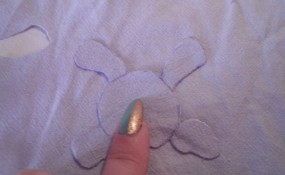
Like this.
Step 6.
Start sewing the two parts together. Let’s start with an ear.
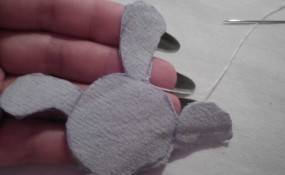
When you arrive in this point…
… prepare the filling material…
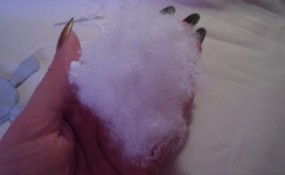
… and fill the ear.
Then continue to sew until you finish the ear. It is important to sew only a little bit over half, then fill it because if you sew first and then fill, you can’t reach all the corners.
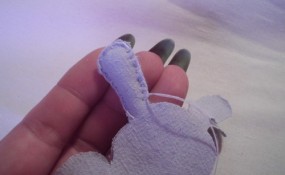
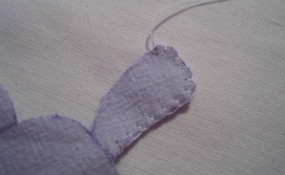
This is the ear finished.

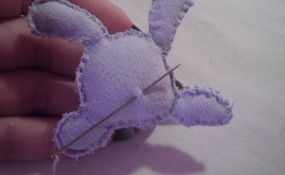
Continue with the other ear…
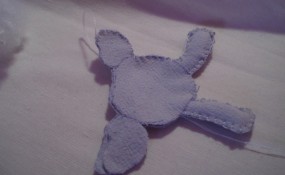
… the paws, and close the head. Don’t forget to fill it when you sew.
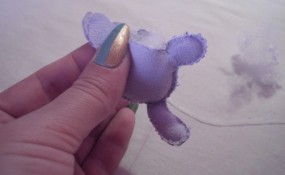
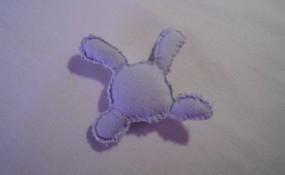
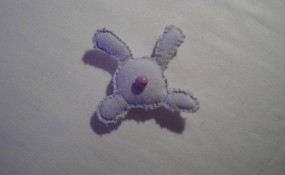
The bunny head looks like this.
Step 7.
Choose a point where you want the nose to be…
… and sew the bead there.
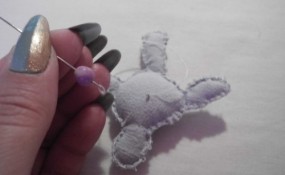
Like this. (If you prefer, you can glue the bead there)
We will put the bunny in the corner.
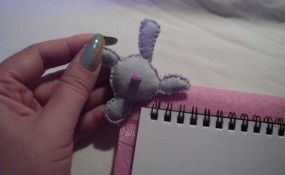
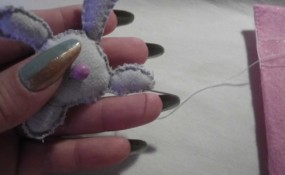
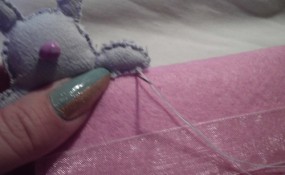
Sew it in place.
Like this.
Add the notebook and you are almost ready.
Use the paint marker to draw 2 eyes and a mouth for the bunny 😉
And there you have it…the finished notebook cover…the bunny will keep you company as you write in it…whether is a journal or a school notebook. I hope that you had a lot of fun!
You Might Also Enjoy Our Other Back to School Crafts
Technorati Tags: notebooks, notebook crafts, bunnies, bunny crafts, sewing crafts, felt crafts, bunny crafts, felt notebooks
