How to Make a Rocking Groundhog for Groundhog’s Day

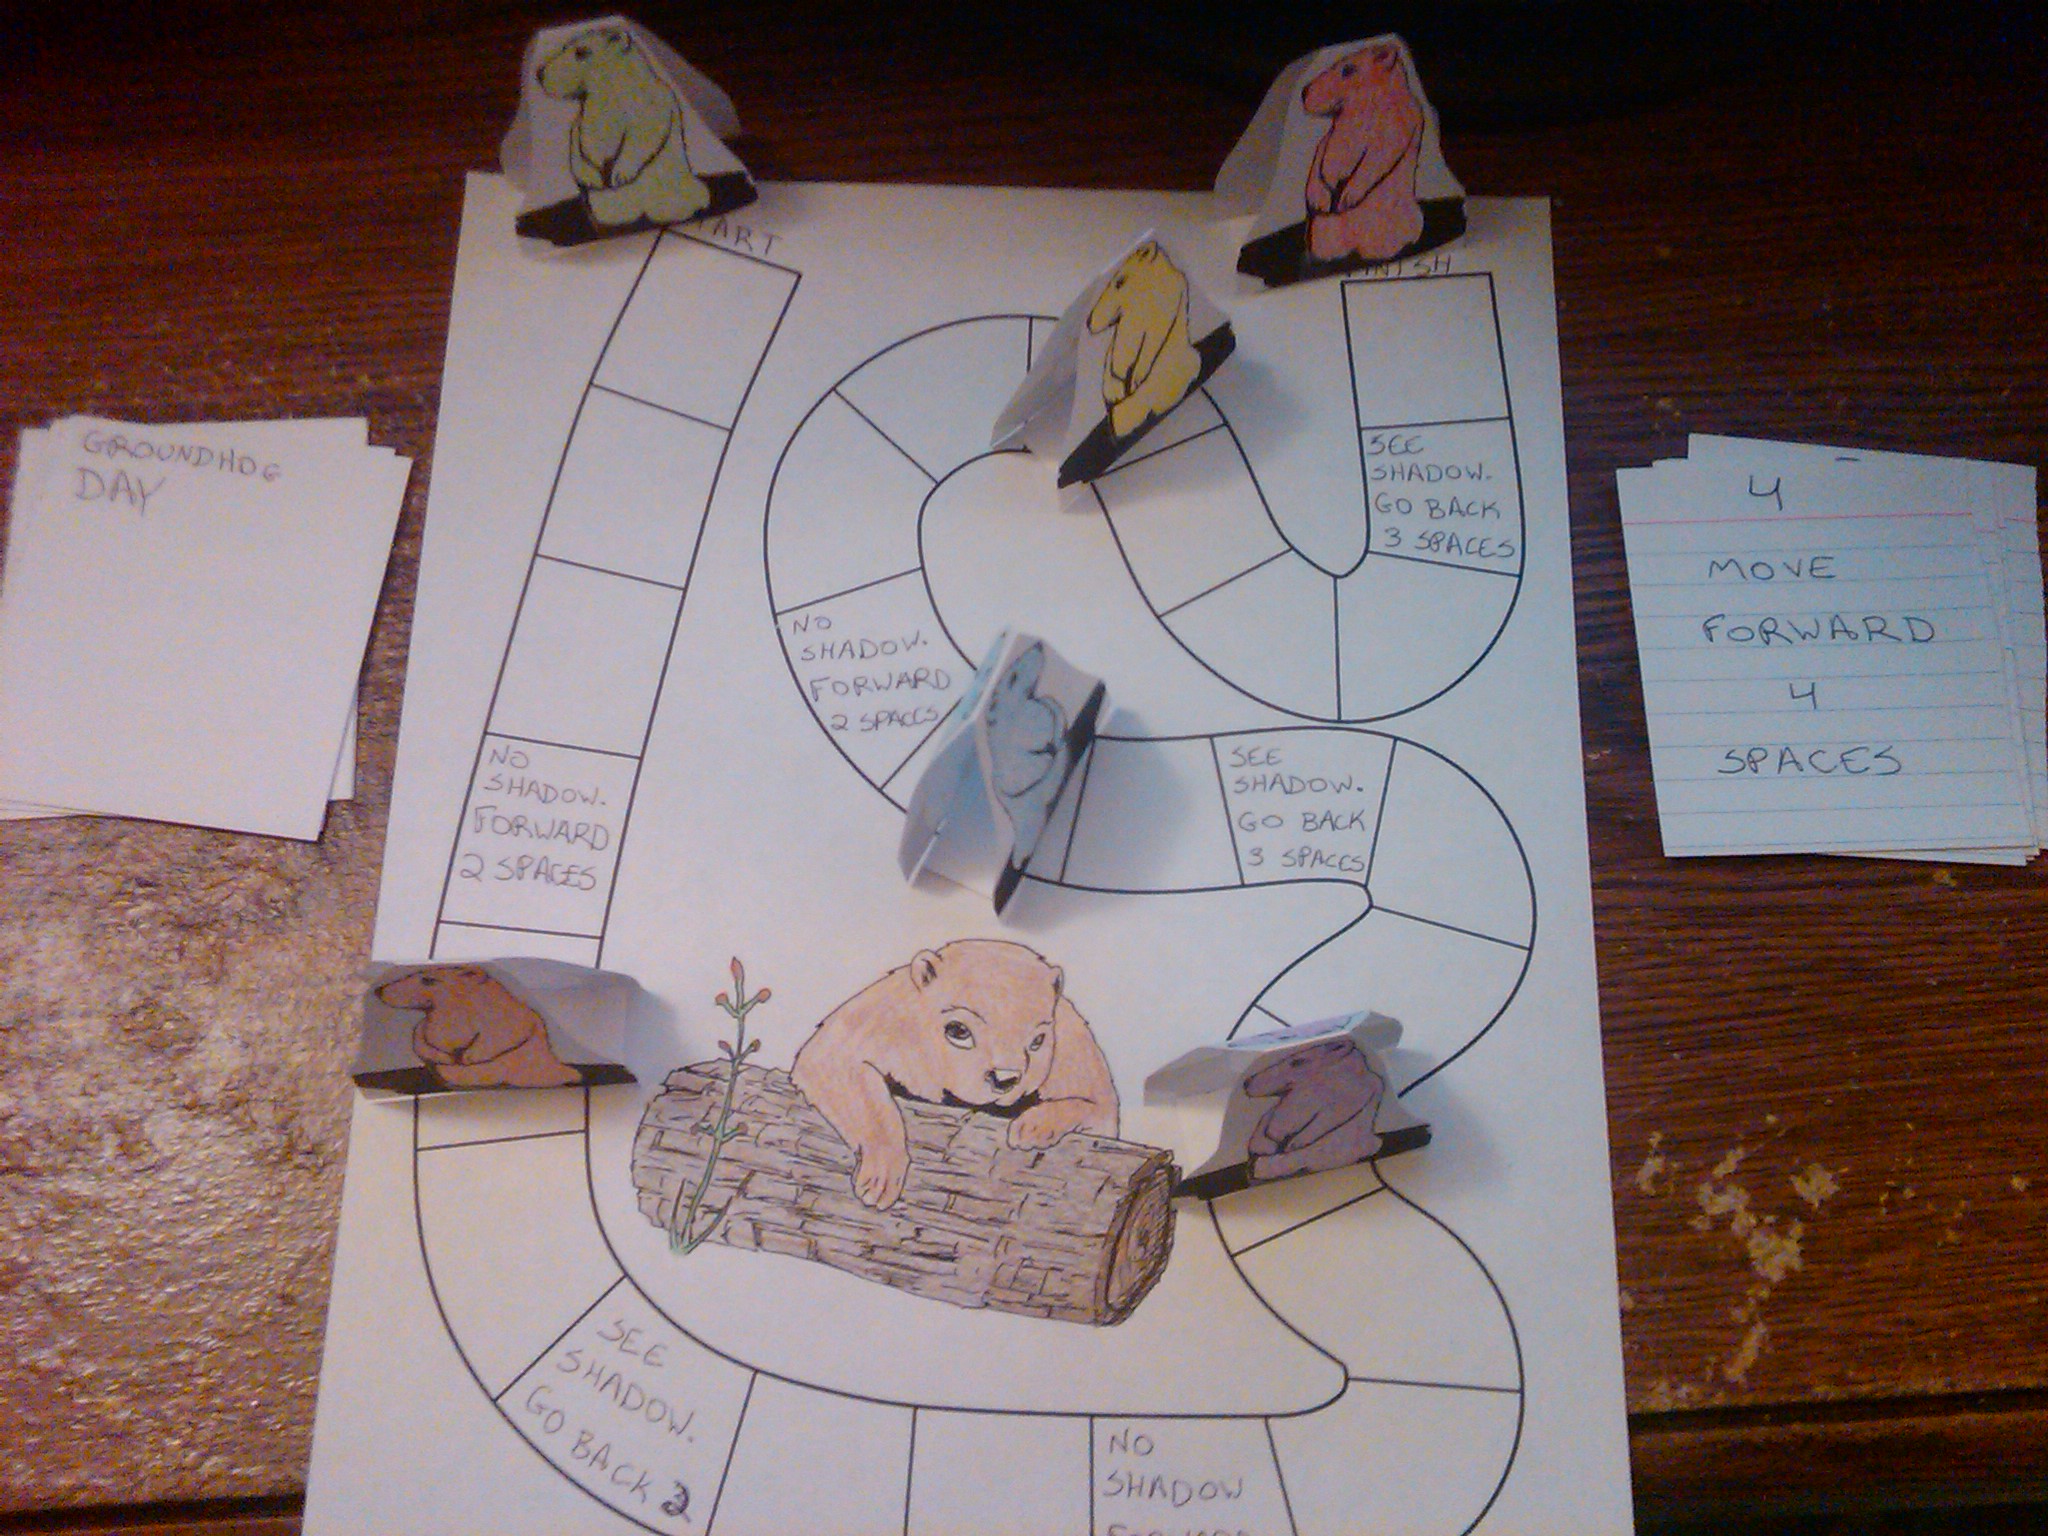
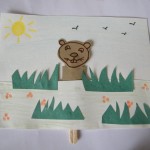
Groundhog’s Day is coming up on February 2nd.   According to folklore if the Groundhog sees his shadow on Groundhog’s Day then winter will continue for another 6 weeks.  If he doesn’t see his shadow then winter will be ending soon.    So, in honor of Groundhog’s Day I’m going to show you how to make a Rocking Groundhog.  Rock the Groundhog craft back and forth and see if he sees his shadow.  It will be a lot of fun.  So, grab the materials needed and let’s get started.

Check out our other Groundhog Day crafts.


How to Make a Rocking Groundhog for Groundhog's Day


Materials Needed

Printer and Paper

Scissors

Paper Fastener or Staples


Click on Image Below to make Template Bigger and to Print off.  You can choose to print off a colored template or the black & white version.

Colored Template


Colored Template


Black & White Template


Black & White Template


Step 1


Print out Template.


Print out Template.


Step 2


Cut out the parts on the template.


Cut out the parts on the template.


Step 3


Cut out circle.


Cut out circle.


Step 4


Cut slit out of circle.


If you bend it (without making a crease) like this… you can cut the slit out easily.


Step 5


fold on both dotted lines


After slit is cut… fold on both dotted lines.


Step 6


Cut out support strip.


Cut out support strip.


Step 7


Fold on dashed line and then place inside the circle shape.


Fold on dashed line and then place inside the circle shape.


Step 8


Keep support in place with brass fasteners or a staple.


Keep support in place with brass fasteners or a staple.


Step 9


Push tab of groundhog into half circle rocker.


Push tab of groundhog into half circle rocker.


Rock it back and forth


Rock it back and forth.  Watch shadow move… We see it, but the groundhog doesn’t see it yet.

And there you have it…. you just finished making a rocking groundhog for Groundhog’s Day.  Isn’t he cute?  Rock him back and forth and see if he sees his shadow.

Technorati Tags: , , , , , , ,

Make a Groundhogs Day Board Game Crafts Idea for Kids

This activity starts as a coloring page, then a craft, and finally a board game to play with friends or family.  We have provided you with two templates to print out: a game board and a sheet of six movers.  However, if you do not have a printer, or do not have permission to use one, you can get two sheets of plain white paper and make your own.

Here are More Groundhogs Day Crafts


Make a Groundhogs Day Board Game Crafts Idea for Kids


Make a Groundhogs Day Board Game Crafts Idea for Kids

Crafts Materials Needed:

  • Paper
  • Printer
  • Colored pencils, crayons or washable markers
  • Index cards
  • Tape
  • Safety scissors
  • Pen or pencil
  • Imagination

To start with print out the two pages provided, or draw your own.


Groundhog Gameboard


Groundhog Movers

STEP 1 – PREPARE THE BOARD

Color in the groundhog with your colored pencils, crayons, or washable markers.  I used colored pencils to get the details.  Then you can decide which side is start and which is finish, mark those.  I put START and FINISH, but you could also put WINTER and SPRING.


Add special instructions to spaces, if you want to make the game a little harder.  I put “See shadow.  Go back 3 spaces” and “No shadow.  Go forward 2 spaces” on mine.  Make sure you don’t put too many, and that you don’t put one where another space will end.  I accidentally put “Go back 3 spaces” 3 spaces in front of a “Go forward” space, so I had to change it to “Go back 2 spaces”.  If you make a mistake like this, it’s very easily fixed.


STEP 2 – MAKE THE PLAYING PIECES

First you will pick 6 different colors and color your groundhogs.  Make sure the colors are different enough you won’t get confused during game play.


Now, cut them apart leaving each pair together.  Once you have 6 pieces of paper, fold them in half so the groundhogs of the same color are both facing out.  You can hold it up towards a light to make sure the holes that the groundhogs are popping out of line up.  Then, cut a flat bottom and up around the ground hog.  Make sure you leave the two sides attaches by the heads.  I have included a picture of the pieces at various stages.


Now, take an index card and fold it lengthwise.  Cut along the fold and discard one half.  Cut the other into 3/4″ strips, you will have a little left over that you can also discard.  Now take a 1 1/2″ length of tape and lay it on your work surface, sticky side up.  Place a strip of index card on it, and tape it to the bottom of a playing piece.  Do this for each piece.  Again, I have including a picture with various stages.


STEP 3 – MAKE CARDS

If you are short on time you can grab a die from another board game, just make sure you have permission first.   If you want to play the game following the rules below then you will need 8 index cards.  Cut each one on half the short way and write Groundhog Day on the blank side.  You should now have 16 cards that look like this:


Now flip them over to the lined side and write down how many moves each card is worth.  You will need 4 each of 1, 2, 3 and 4.  Mine has the number at the top and instructions underneath, but you can make yours however you wish.


STEP 4 – PLAY THE GAME

  1. Mix the numbered cards and lay them face down to the left of the board.
  2. Place all colored playing pieces in front of the “start” space.
  3. Youngest player (or whoever made the game) goes first.  They pick the top card from the pile, move the amount of spaces stated, and discard face up to the right of the board.
  4. Play moves clockwise around the board.
  5. If a player lands on a special space they must follow all instructions on that space.
  6. The goal is to be the first player to reach the end of the game.


Here are More Groundhogs Day Crafts

Technorati Tags: , , , , , , , , , ,

Making a Groundhog Pencil Topper Craft for Groundhogs Day

On February 2nd, the groundhog is going to peek his little head out. He is going out to have a little look around. If he sees his shadow, he know that 6 more weeks of Winter will come, and run back to his home. If he doesn’t see it, than Spring is here! Let’s make a cute pencil topper groundhog to celebrate Groundhogs Day!

Here are More Groundhogs Day Crafts


Making a Groundhog Pencil Topper Craft for Groundhogs Day


Making a Groundhog Pencil Topper Craft for Groundhogs Day

CRAFTS MATERIALS NEEDED:


– paper
– scissors
– pencil
– 3 wooden beads (or anything else round, small and light)
– craft glue
– yarn (Whatever color you want your groundhog to be)

Step 1.

First of all we draw 2 circles on the paper. The circles mustn’t be too big (let’s say 4 cm diameter)


Then, we draw other two (approx. 1.5 cm diameter) , in the center of the big ones.


Step 2.

We cut out the big circles.


We take one of them and fold it in two half…


then we cut out the little circle in the middle.


Now we have a half of our circle


but if we unfold the paper, we have this.


Repeat for the second big circle.


Step 3.

Take the 2 circles and put them one over the other.


Fold the yarn in half…


… and put it through the circles.


Coil the yarn over the paper, covering it.


More, and more, until it looks like that. The more yarn you coil over the paper, more fluffy your groundhog will be 😀


Now make 2 or 3 knots with the remaining yarn.


Step 4.

With the scissor cut the yarn on the edge of our disc, then cut the long knotted ones, at the same size like the others.


When you finish it should look like this.


Cut the paper so it can’t be seen through the fluffy ball.


Like this:


Step 5.

Apply a layer of glue on one bead


And put it on the fluffy ball, where the eyes should be.


Do the same and put the other eye


And then the nose.


Step 6.

Every groundhog have ears so let’s make a pair for our cute little one :). With the pencil, draw them on the paper.


Cut them out and then apply a layer of glue on one


And fix it to the paper inside the fluffy ball, where the ear should be.


Do the same with the other ear. So… this is it, our cute little grounhog !


Step 7.

Take the pencil and apply a not so thin layer of glue on it’s plain end.


Fix the fluffy ball on top of it.


Let it dry and … look what cute and unique pencil you have!


My groundhog is snowy-white. What colour is yours? (offered by Laura from Dacian Moon Handmade)

Here are More Groundhogs Day Crafts

Technorati Tags: , , , , , , , , ,

Peeping Groundhogs Craft Activity for Groundhog day

Make this cute craft which shows the groundhog peeping out of his burrow as you celebrate ground hog day. The groundhog pops out of his burrow when you slide the Popsicle stick upwards, and it goes into hiding when you pull the stick down. The simple steps to make this craft follow.

Here are More Groundhogs Day Crafts


Craft Materials Required:

Thick white paper

Thick brown paper

green paper

scissors

glue

one Popsicle stick

markers and crayons


Step 1

Take a piece of white paper, of the size you want. Make sure it is longer than your Popsicle stick.


Step 2

Take another piece of paper, about 1/3 of its length, but of the same width , as shown.


Step 3

On the brown paper, draw out the face of a ground hog as shown.


Step 4

Glue the face on to the top of the Popsicle stick.


Step 5

Glue a strip of brown paper below the groundhog as shown.


Step 6

Glue the second paper on top of the first paper as shown. leave space in the center for the groundhog on the Popsicle stick. The groundhog should be able to easily slide up and down.


Step 7

Cut out grass shapes in green and glue them on the picture.


Step 8

Decorate the rest of the picture with crayons


Here are More Groundhogs Day Crafts

[tags]groundhog day, groundhogs day, crafts for groundhogs day, groundhog day crafts, groundhog day activities, crafts for kids, activities for kids, arts and crafts, groundhogs, woodchucks, crafts for preschoolers[tags]