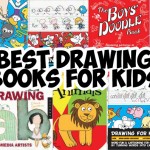
Here is a list of our favorite kids’ drawing books, targeted towards young kids, and elementary school home-schooled children.
How to Make Cool Stuff
Here is a list of our favorite kids’ drawing books, targeted towards young kids, and elementary school home-schooled children.
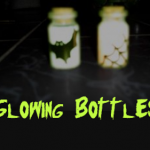
Learn how to make glowing decorated bottles for Halloween decorations…a great craft for kids.
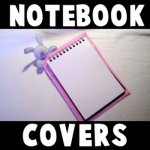
School is about to start yet again and we thought you would love this craft to make a hand-sewn notebook cover. It is a super cute notebook cover that includes a stuffed bunny rabbit at the top. You love to write on it!
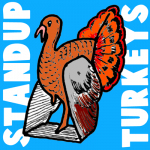
Here is a fun paper craft that isn’t too hard to make. All you have to do is print out our paper template and then paste it together. Then you can just put it in the center of your Thanksgiving dinner table. How to Make Paper Stand-Up Turkey Centerpieces for Thanksgiving Crafts Materials Needed Printer …
Continue reading “How to Make Paper Stand-Up Turkey Centerpieces for Thanksgiving”

You can’t have Halloween without the treats! So we might as well make them cute 😉 We will show you, step by step, how to turn a normal candy bar into vampire bats. This bat can close his wings around the candy bar.
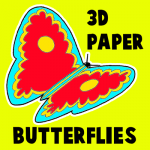
Here is a great craft to make around Springtime. Unfortunately it isn’t Springtime, I just like butterflies. These paper butterflies will add a three-dimensional effect to any display or bulletin board. This is a great classroom or group project as each child can do a butterfly and add it to the board. These butterflies are made out of paper and turn out great as the wings are folded to look as if the butterfly is in flight.
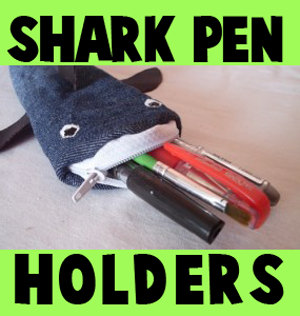
I think you’ll love this pencil pouch … He is so fierce! And when I say ‘He’, I mean Sharky…Sharky the Pencil Pouch. And he will keep your pencils safe as nobody messes with sharks! 😉 Laura will show you, step by step, how to make it this awesome (yet adorable) shark pencil holder pouch.
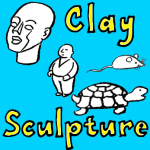
It is so much fun to sculpt with clay but without the right techniques and methods, it is all a guessing game. This tutorial will show, with illustrated steps, how to sculpt human heads and bodies, as well as a clay turtle and a clay mouse. You won’t need to guess any more, follow these directions and you will be on your way to a great sculpture in no time.
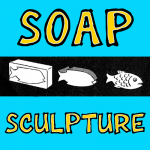
Soap can be a great first-time sculpting activity as soap is soft enough for small hands to work with. Your child can have fun and be creative without worrying that he might mess up the soap, since soap is cheap enough to replace. Your child will be able to find his or her inner artist and find out about new skills that they didn’t know they even had.
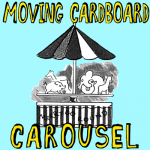
Today we will show you how to make a moving carousel / merry-go-round. You will be able to make this moving toy with some spools, some string, a pencil, and a few cardboard boxes. The motor works by winding string around a spool by spinning the pencil…then it moves on its own. Pretty cool…and you don’t have to use any difficult-to-use materials.
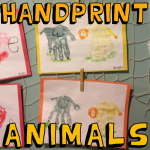
This is an adorable craft for toddlers, Preschoolers, Kindergarteners, and even slightly older children. The bodies of the elephant and lion are created with the child’s hand prints, and they couldn’t come out any cuter. Below you will find the step by step tutorial for making these adorable handprint pictures.
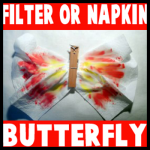
This is a cute project for little ones – a cheerful butterfly made of napkin or a coffee filter 😀 This is perfect for Kindergarteners or Preschoolers. They can do everything on their own with a little bit of guidance.
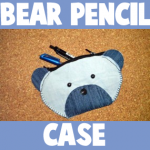
If you want to start getting prepared for back-to-school time, here is a simple sewing project to make a pencil case that looks like a cute teddy bear. Find out how to make it with the following step-by-step craft instructions.
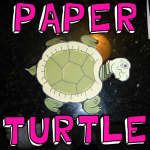
Here is a fun printable turtle papercraft that you can make. This is super easy to print, fold, and then play with. Find out how to make it below.
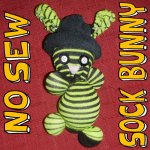
Today we will show you how to make a no-sew stuffed bunny rabbit for Easter….this craft is easy enough to make in twenty to thirty minutes. All you need are 2 socks, some rubber bands, and a few buttons. This is a great craft to make for Easter celebrations.
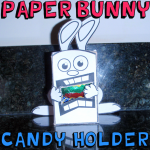
Here is a free printable template that you can use to make an adorable Easter Bunny that holds candy in his mouth. This could be used as an Easter decoration or to give candy to your friends. Either way, it is simple enough to make with a little effort. Find the free printable template below as well as the instructions for putting it together.