How to Make Keepsake Boxes to Keep Little Treasures Craft Activity for Kids
[ad#ahc]
I remember when I was a little girl, I really wanted to have my own keepsake box. There were so many things that I collected such as stones, shells and dried flowers. There were little cards, little pictures and a few little treasures that I received from friends and family alike. All of them had no where to really go in my room and I begged my mother for a wooden keepsake box. Of course, with the demands of day to day life, my mother constantly forgot to purchase me a keepsake box and I never realized that I could make one myself.
That was until I got older. Then I realized that a keepsake box doesn’t have to be big and it doesn’t have to be wooden. It can simply be a small treasure box that keeps the most important things you find. This craft is one of those treasures. It is easy to do and even preschool children can make their own keepsake box for their countless treasures and what is even better, it appeals to both boys and girls.
You can make the keepsake box as a present or keep it for your own treasures and you can personalize it in whatever way you want to.
Keepsake Boxes for Little Treasures : How your Child can make a Keepsake Box that is Personalized and Fun
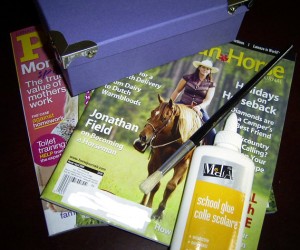
Gather all the Craft Supplies That You Will Need:
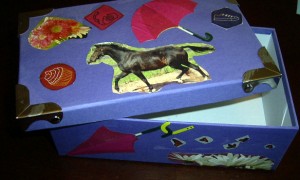
- Magazines (You will want the glossy pictures for the box)
- White Glue
- Paint Brush
- Box (I found mine at a dollar store but you can use a shoebox or a packing box. What you want is a box with a lid)
- Scissors
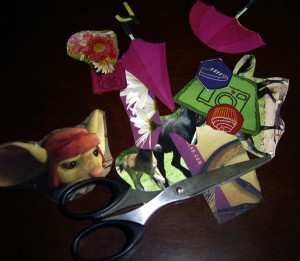
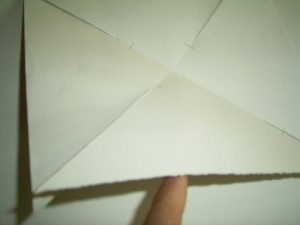
1 – Flip through the magazines and find all the pictures that you will want.
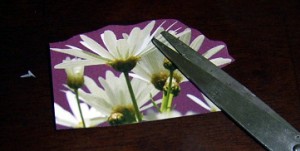
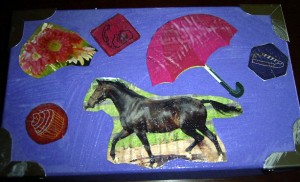
2 – Cut them out and try to avoid using straight edges so the finished product has more of a collage effect to it. Also make sure that you cut out more pictures than you need.
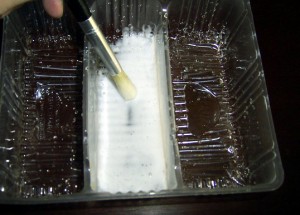
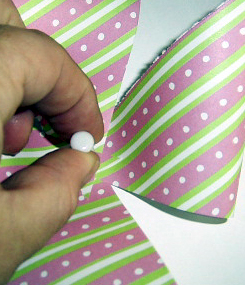
3 – Once you have everything made, take a small plastic container and mix the glue with a little bit of water. Basically, you want to make a paste that is similar to paper mache with it so the glue should be watery but not to the point that it loses its color.
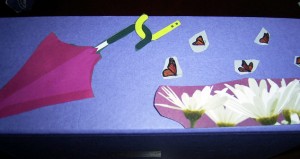
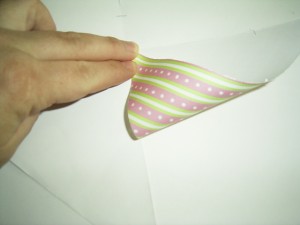
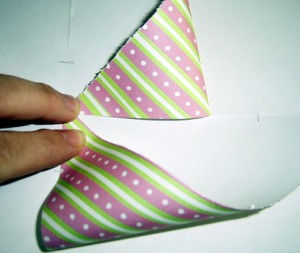
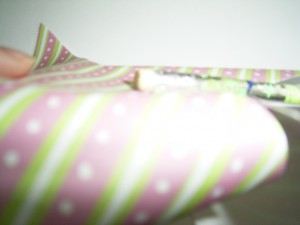
4 – Now that you have everything ready, start with the first side of the lower box and arrange the pictures the way you want them.
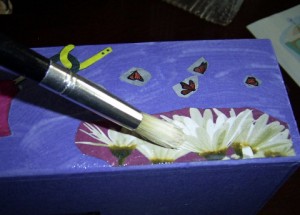
5 – Carefully glue them into place by adding a touch of glue to the bottom with the paint brush. Seal the edges by running the paint brush filled with glue across the surface of the pictures and also across the box.
6 – Set it aside to allow time to dry. While you are waiting for the first side to dry, begin the lid.
7 – Repeat the process of laying the pictures out and then gluing them. Make sure you seal the edges by coating the top of the pictures and lid with the glue. Set aside to dry.
8 – Once the glue has dried on the one side of the box, repeat the process until all four sides are finished,allowing them to dry in between each step so they don’t get pulled off or stuck to other surfaces.
9 – When the box is complete, fill with all your treasures or give as a gift.
You can also use these little boxes as gift boxes for anyone. People will love the idea and will treasure them just as much as the gift inside.
More Crafts Online That are Similar to This Crafts Project for Kids
Crafts with Boxes for Kids
Even More Crafts with Boxes for Kids
Cornerstone Crafts: Treasure/Jewelry Box – Popsicle stick treasure box or jewelry box that stands up well over time. This project can be done as a gift for others (i.e. Mothers Day), or as a box for your own child to play with.
Virtual Kids’ Crafts: My Treasures! Box – They may have been marbles, rocks, treasures from the gumball machine; just about anything. But, there was nothing more fun than removing each treasure to look at it over and over again. Today you’re going to create your own treasure box. You can use what you have around the house or you can purchase supplies from me and complete one like my daughter, Michele’s.
Give Your Next Gift in a Treasure Box! – For kindergarten writers, all this glue squeezing and letter-practicing are invaluable kinesthetic boosts for early literacy. Little hands need these workouts, and little kids also get a huge boost out of the shine and pizzazz they’ve created. Expect an enjoyable time making it with your child, and then give it as a gift to a family member once you’re done.
Eco Friendly Crafts for Kids – A keepsake storage box which uses birthday/Christmas cards and a shoe box. Children love to have secret boxes of their own and this one makes use of what would otherwise be waste. There are three R’s to recycling and all the entries in our Green MacGyver eco friendly crafts for kids series will recognize the importance of “REUSE”.
Make a Credit Card Mailbox – My toddler LOVES getting the mail. He also loves pretending and putting stuff into holes/slots/crevices etc. To satisfy both of these hobbies, we made a little credit card mailbox!
Cardboard box castles – There are many ways to build a castle with children. Once I already made a small cardboard toy castle with my kids, but this time we wanted something more impressive. For our castle we collected cardboard boxes of different size, and toilet paper tubes. Using those building blocks, paint and some colored paper, we created this castle with floors, round towers, windows and a cone-shaped roof.
I Love to Create Kids: Recycled Craft Challenge! – Hey, Parents! This week, I Love to Create is about getting your kids’ creative juices flowing. Kids love a challenge, so why not give them a crafty one? With just a few supplies combined with some kitchen discards, you’ve got an activity that’ll keep ’em guessing…and recycling!
Technorati Tags: treasure chest, treasure chest craft, keepsake crafts, kids keepsake crafts, crafts for kids, crafts for children, family fun, treasure crafts, treasure box craft, treasure box activity, keepsake activity, keepsake activity for kids, box crafts for kids, magazine crafts, collage crafts, paper crafts, keepsake box, treasure box