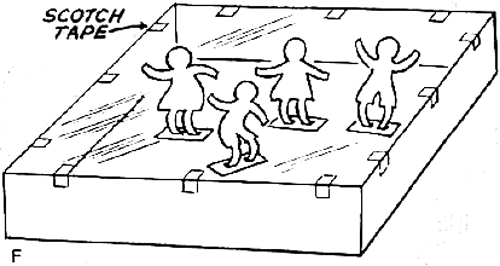
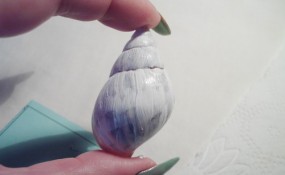
Nature is beautiful so why not take advantage of that natural beauty to create a fun craft. Find either a sea shell or a snail’s shell on the beach (or wherever). Then get the paints out and get creative! Laura from Dacian Moon Handmade will show you, step by step, how to make this fun project for summer.
How to Make a Painted Snail or Sea Shell Crafts Ideas for Kids

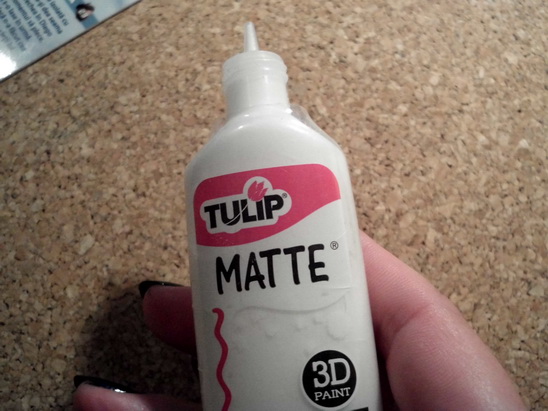
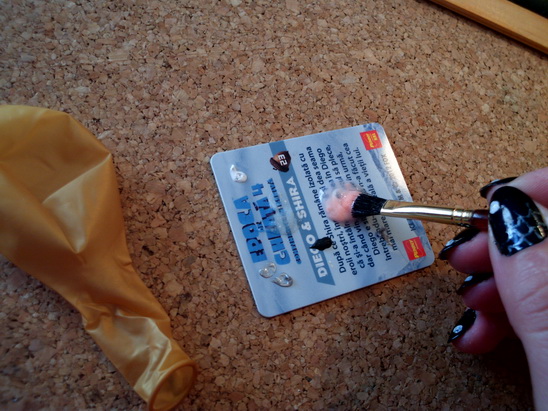
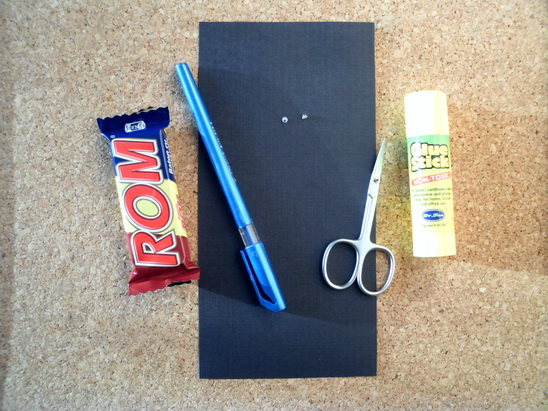
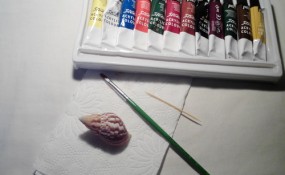
CRAFTS MATERIALS NEEDED:
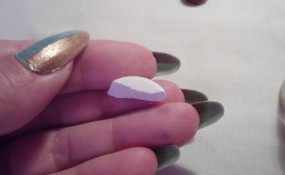
– snail shell or sea shell
– paints
– paintbrush
– toothpick
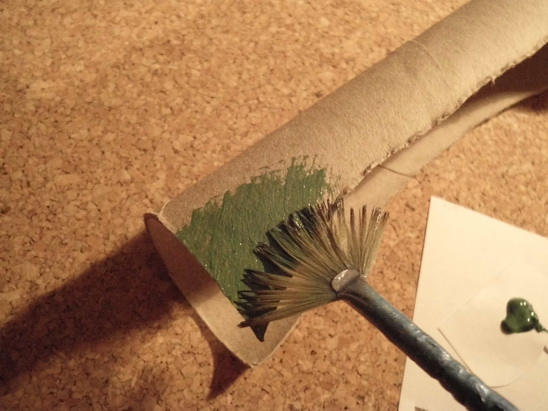
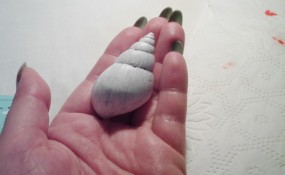
Step 1.
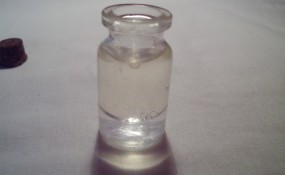
We start with a base color. I choose white.
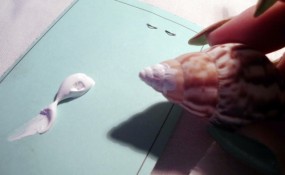
Cover the shell entirely (using the paintbrush, of course)
[ad#ahc]
Add as many layers as necessary, until it looks as you wish. Let it dry.
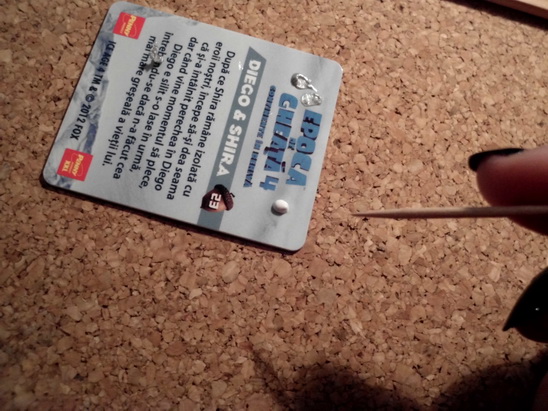
Step 2.
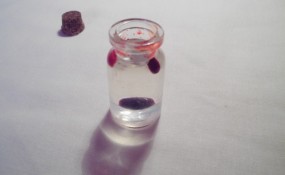
Now is time to decorate it. For decoration we will use the toothpick or a very thin paintbrush.
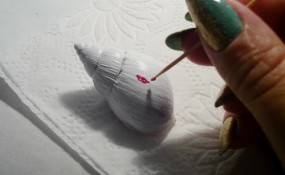
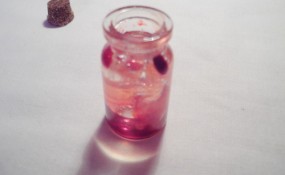
I made a flower with red paint…
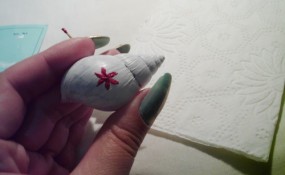
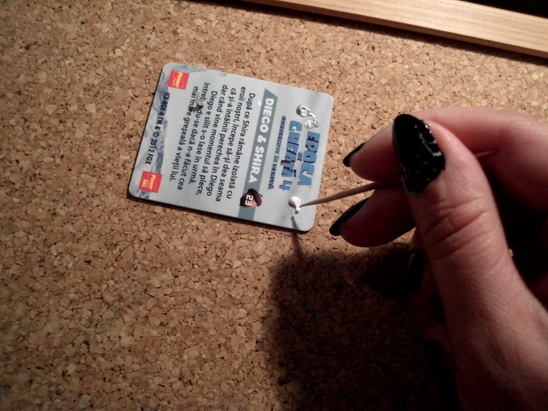
.. two lines around it…
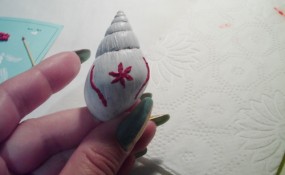
and some triangles on the shell lines.
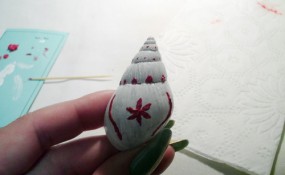
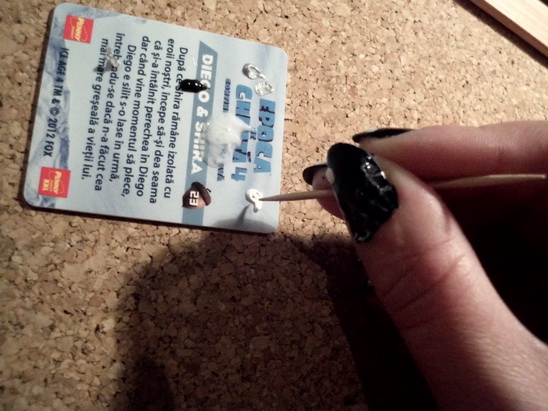
Then I use golden paint to highlight the design.
Like this.
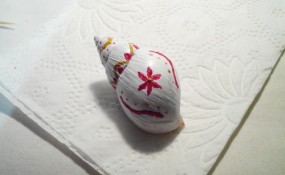
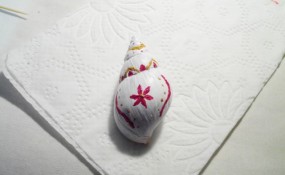
You now have a beautiful painted shell that you can keep on your knick knack shelf forever. Or even better, give the painted shell to someone you love or care about. I hope that you had a lot of fun!
Technorati Tags: painted shells, how to paint shells, snail shells, sea shells, how to paint sea shells, how to paint snail shells, painting for kids