How to Make a Snowman from Socks

When you think of winter time what do you think of?  Snow, of course.  Well, what is the one thing that children love to make in the snow?  A snowman.   Today I’m going to show you how to make a snowman from socks.  This is an adorable snowman stuffed toy that any child will love to snuggle with.  And, if the child helped your make it…. they will enjoy it even more.  This is a great winter time craft that can be enjoyed by children young and old.

Check out our other Winter Crafts and Sock Crafts.

Step by step tutorial offered by Laura from Dacian Moon Handmade


Materials Needed

– striped sock
– white fabric
– filling material (I used some cotton pads broken into pieces)
– scissors
– ribbon
– black paint
– needle and thread


Step 1

Measure the width of the socks on the fabric folded in two…

… and cut it out.

Sew the two sides together, letting an opening on the upper part.

Like this.

Turn it to the other side.

[ad#ahc]

Step 2

Shred the cotton pads into small pieces…

… and fill the sewed white fabric with it.

Like this.

Tie the open end with the ribbon.


Step 3

Use a thread to separate the 3 snowballs of the snowman.

Like this.


Step 4

Cut off the upper part of the sock …

… then cut that part in half.

Dress the snowman with one, as a shirt.

Put the other one on its head, as a cap.

Use the ribbon to tie the cap to keep it in place.

Draw eyes, mouth and buttons on your snowman using black paint.

Check out this adorable sock snowman.  You can give this to a friend or family member…. or enjoy it for yourself.

Technorati Tags: , , , , , , , , , , , ,

How to Make Clothespin People Figures

I have a fun craft for you today that you can make out of any kind of wooden clothespin.  In this post I’m going to show you how to make a Clothespin People Figure.  Grab a few clothespins and you can even make an entire clothespin family.  Simply use your imagination to make each figure a little bit different.  The kids will love this craft because it is so much fun and you will love how your children use their imagination to create their clothespin figures.

Check out our other Clothespin Crafts.

How to Make Clothespin People Figures


Materials Needed

Wooden Clothespin (Any Type)

Glue

Paint (Colors for Face, Clothes & Skin)

Black Paint

Paintbrush

Yarn


Step 1

Get either type of clothespin

Get either type of clothespin as above picture.

[ad#ahc]

Step 2

If you have the clothespin with the metal parts take it apart like above.

If you have the clothespin with the metal parts take it apart like above.

glue the pieces like this.

And then glue the pieces like this.

If you have the above type you don't have to do anything.

If you have the above type you don’t have to do anything.


Step 3

 Paint clothes and skin.

Paint clothes and skin.


Step 4

Paint a face.

Paint a face.


Step 5

It looks good to outline shirt in black.

It looks good to outline shirt in black.


Step 6

Draw three sides of rectangle for sleeve.

Draw three sides of rectangle for sleeve.

And a circle for hand.  Color it the same color as face.

And a circle for hand.  Color it the same color as face.


Step 7

Paint details you want.

Paint details you want.


Step 8

Wind some yarn up like above.

Wind some yarn up like above.


Step 9

Wind some yarn up like above.

Glue on top of head and cut loops at bottom.

And, there you have it…. you just finished a Clothespin people figure.  Make a few more and you got yourself a Clothespin family.

Technorati Tags: , , , , , , ,

How to Make a Pair of Party Earrings for New Years

New Years is just around the corner and before New Years  the New Years Eve Parties begin.  Why not wear an amazing pair of earrings to this years New Years Eve Parties.  Today I’m going to show you how to do just that…. I’m going to show you how to make a pair of party earrings for New Years.  These New Years earrings have a lot of flash…. perfect for New Years Eve.  And, these earrings don’t have to be just worn on New Years Eve…. they are so beautiful you will want to wear them year round.

Check out our other New Years Crafts and Jewelry Crafts.

Step by step tutorial offered by Laura from Dacian Moon Handmade

party earrings


Materials Needed

– 2 sparkle pom-poms
– 2 glass pearls
– 2 head pins
– 2 eye pins
– 2 earring findings
– 1 flat nose pliers

IMG_3062


Step 1

Take a head pin…

IMG_3063

… and put it through a pom-pom.

IMG_3064

Use the pliers to make a loop…

IMG_3065

… like this.

IMG_3066

[ad#ahc]

Step 2

Take the eye pin…

IMG_3067

… and put a glass pearl on it.

IMG_3068


Cut the extra pin (with your pliers if it has a cutting side. If not, you’ll need a cutting pliers too), then make an open loop.

IMG_3069

Put the earring finding through the loop…

IMG_3070

… and close it. Like this.

IMG_3071


Step 3

Open the eye of the pin…

IMG_3072

… and put it through the loop of the pom-pom.

IMG_3073

Close the pin’s eye and you have an earring.

IMG_3074

Repeat to make the second one. Now is time to shine at the party.

IMG_3077

Aren’t these New Years Earrings beautiful?  I am sure you will get tons of compliments about these earrings…. even well after New Years Eve has passed.

Technorati Tags: , , , , , , , , , , ,

Some Really Cool Perpetual Calendar Crafts for the New Year

Some Really Cool Perpetual Calendar Crafts for the New Year

Today I am going to show you a bunch of some really cool perpetual calendar crafts perfect for the upcoming New Year.  What is great about perpetual calendars is that they can be changed to show any combination of day, month, and year….. which means that the same calendar can be used year after year after year.  Sure, you can purchase a perpetual calendar at a store or online, but I am pretty sure you would spend way too much money and they wouldn’t be as awesome as the perpetual calendars I have listed here.  I have scoured the internet to find you some really cool perpetual calendar crafts.  You will surely find one here that will fit your needs.

Check out our other New Years Crafts and Calendar Crafts.

Some Really Cool Perpetual Calendar Crafts for the New Year

(1)  Nut Can Perpetual Calendar Craft

Nut-Can-Perpetual-Calendar

This is a super cool Perpetual Calendar.  Made from a nut can this perpetual calendar is quite unique.  If you look closely at the image above this perpetual calendar even has a choice for mood.  In this case they chose nutty.  Check this craft out at Design Sponge.


(2)  Perpetual Button Calendar

Perpetual-Button-Calendar

This perpetual calendar is super duper cute.  Make it once, and you can use it forever – just move the numbers to their correct location each month, and change the nameplate!  How fun is that?!  I found this craft over at MakeZine.  Check it out for yourself.

[ad#ahc]

(3)  Paper Box Perpetual Calendar

Paper Box Perpetual Calendar

This is one of our very own perpetual calendar crafts.  Here we use some colorful templates that you glue together to make boxes.  Add some popsicle sticks and you have yourself a perpetual calendar.  Check out our Paper Box Perpetual Calendar for all the details.


(4)  Corkboard Perpetual Calendar

Corkboard Perpetual Calendar

I love the idea of this corkboard perpetual calendar.  Here they use a corkboard and foam to give this perpetual calendar a colorful look.  The corkboard is a wonderful material to use as you can easily thumbtack your notes and errands to the corkboard perpetual calendar to remind you what you need to get done.  Check out Michaels for all the craft details.


(5)  Scrapbooking Paper Perpetual Calendar 

Scrapbooking Paper Perpetual Calendar

I found this perpetual calendar craft at Our Big Earth and it is a wonderful idea.  Here they use coordinating scrapbooking paper to give this a unique look.  This is a flip chart type of calendar…. so it would be great for any desktop.  Check out the site for all the details.


(6)  Magnetic Perpetual Calendar

Magnetic Perpetual Calendar

This is actually a cookie sheet perpetual calendar.  For this craft she spray painted the cookie sheet, duct tape the edges and used playing card numbers for the days.  She also attached a dry erase board for notes and special events.  Being that everything is on magnets things can be easily moved.  Check out A Creative Princess for the info.


(7)  Colorful Perpetual Calendar

Colorful Perpetual Calendar

Look how beautiful and colorful this perpetual calendar is.   Here she uses 31 pictures to represent the days of the month…. you can cut out these pictures from scrapbooking paper or just use stickers.  I found this perpetual craft at Sandy’s Space.  Check it out for yourself.


(8)  Thrifty Box Perpetual Calendar

Thrifty Box Perpetual Calendar

Aren’t these perpetual calendars just absolutely beautiful?  No one would believe that you not only made them yourself, but also they are extremely thrifty.  I found this craft at Amazing Paper Grace.  Here she uses $1.00 boxes that she found at Michael’s.  Check out all the details on how she puts these perpetual calendars together.


(9)  Perpetual Calendar / Memo Board

Perpetual Calendar Memo Board

This is such a clever idea!!  I found this craft over at Curbly and I love it.  Here they use six steel bars painted with punchy colors, numbered magnets, plus seven days of the week and twelve months combine to make a perpetual calendar, which also serves as a memo board.  This would look amazing above anyone’s desk.


(10)  Perpetual Family Photo Calendar

Perpetual Family Photo Calendar

This is just absolutely brilliant…. and you will surely get so many compliments on this perpetual calendar.  What you might not be able to tell from the above picture is that there are 31 pictures on the twine.  You will simply flip each day/photo as the days pass.  Check out Shaken Together to see it for yourself.


(11)  Flipping Perpetual Calendar

Flipping Perpetual Calendar

I found this perpetual calendar craft at MomClick.    This is a really neat perpetual calendar because it uses the flip-chart idea.  Easily flip between day of the week, months and number days.  This perpetual calendar will look terrific on any desk.


(12)  Perpetual Chalkboard Calendar

Perpetual Chalkboard Calendar

This perpetual calendar is so awesome…. not just because it is obviously a wonderful perpetual calendar.  But, the materials to make this perpetual calendar is really thrifty.  Gotta love that!!  I found this perpetual calendar craft at I Will Craft.   Here she shows you how she made a perpetual calendar with metal flashing, game pieces and some scrabble tiles all in a framed vintage chalkboard.

Technorati Tags: , , , , , , , , , , ,

How to Make a Winter Angel Christmas Ornament

I have a fun Christmas craft for you today.  In this post I will show you how to make a Winter Angel Christmas Ornament.  This Angel Christmas Ornament turns out amazing looking.  It would look spectacular on your Christmas Tree.  You could also make this Winter Angel Christmas Ornament as a gift for your friends and family this Christmas.  They will surely love it.   This will surely be a Christmas Ornament that they will save for a long time….. proudly representing something you made yourself.  So, let’s get started.

Check out our Christmas Crafts.

Laura from Dacian Moon Handmade   will show you how to make this, step by step.


Materials Needed

– 1 disc of white felt
– 1 smaller disc of yellow felt
– 1 acorn cap
– 1 wooden bead
– toothpick
– scissors
– needle and pin
– instant glue
– red and black paint
– silver glitter glue
– 2 red beads


Step 1

Take the wooden bead…

… and stick it on a toothpick.

Like this.

[ad#ahc]

Step 2

Put the toothpick through the middle of the white felt.

Fold the felt in half, like this, and start sewing a dress for your angel.

Like this.


Step 3

Cut the extra felt.

It will look like this.

It is time to shorten the hands / wings.

Like this .


Step 4

Apply a layer of glue on the head…

… and put the yellow disc over it, like this. Note: you should do this quickly because the glue is fast drying.

This is the angel with hair.


Step 5

Apply a layer of glue inside the acorn cap…

… and fix it on the angel’s head over the yellow felt.


Step 6

Put a red bead on a piece of thread…

… and make a knot, like this.

Sew this piece of thread as a belt.

… like this. Then add another bead on the other end and tie the belt.


Step 7

Put the needle (with thread) through the yellow felt, and make a hanger.

Like this.

Decorate your angel with glitter glue, make eyes and mouth with black and red paint and your ornament is ready.

Isn’t this Winter Angel Christmas Ornament simply adorable?  It will look beautiful hanging on your Christmas tree.  It would also make a wonderful gift to a friend or family member.

Technorati Tags: , , , , , , , , , , , , ,

How to Make a Winter Tree Globe Ornament for your Tree

I have a real treat for you today.  I’m going to show you how to make a Winter Tree Globe Ornament perfect for any Christmas tree.  It is really easy to make and it is so much fun too.  Your kids will enjoy helping you make this Christmas tree ornament…. almost as much as they will enjoy looking at what they made on their Christmas tree.  They will certainly be so proud.  So, grab the materials needed for this craft and let’s get started.

Check out our other Christmas crafts.

A cool Christmas ornament tutorial offered by Laura from Dacian Moon Handmade


Materials Needed

– clear Christmas ornament ball
– large tip cotton swab
– square bead
– scissors
– silver glitter glue
– gold glitter
– instant glue
– green paint marker
– sugar
– tweezers


Step 1

Take the cotton swab…

… and cut the stick close to the cotton part.

Like this.

[ad#ahc]

Step 2

Cut a piece of stick – as long as you want the strain to be.

Like this.

Apply a bit of glue on one end of the strain…

… and stick it to the cotton tip, on the other end. Like this. Now it looks like a tree.


Step 3

Paint the cotton part in green.


Step 4

Using your scissors make some cuts…

… like this.

Add more cuts. They are tree branches.


Step 5

Adorn it with glitter glue, then let it dry.

This is our tree.


Step 6

Now is time to fix the strain, using this square bead.

Apply a bit of glue on the strain end…

… and put it through the bead. Add a little more glue around it, just to be sure.


Step 7

Let’s decorate the top of the tree!

Apply glue on the top…

… and put it in gold glitter…

… like this.


Step 8

Use tweezers to gently grasp the top.

Add a layer of glue on the bottom of square bead…

… and put it through the opening of the globe (take the hanger off before that)…

… like this.


Step 9

Make a paper funnel (a paper cone)…

… and put it on the opening of the globe.

Pour sugar through it…

… like this.

Put the hanger back. Now you have a globe with a winter tree and snow.

Isn’t this Winter Tree Globe Ornament adorable?  It is going to look so terrific on your Christmas Tree.  Enjoy it!!

Technorati Tags: , , , , , , , , , , ,

How to Make a Snowmen Family Globe Ornament

I have a Christmas craft that both you and the children will love making.  I’m going to show you how to make a super-cute, super-simple ornament for your Christmas tree.  It is a snowmen family globe ornament.  The children (or yourself) will use white paint and their hand print to make the snowmen on the globe ornament.  With just a little more paint you will create an imaginative snowmen family.  Imagine how thrilled your children will be to have made a Christmas ornament for the tree themselves.

Check out our other Christmas crafts.

Step by step tutorial offered by Laura from Dacian Moon Handmade


Materials Needed

– blue Christmas ornament ball
– white paint
– red and black paint
– paintbrush
– toothpick
– optional glitter glue to add some highlights


Step 1

Put some white paint in your hand…

… and spread it with the paintbrush.

[ad#ahc]

Step 2

Put the globe in your hand…

And close your hand gently but firmly over it.

It will look like this.

Let it dry well.


Step 3

Using the toothpick and black paint…

… make eyes, mouth and buttons for the snowmen…

… like this.

With black you can also do hats and scarves for two of them.

Use red paint to make noses, hats and scarves for the other two.

Aren’t they cute?

And, that is it!!  How simple is that?  Your kids will love using their hand print to make the snowmen.

Technorati Tags: , , , , , , , , , , , ,

How to Make a Lace Christmas Ornament

I have a wonderful Christmas craft for you today.  I’m going to show you how to make a lace Christmas Ornament for your Christmas tree.  This Lace Christmas ornament is a wonderfully delicate ornament and the crystals will look just absolutely breathtaking against the Christmas lights on the tree.  Let the kids join in on this craft…. after all it is a super fun craft for the whole family.  Plus, imagine how good the kids will feel when they see their handcrafted ornament on the tree.  So, let’s get started.

Check out our other Christmas Crafts.

This delicate ornament will add a note of elegance to your Xmas tree.


Materials Needed

– lace (for best results use one with flowers or some pattern border, like mine)
– needle and thread
– a piece of thick thread
– crystals (I use bicones and one drop)
– scissors
– 1 small bead


Step 1

Look carefully at the lace and choose the best part to use, then cut it out.

I choose a spiral with a tail so I will add the crystals to the tail. You will add them on the lower part of your piece, to dangle.

[ad#ahc]

Step 2

Sew the crystals  to look good…

… I put each one on a part of the tail, letting the middle one free.

In the middle we will sew the drop.


Step 3

Place the drop on the needle, starting with the narrow end.

Then add the bead…

… and pass the needle back through the drop, like in the picture.

It will look like this. Sew it to the lace and make a small knot.

The ornament is almost ready.

The only thing that must be done is to add the thick thread on the upper part, like this.

Now you have an elegant ornament for your Christmas tree.

Isn’t this a beautiful Christmas ornament?  It’s just so delicate…. I love it.  The dangling beads will look so beautiful against your Christmas lights.

Technorati Tags: , , , , , , , , , , , ,

How to Make a Pop-up Christmas Card

Today I’m going to show you how to make a very special greeting card for the Christmas Holiday.  In particular I’m going to show you how to make a Pop-up Christmas card.  Anyone receiving this Christmas card will love it… not only because it came from you, but also because of the 3-D effect of the card.  In this post I will show you how to make a Pop-up Christmas tree that actually sticks out of the card when opened.  Add a special note to your card and it is ready to send out for Christmas to a friend or family member.

Check out our other Christmas crafts.

Laura from  Dacian Moon Handmade will show you how to make this, step by step.


Materials Needed

– cardboard
– green paper
– green pen
– glue
– scissors
– green glitter glue


Step 1

Fold the cardboard in half.

Fold the upper corners outward at about 2/3 of their height…

… like this.

[ad#ahc]

Step 2

At 2/3 of height, cut in waves until you reach the crease…

… it will look like this.

Make another 2 – 3 waved cuts…

… like this.


Step 3

Press the lower part (under the first cut) behind…

… like this. It will look like the tree stem.


Step 4

Fold the green paper in half.

Apply a layer of glue on the cardboard until you reach the creases…

… and place it over the green paper, like this.

Do the same on the other part.


Step 5

Take the green pen …

and write “Seasons Greetings” beside the tree.

Add some glitter glue globes on the tree and your greeting card is ready .

And, there you have it.  You just made a beautiful and festive Pop-up Greeting card for Christmas.  The receiver will love it!!

Technorati Tags: , , , , , , , , , , , ,

How to Make a Christmas Decorated Jug with Napkins

Today I’m going to show you how to transform an ordinary jug into a wonderful Christmas decoration.  You can use a jug that you can pick up at any discount store and change it into a spectacular Christmas decoration or give it out as a Christmas gift this Holiday.  Using this special napkin technique changes an ordinary jug into something so much more.  Plus, the craft itself is so much fun.  So, grab the kids and the materials needed and let’s get started.

Check out our other Christmas crafts.

Laura from  Dacian Moon Handmade will show you how to make this.


Materials Needed

– blank jug
– craft glue
– metallic gold paint
– napkin with the motif you want to use
– scissors
– paintbrush


Step 1

Take the napkin…

… and cut out the motif you want to use…

… like this.

[ad#ahc]

Step 2

Remove the white layers. It is easier to start in the middle, where the napkin was folded.

Most napkins are either 2-ply or 3-ply so you must remove all the white layers.


Step 3

Using the paintbrush…

… apply a layer of glue on the item where the motif will be.

Place the napkin as flat as you can, following the contours of the item.

Wet the brush slightly with glue and spread evenly on the surface of the napkin until it is completely covered. Work slowly and be careful not to tear the napkin. Work from the center out towards the edge of the pattern.

Let it dry.


Step 4

To give it shine you can add a thin layer of metallic paint over the motif.

Let it dry well…

… and the jug is ready.

Now place the Christmas decorated Jug somewhere special this Christmas.  It is a perfect decoration for the Holiday that you can use for years to come.

Technorati Tags: , , , , , , , , , , ,

How to Make Square Weaving Looms : Woodworking Craft

This is a great woodworking project for children to do with Dad or Mom. And it makes a terrific weaving loom to be used over and over again. So this craft is one of those crafts that you only have to do once…but you can use it forever to make new crafts with. This loom will be a great first-time weaver loom for your kids to learn about weaving with. Have fun making it and have a great time weaving on it later on. Here are More Weaving Crafts.

How to Make Square Wood Weaving Looms

How to Make Square Cardboard Weaving Looms

Crafts Materials Needed:

1/4″ plywood 4″ x 4″

Coping saw (adult assistance required)

60 wire brads 1/2″ long

Hammer

Sandpaper

Pencil

Ruler

How to Make a Square Weaver

Step 1 : Making the Loom

measure and mark off 1/2" border from the edge

On 4″ x 4″ plywood square, measure and mark off 1/2″ border from the edge, as heavy line (see pic above).

Step 2 : Making the Loom

There will be 15 brads on each side, but no brads in corners

(This portion requires adult assistance / supervision) Cut out center portion with coping saw (shaded area) and sandpaper edges smooth. Measure and mark off a line 1/4″ from edge all around. Divide line into 1/4″ spaces. Drive 1/2″ brads into each 1/4″ space. There will be 15 brads on each side, but no brads in corners, as in illustration above.

[ad#ahc]

Step 3 : How to Weave with this Loom

 Continue until entire loom weaver is strung

Fasten end of a 4-yard piece of yarn to brad at lower left-hand corner (A). Carry yarn across weaving loom and around brad on opposite side (B). Bring yarn down again to brad next right on lower side of loom (C). Continue until entire loom weaver is strung, as in illustration above.

Step 4 : : How to Weave with this Loom

Weave from right to left with an over-and under stitch, and from brad on one side of weaver to brad directly opposite on the other  side

Thread end of same yarn through a 5″ weaving needle. Weave from right to left with an over-and under stitch, and from brad on one side of weaver to brad directly opposite on the other  side, as in picture above.

Have fun Weaving!

Here are More Weaving Crafts.

Technorati Tags: , , , , , , , ,

How to Decoupage Trays Baskets and Boxes

Decoupage is a French word which means “cutting out”. It applies to any material that can be cut out. We are going to do paper decoupage.

How to Decoupage Trays Baskets and Boxes

How to Decoupage Trays Baskets and Boxes

CRAFTS MATERIALS NEEDED

A tray, basket or box

Magazine Pictures

Scissors

Glue

Old playing card

Varnish

Enamel

HOW TO DO PAPER DECOUPAGE

Step 1

Give the article to be covered, a coat of glossy or flat-finish enamel. Allow it to dry.

[ad#ahc]

Step 2

Cut out pictures, or parts of pictures, from magazine pages printed on heavy paper. (Thin paper will show the printing on the reverse side).

Step 3

Arrange the cut-outs on the surface of the article. Shift pictures around until you arrive at the most effective arrangement.

Step 4

Remove a single cut-out, and spread a thin layer of glue on the back of it. Put the cut-out back into position and press down firmly and evenly, using edge of playing card to smooth out wrinkles. Carefully remove excess glue with a damp cloth.

Step 5

Do each cut-out in the same manner, until entire surface is covered.

Step 6

Allow glue to dry for several hours. Then give entire article a coat of clear, waterproof varnish in glossy, semi-gloss or dull finish.

Technorati Tags: , , , , , ,

How to make a Pine Cone Christmas Figurine Ornament

Today I’m going to continue with another Christmas Craft.  This one will be a Pine Cone Christmas Figurine Ornament.  It is super cute and will look terrific on the Christmas Tree.  Let each of the kids make one of these figurine ornaments…. they will love hanging something up on the tree that they made themselves.  Plus, it is so much fun.  So, grab the materials needed and let’s get started.

Check out our other Christmas Crafts.

Tutorial offered by Laura from Dacian Moon Handmade .


Materials Needed

– cardboard
– red leather
– a cotton pad
– 1 wooden bead (big enough to be the head)
– scissors
– 1 piece of ribbon
– 1 pine cone
– craft glue
– black paint
– toothpick


Step 1

Take the cardboard…

…and make a cone of it: bring one side over the middle.. .

… then the other. Glue the two parts together.

Place the pine cone inside, to measure how long the cardboard cone should be.

Cut the extra cardboard.

It will look like this.

[ad#ahc]

Step 2

Apply a border of glue inside the cardboard cone…

… like this.

Then fix it over the pine cone.


Step 3

Take the wooden bead…

And place the toothpick inside.

Make a collar of glue where the toothpick comes out…

… and place it inside the cardboard cone, like in the picture. Keep it a little pressed, until the glue is dry.


Step 4

Take the leather and put it over the cardboard cone.

Measure the length and trace it with a pen.

Cut it out…

… like this

Apply glue on the back of the leather…

… and place it again over the cardboard cone.

Let it dry.


Step 5

Make another cardboard cone, narrower than first. This will be the cap.

Glue the cardboard cone.

Apply a layer of glue on the lower part that goes down from the cone and fold it over it.

Now cut the extra cardboard.

Measure the cone cover on the leather…

… like this.

Cut it out.

It will look like this now.

Apply glue on it…

… and place the cardboard cone on it.

Cover it with the leather.

Apply glue on the back…

… and place there the folded ribbon. Keep it in place until the glue is dry.

Now, let’s put it on the head. Put glue over the upper part of the head…

… like this…

…and fix the cap on it. Let it dry.


Step 6

Take the cotton pad…

… and break it into pieces to make one beard like this.

Apply glue on the lower part of the head and on the front part of the coat…

… and place the beard on it, fix it well on the face.

Take a little black paint with a toothpick…

… and draw its eyes.

Now you have a funny figurine to put on your Xmas tree.

The figurine is cute, huh?!  It will look wonderful on the Christmas Tree.  Enjoy!!

Technorati Tags: , , , , , , , , , , , , , ,

A Collection of Fun Nativity Scene Crafts for Kids

A Collection of Fun Nativity Scene Crafts for Kids

One thing you see at most houses at Christmas time is a Nativity Scene.  But, the problem with the store bought Nativity Scenes is that they are usually very delicate…. too delicate for the children to actually play with.  And, the thing about that is…. children love to play with the Nativity Scenes.  I mean, what’s not to want to touch…. there are small people, animals and a manger.  There is an entire scene for the kids to want to act out with the characters.  Well, why not make a Nativity Scene craft ….. put together a Nativity Scene of your very own that the children can actually play with.  So, today I have put together a bunch of Fun Nativity Scene Crafts that I have found around the internet.  All are a ton of fun…. and they are all meant to be played with.

Check out our other Christmas Crafts.

A Collection of Fun Nativity Scene Crafts for Kids

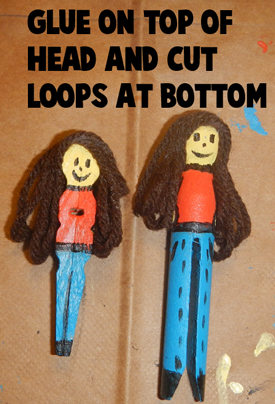
(1)  Pipe Cleaners & Yarn Nativity Scene

Pipe Cleaners and Yarn Nativity Scene

Here Spoonful shows us how to make an entire Nativity Scene using such materials as yarn and pipe cleaners.  She is very detailed, so this nativity craft is very enjoyable.  This Nativity Scene would look wonderful as a Christmas decoration and it surely will be so much fun to make.


(2)  Printable Nativity Scene

Printable Nativity Scene

I love this idea.  I found this Nativity Scene Craft at Catholic Icing and it is so cute.  Here you will be able to print off about 8 pages of templates.  Cut them out, decorate them and glue them to toilet paper tubes.  It’s so much fun.  check it out.

[ad#ahc]

(3)  Flower Pot Nativity Scene

Flower Pot Nativity Scene

Ok, this is really cute, right?!  Suite 101 shows us how to transform 3 terra cotta flower pots (along with some other materials) into a ridiculously cute Nativity Scene.  The craft promises to be a lot of fun.  Plus, no doubt, you will be tempted to keep this Nativity Scene out year round.


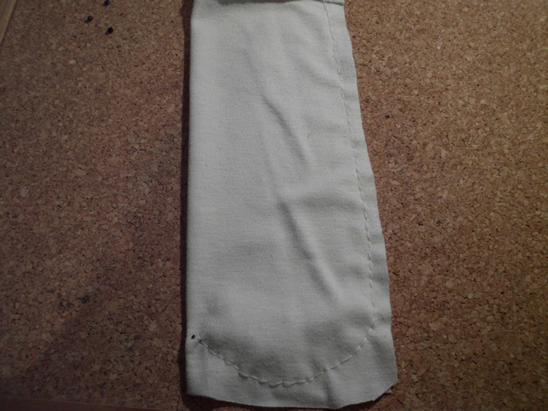
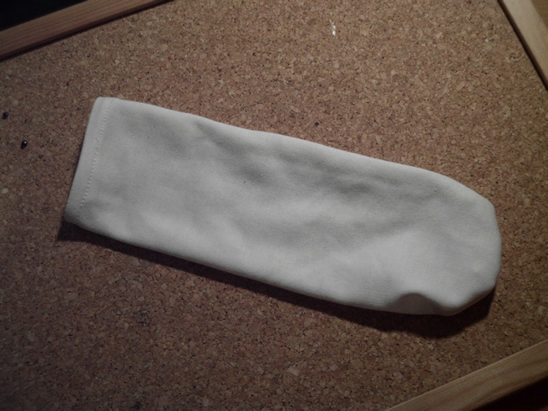
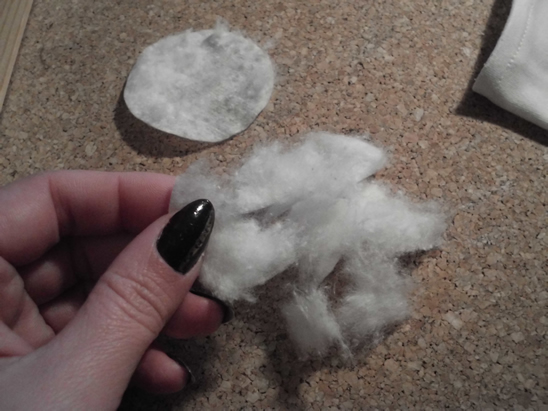
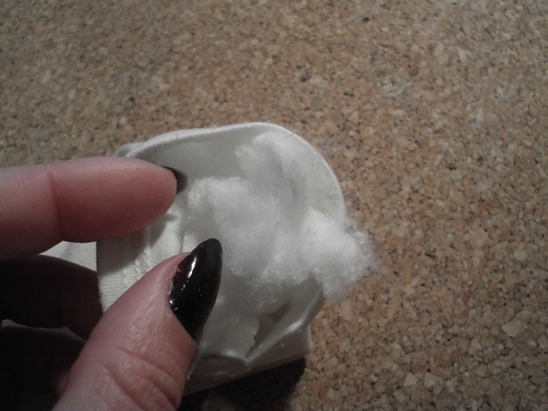
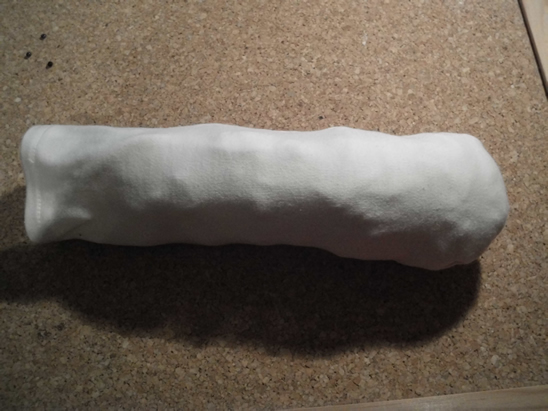
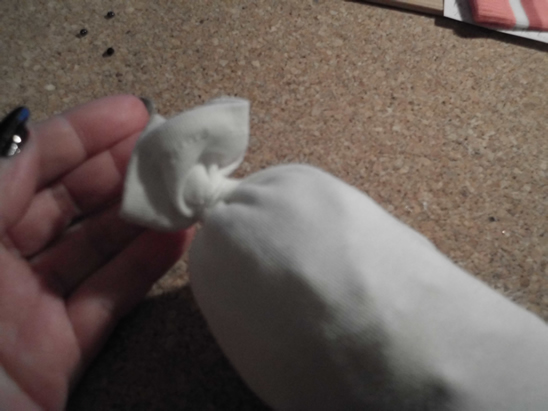
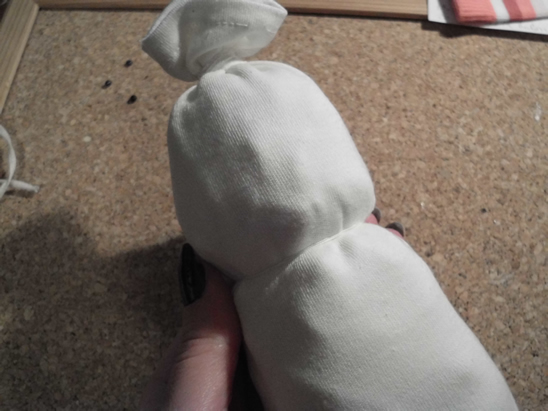
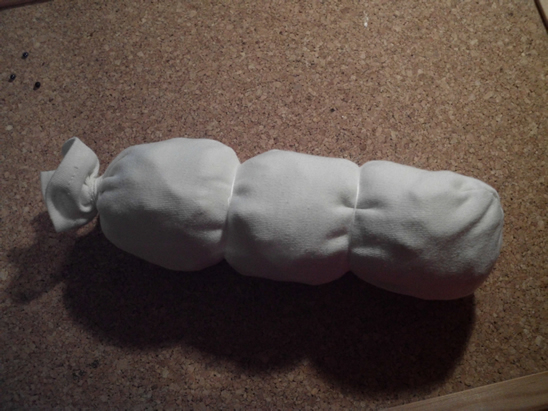
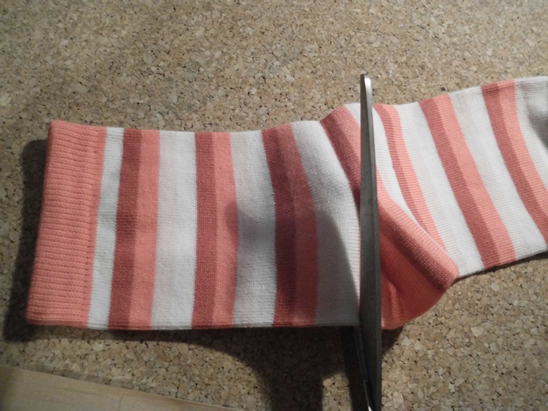
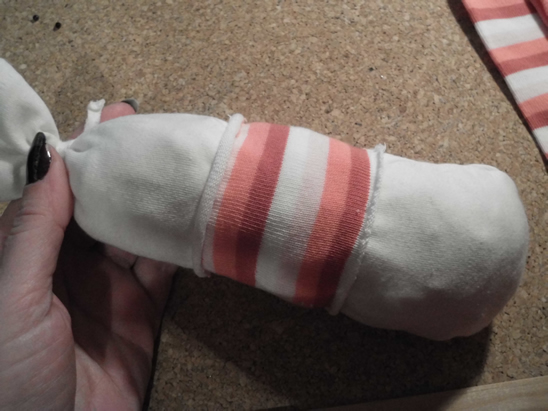
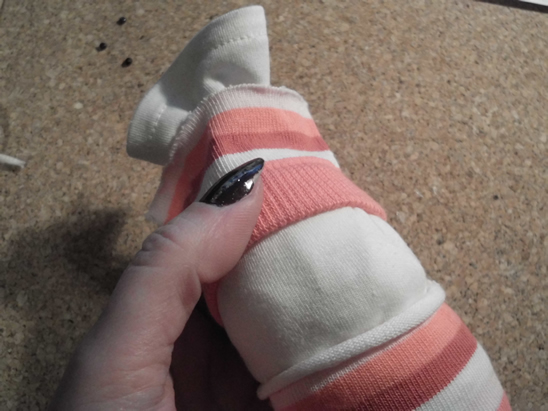
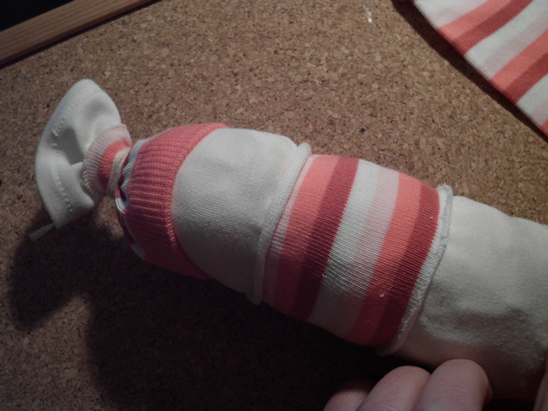
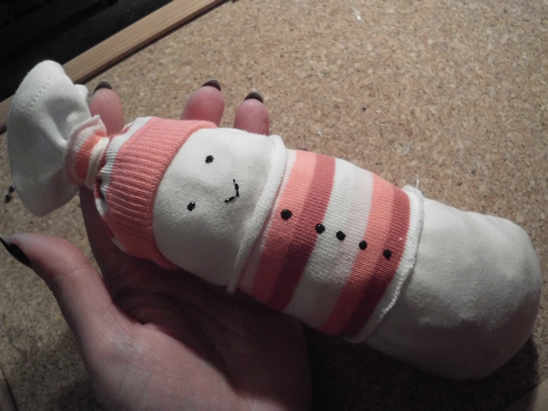
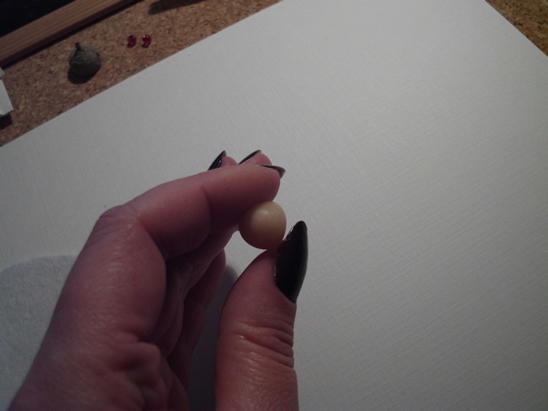
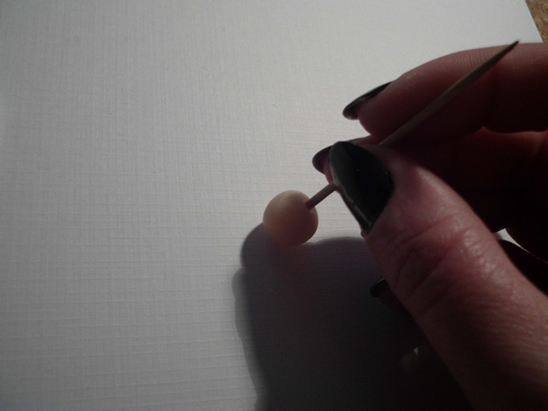
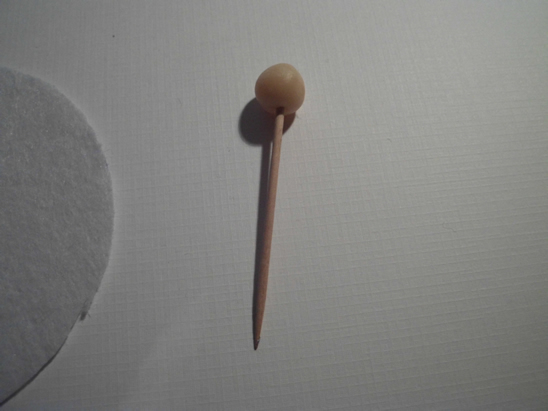
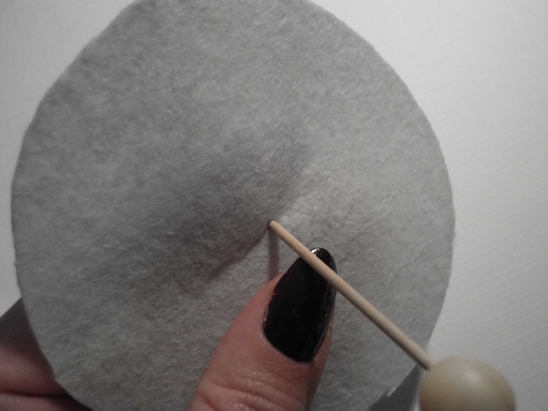
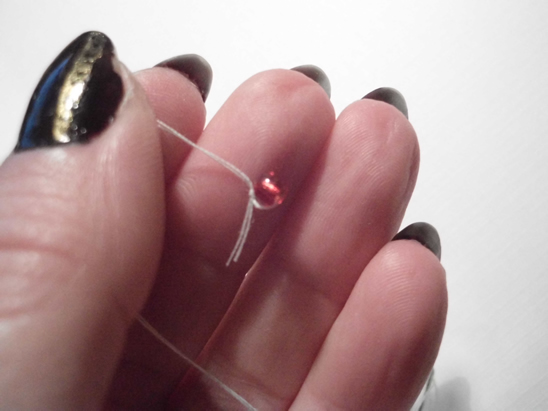
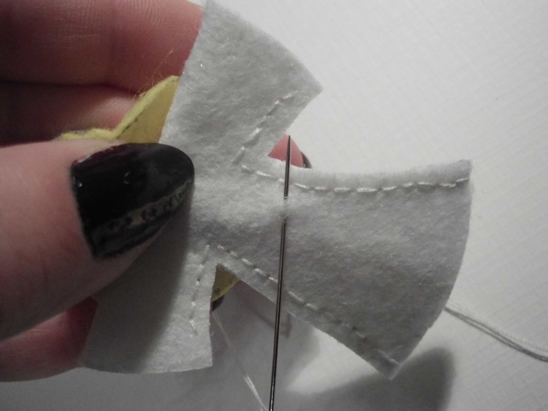
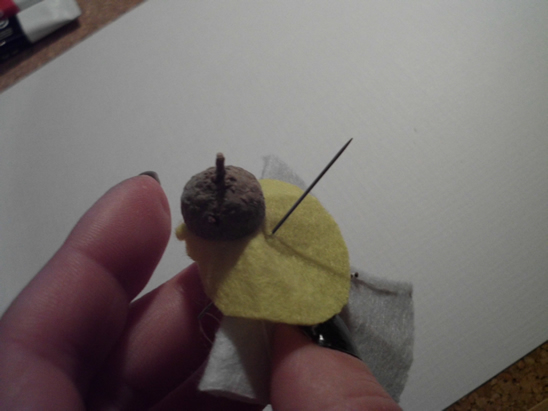
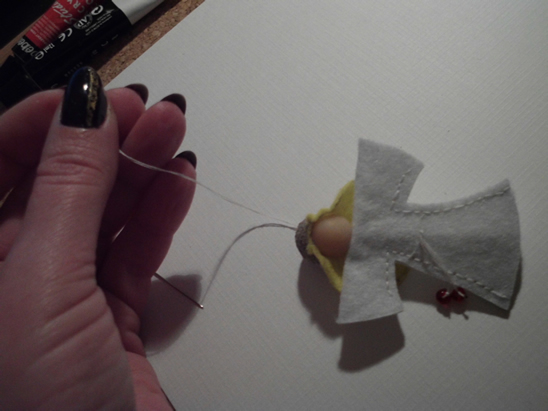
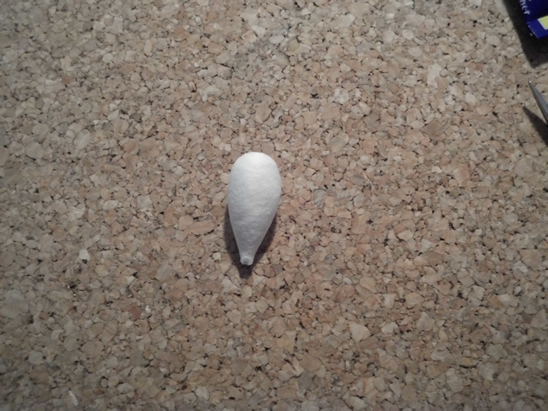
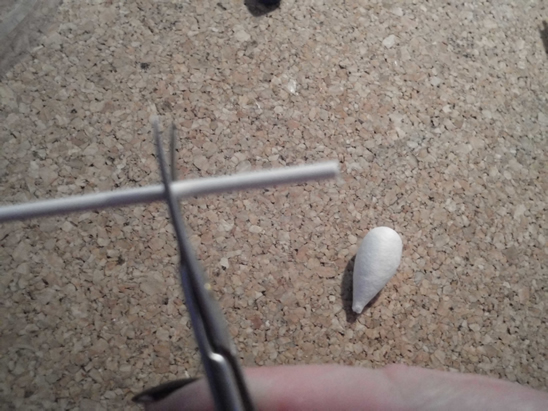
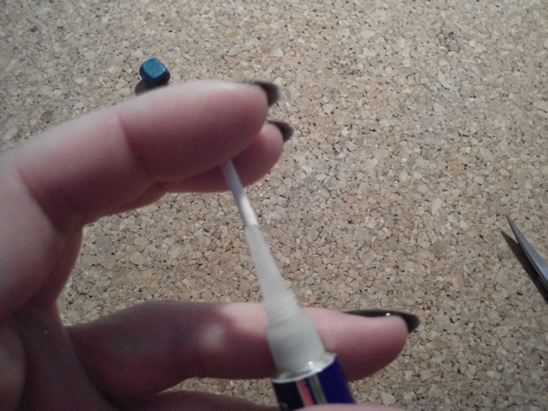
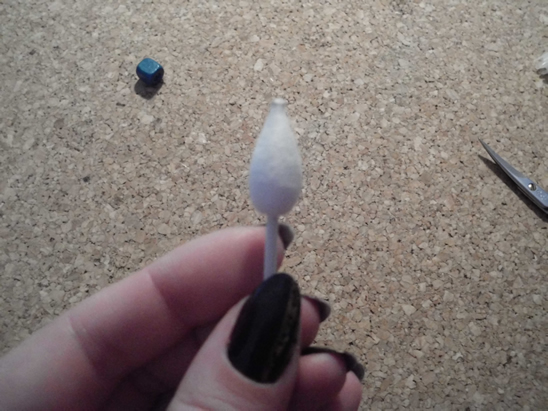
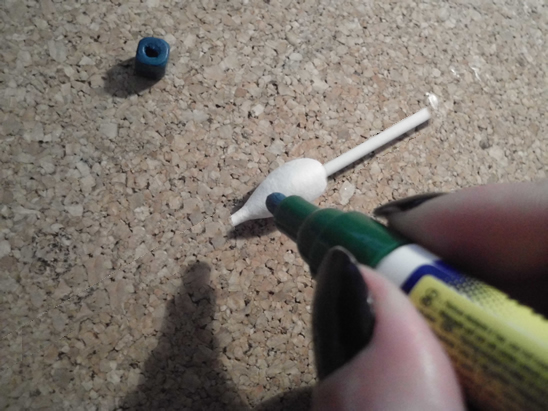
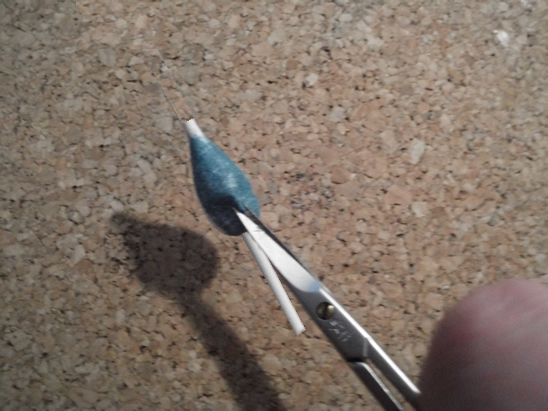
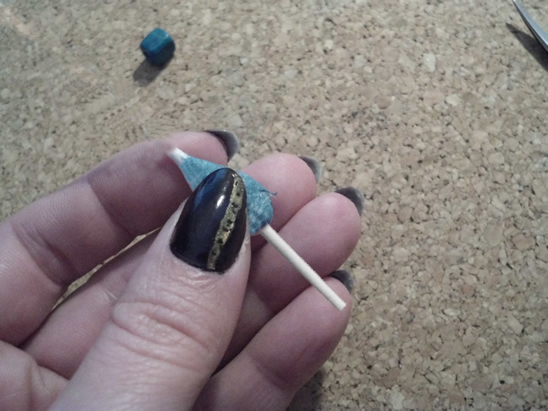
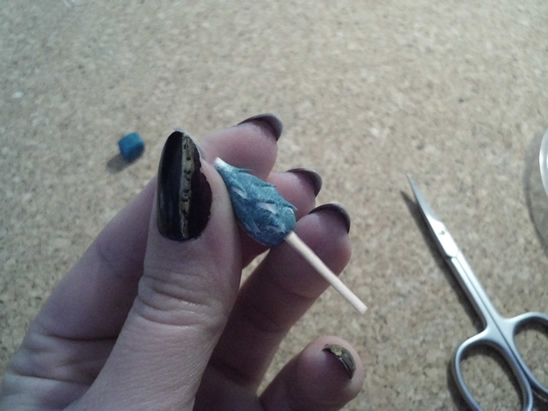
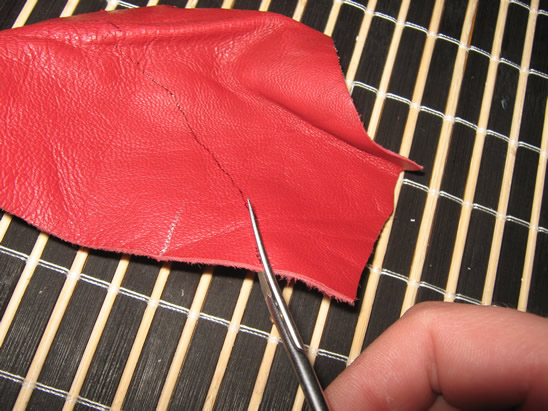
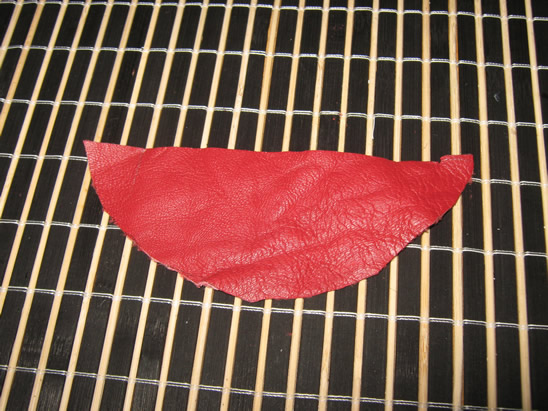
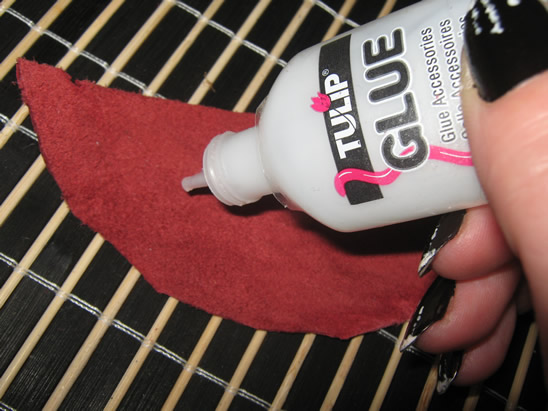
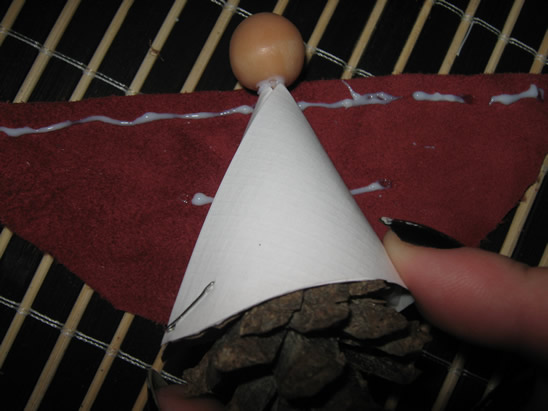
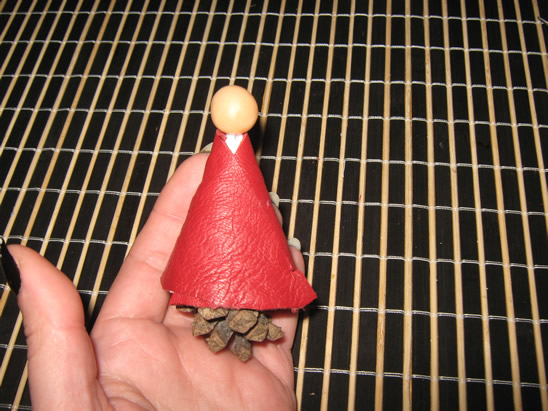
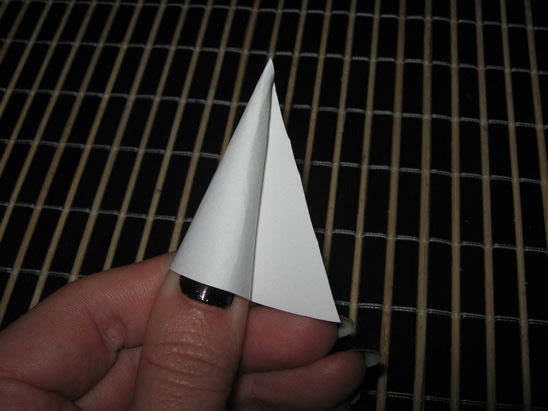
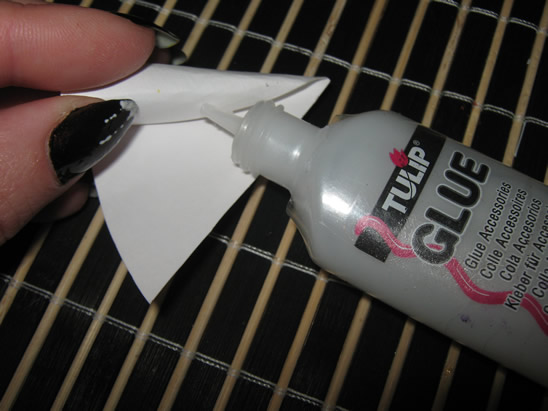
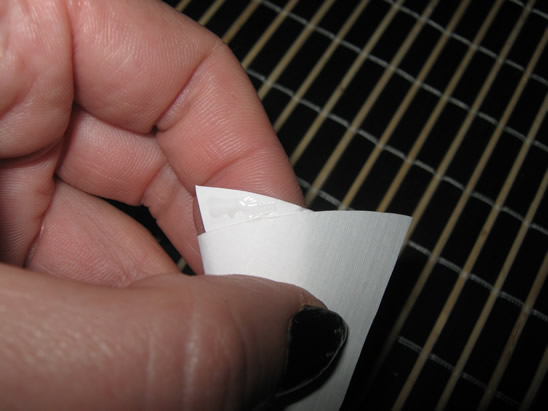
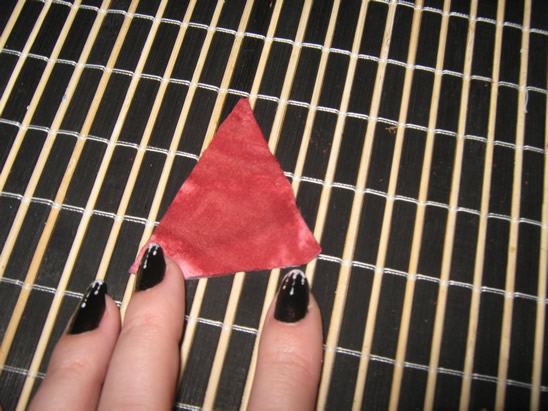
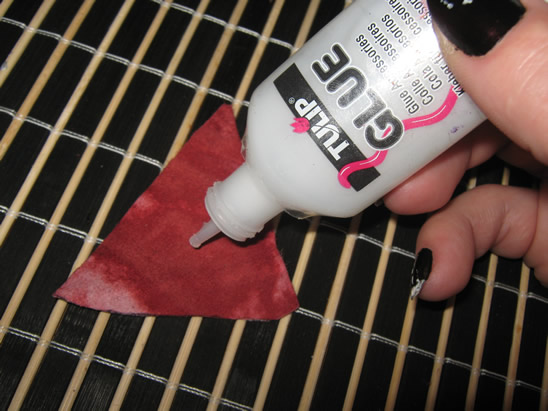
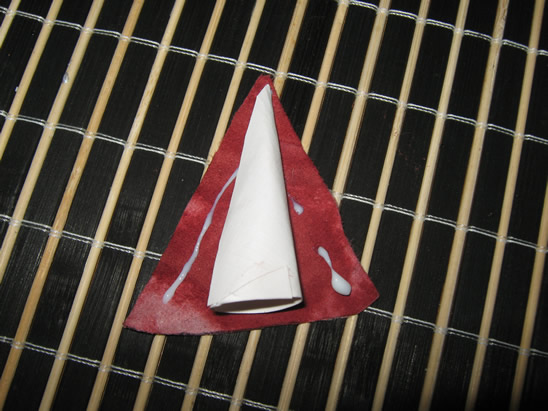
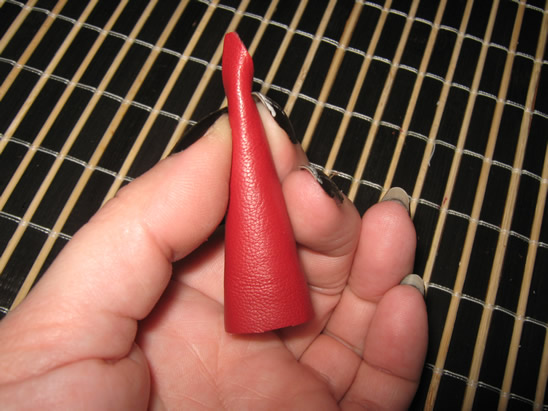
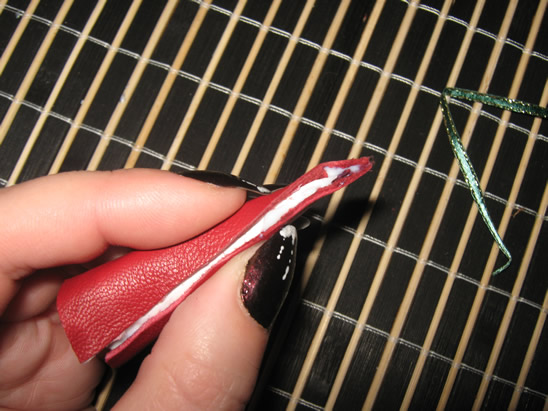
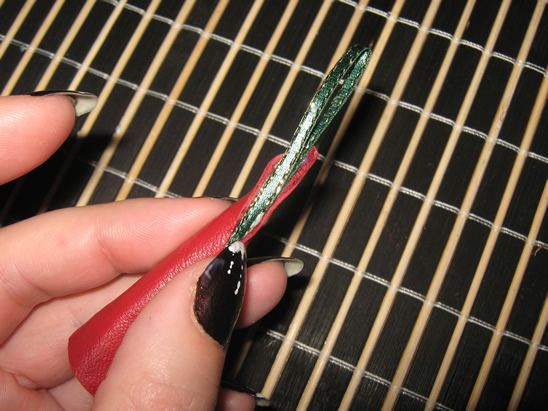
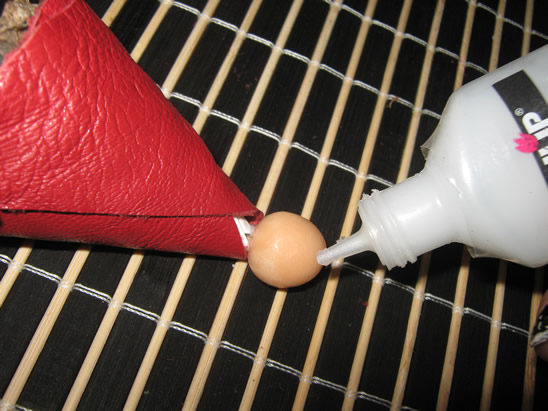
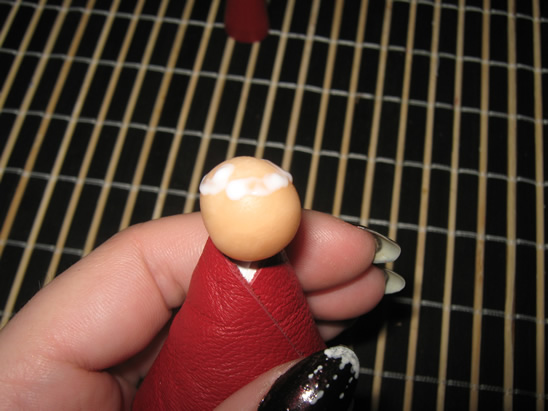
(4)  Basket Nativity Scene

Basket Nativity Scene

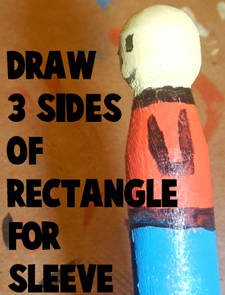
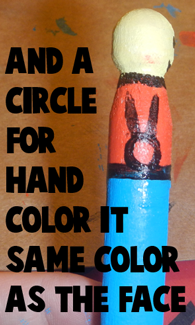
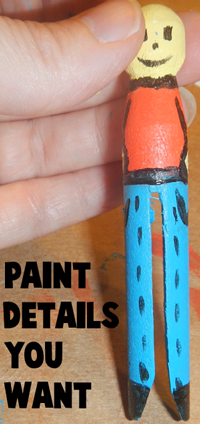
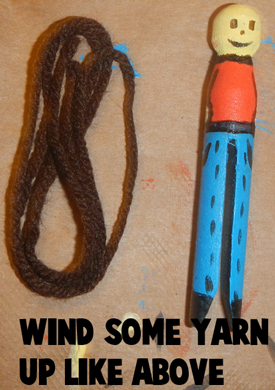
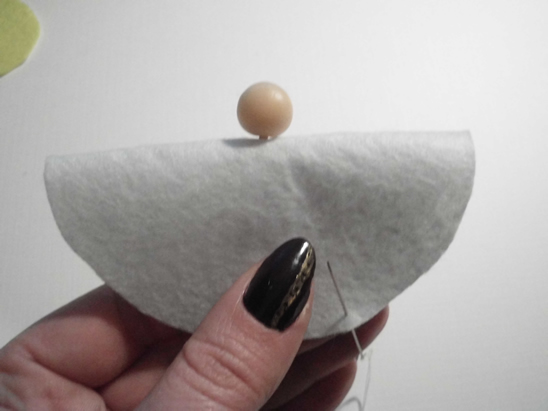
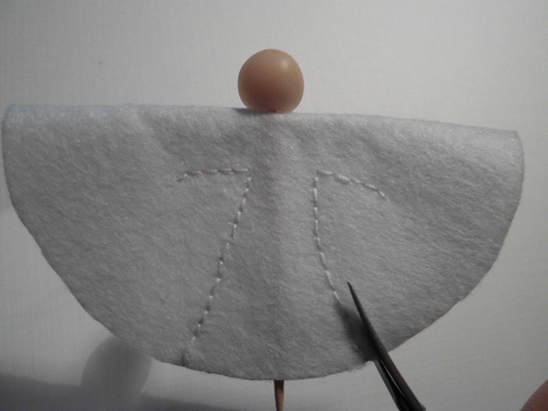
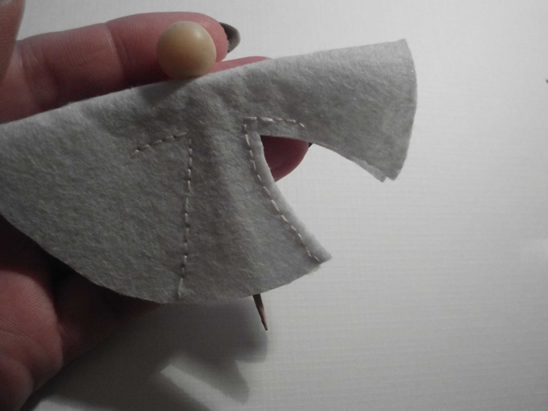
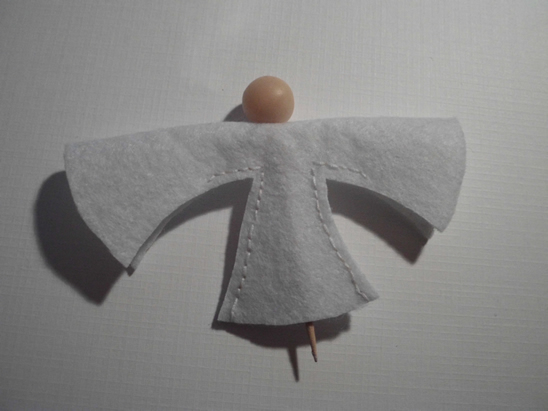
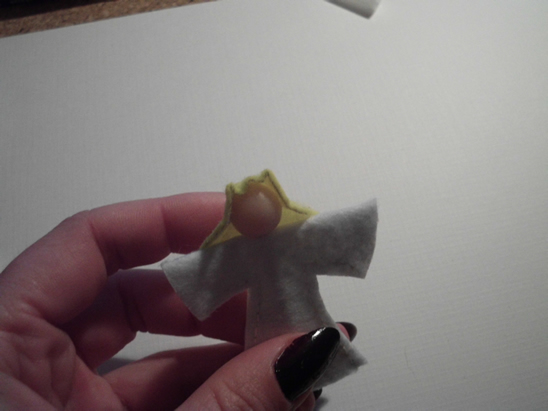
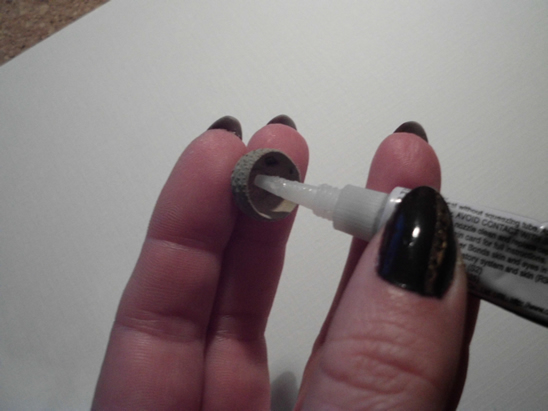
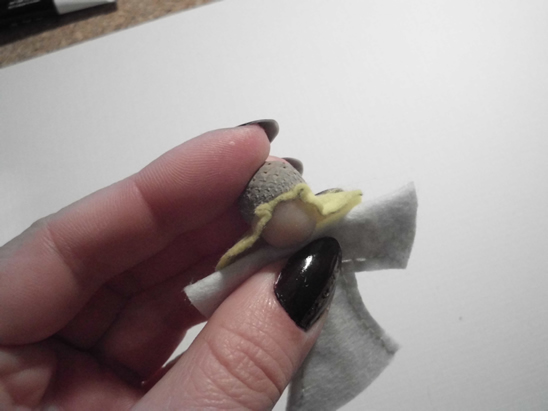
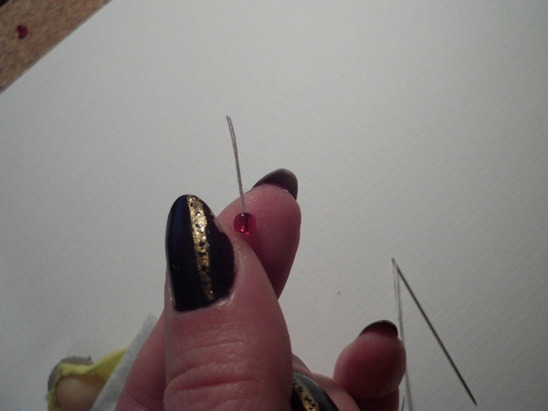
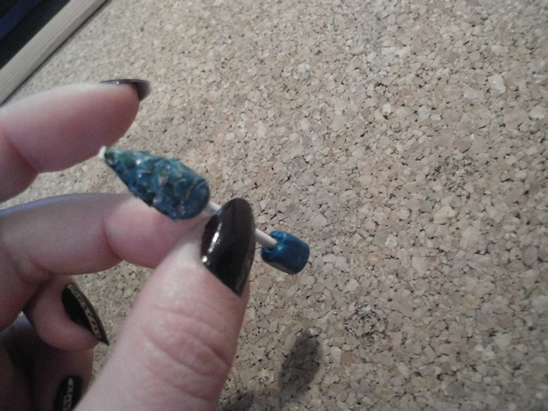
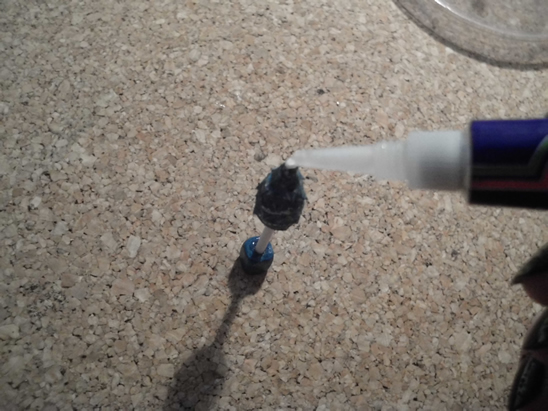
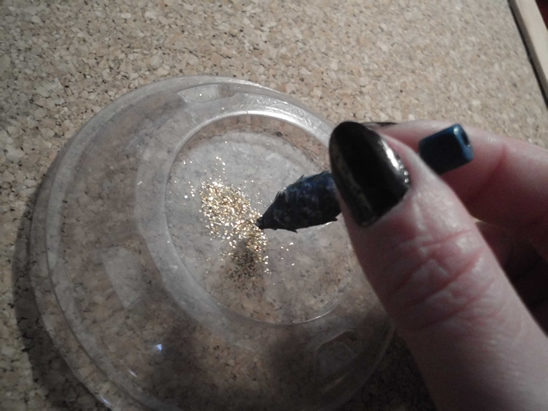
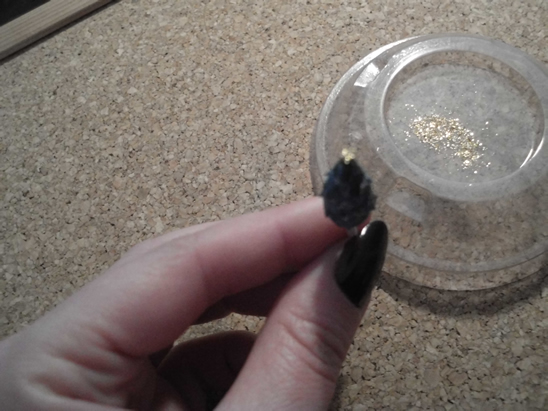
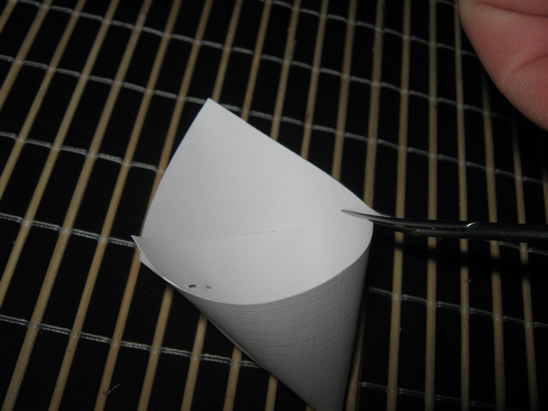
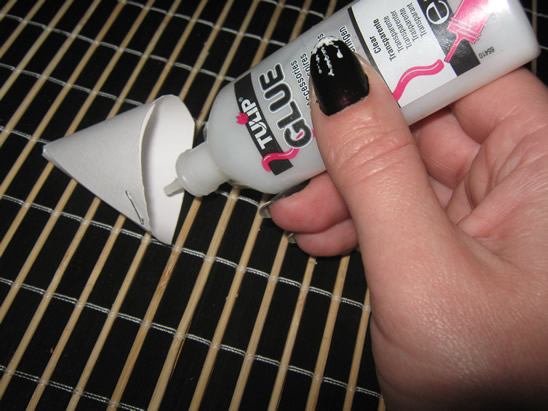
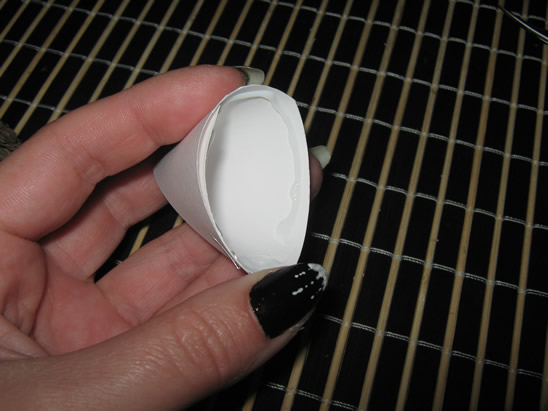
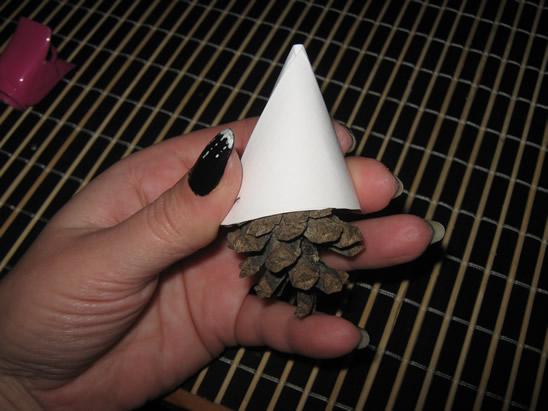
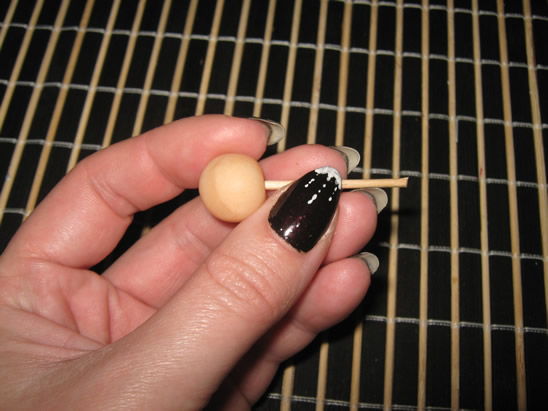
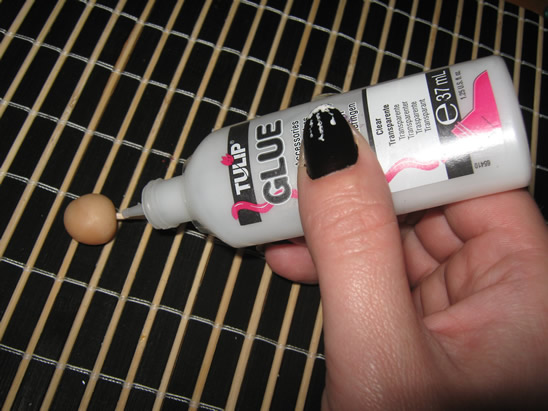
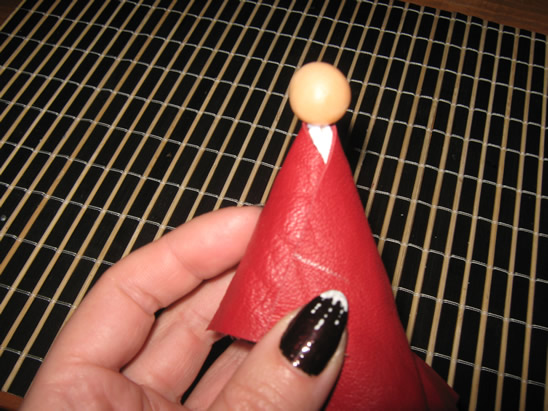
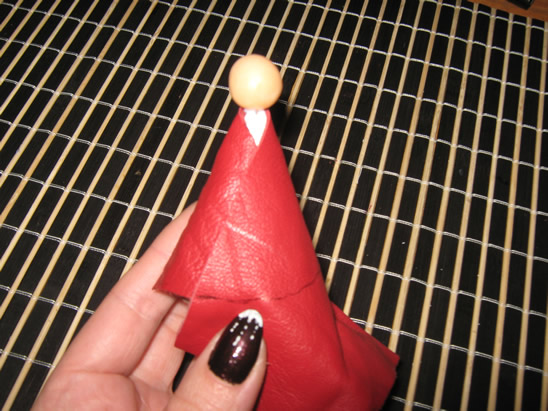
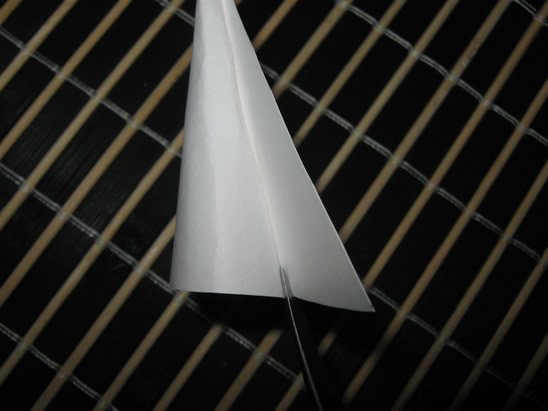
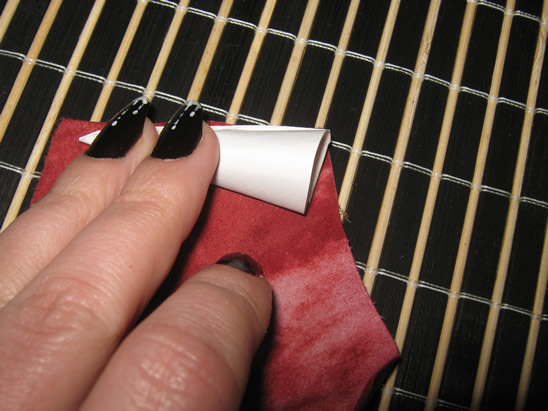
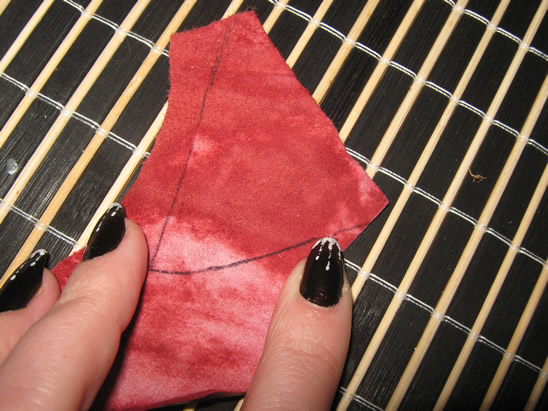
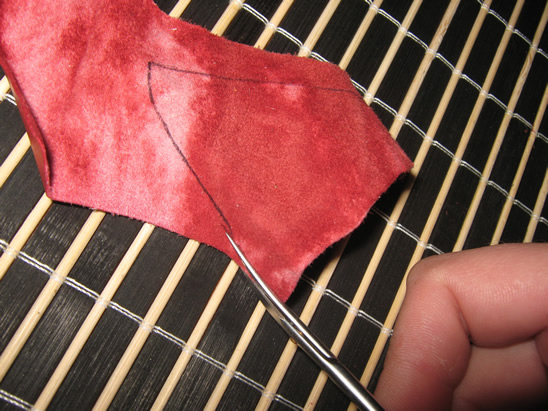
This Nativity Scene craft is one of ours from last Christmas.   This Nativity surely will be one that you will keep for years to come.  We show you how to make each of the figures in great detail including the Three Wise Men, Baby Jesus & Cradle, Mary & Joseph, sheep and the donkey.  It’s so much fun.  Check it out for yourself.


(5)  Rock Nativity Scene

Rock Nativity Scene

Here is another super cute and original Nativity Scene Craft.  Here Roper 5 shows us how to make this fantastic Nativity Scene completely out of backyard rocks and markers.  So, no need to buy any craft materials…. you can have fun with the kids hunting in the backyard for the perfect rocks.


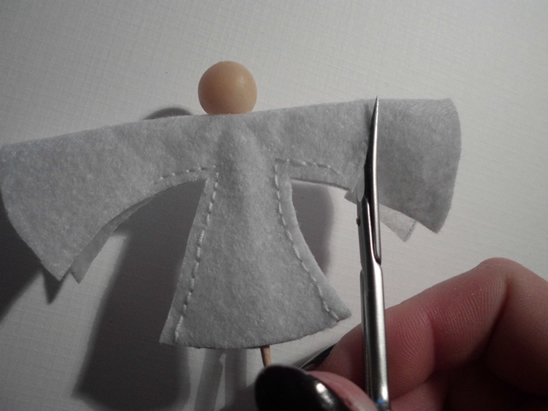
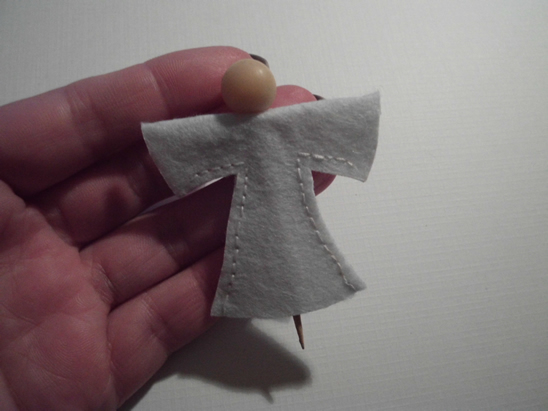
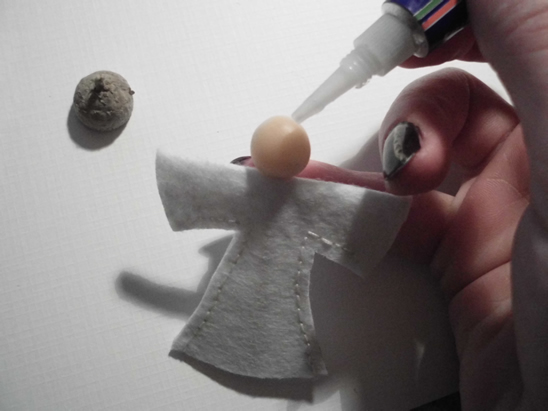
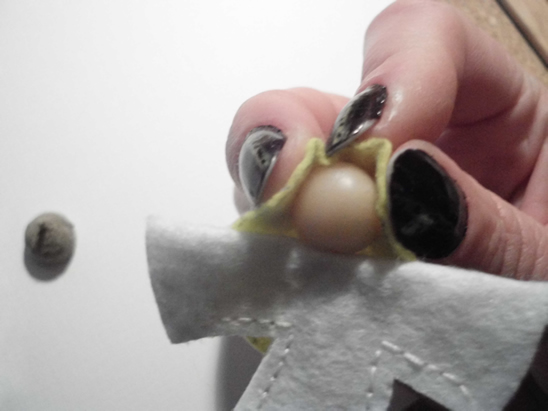
(6)  Wooden Block Nativity Scene

Wooden Block Nativity Scene

Here is an awesome Nativity Scene craft you can make with your kids with some wooden blocks, felt, glue and a few embellishments.  Imagine the fun you will have putting this craft together with your kids.  Fun part is that they are durable enough the kids can even play with this Nativity Scene.  Check out The Pioneer Woman for all the details.


(7)  Lego Nativity Scene

Lego Nativity Scene

This is such a clever idea for all you Lego fans.  Here Johan van Benthem shows us all how to make an entire Nativity Scene out of Legos.  Imagine the excitement of your kids as well as anyone who sees your Nativity Scene made completely out of Legos.  They will absolutely love it!!


(8)  Nativity Hand Puppets

Nativity Hand Puppets

What child doesn’t love hand puppets?  They all love them.  Here eHow shows us how you and your children can make these Nativity Hand Puppets for yourself.  Imagine the fun Christmas show your kids can put on with these hand puppets?  They will love using their imaginations to put on their very own program.


(9)  Nativity Blocks

Nativity Blocks

These blocks are just simply adorable.  I am a Momma – Hear Me Roar came up with this idea and I love it!!  She used homemade blocks, stickers and modge podge to make her Nativity Scene, but you can also print off Nativity Scene characters from the computer and do it that way as well.


(10)  Sun Catcher Nativity Scene

Sun Catcher Nativity Scene

Here is a clever idea by Peace Creek on the Prairie.  She uses wax paper, crayon shavings and an iron to make this beautiful Sun Catcher Nativity Scene.  Because of some of the materials used in this craft it does require some adult help.  You will have so much fun doing this Nativity Scene with your kids.


(11)  Gingerbread Nativity Scene

Gingerbread Nativity Scene

This Nativity Scene is absolutely delicious!!  Made from some of my most favorite treats this Nativity Scene craft is sure to be a big hit with the kids.  I found this craft at AOK Corral and it looks like so much fun.  You and your kids will surely enjoy putting this together.


(12)  Cardboard Tubes Nativity Scene

Cardboard Tubes Nativity Scene

Here is a simple yet fun Nativity Scene craft that all children will love putting together…. plus they can even play with this Nativity Scene once they are done.  Nurture Store shows us how to make this Nativity Scene out of toilet paper rolls.  How fun is that?!


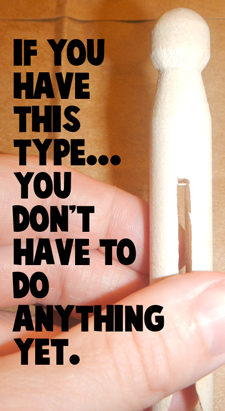
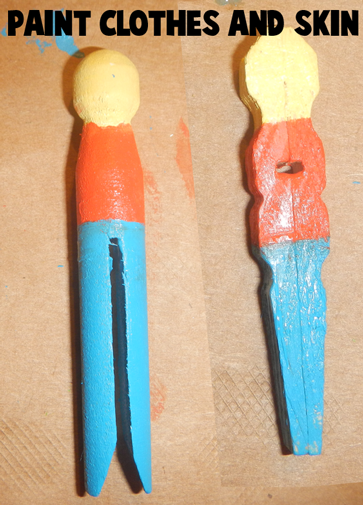
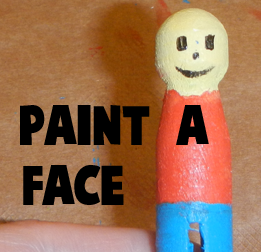
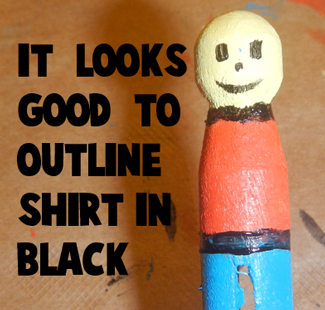
(13)  Clothespin Nativity Scene

Clothespin Nativity Scene

This is truly a clever idea and almost all the materials used in this Nativity Scene craft can already be found in your home.  Our Dish shows us how to use a cardboard box, sharpie and a couple of clothespins (as well as a few other things) to put together this fun Nativity Scene craft.


(14)  Foam Nativity Craft

Foam Nativity Craft

Craft foam is a wonderful material that children love working with.  And, this Nativity Scene craft will be no exception.  Piggy Giggles shows us how to make a unique Nativity Scene out of craft foam.  The craft is wonderfully detailed, so believe me when I say they have covered everything.


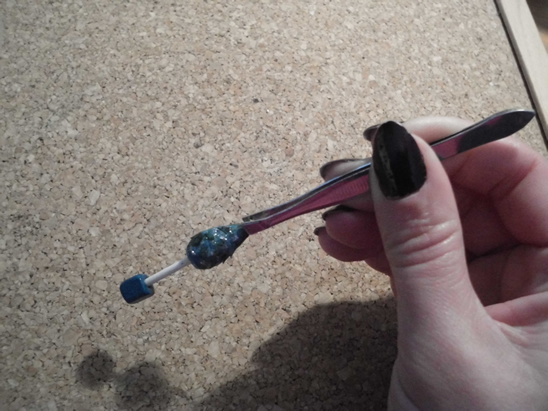
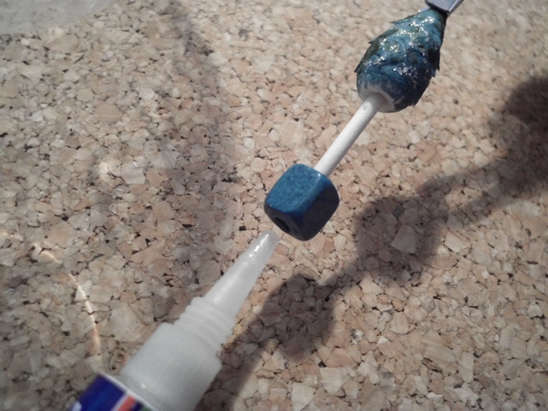
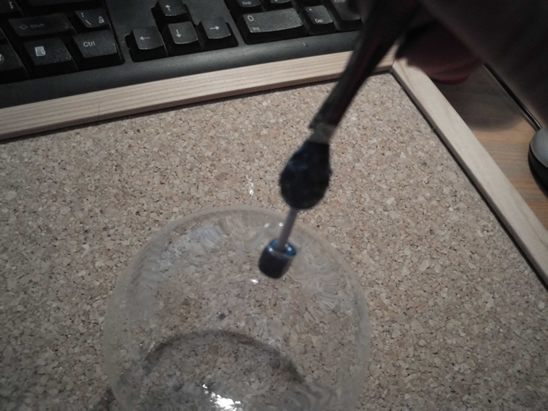
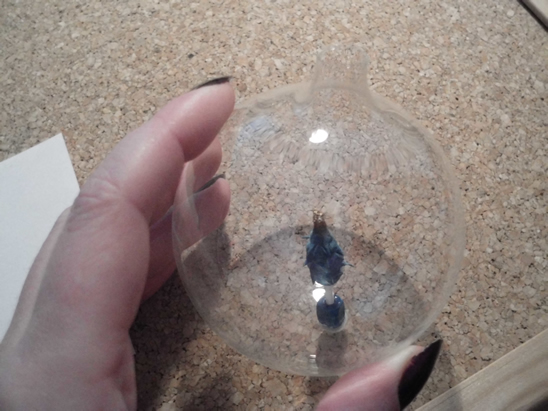
(15)  Egg Carton Nativity Scene

Egg Carton Nativity Scene

Made from egg carton bottoms and beads this Nativity Scene is really cute.  Plus, the great thing about it is the kids will have just as much fun playing with this Nativity Scene as they had making it.  I found this craft at April Showers.  Check it out for all the craft details.

Technorati Tags: , , , , , , , , , , , , , , , ,

Fun Kwanzaa Crafts for Kids

Fun Kwanzaa Crafts for Kids

Top Image by TheBlackHour.com

Oh boy…. do I have a treat for you today.  In this post I have compiled 14 Kwanzaa crafts from around the internet.  They are all perfect for your children to make.  Whether you celebrate Kwanzaa or not these crafts are great to help teach your children about Kwanzaa and the African culture.  Many of them not only incorporate the three colors of Kwanzaa (red, green & black), but they also help teach you about the 7 Principles of Kwanzaa…. Unity, Self Determination, Collective Work & Responsibility, Collective Economics, Purpose, Creativity and Faith.   These are wonderful principles to have and to teach your children.  So, check out these Kwanzaa crafts…. you are sure to find a few to do with your children.

Fun Kwanzaa Crafts for Kids

(1)  Kwanzaa Flag Garland

Kwanzaa Flag Garland

Here is a festive Kwanzaa craft perfect to help teach your children about Kwanzaa.  Here Kaboose shows you how to make this Kwanzaa Flag Garland in great detail.  It uses the symbolic colors of the holiday… red, green and black.


(2)  Kwanzaa Greeting Card

Kwanzaa Greeting Card

Here is one of our very own Kwanzaa crafts.  In this Kwanzaa Greeting Card craft we will show you how to make a greeting card for the Holiday Kwanzaa.  It is a very easy craft, so even young children will enjoy this craft.  You simply need some paper , scissors and glue.

[ad#ahc]

(3)  Kwanzaa Mobile

Kwanzaa Mobile

I found this Kwanzaa craft over at Spoonful.  Here they use the 3 colors of Kwanzaa as well as the 7 principles of Kwanzaa to make this adorable mobile.  This will make an awesome Kwanzaa decoration as well as teach your children about Kwanzaa.


(4)  Handprint Kinara

Handprint Kinara

Here is a fun craft that children of all ages will love to make.  Activity Village shows us how to take your handprint and make it into a very cute Kinara.  It’s a quick, fun and messy Kwanzaa craft for kids!  They will love it.


(5)  Doll Pin Kinara

Doll Pin Kinara

I have another fun Kinara craft for you.  This one came from Kaboose and it promises to be tons of fun.  Here they use doll pins, spools, paint and some other materials to make this festive Kinara.  Kaboose even has tons of information to teach you more about the Holiday of Kwanzaa.


(6)  Kwanzaa Placemat

Kwanzaa Placemat

Here is another entertaining Kwanzaa craft.  In this craft Making Friends shows you how to incorporate the 3 colors of Kwanzaa into this colorful placemat.  Your kids will have fun weaving strips of red, green and black craft foam into this festive Kwanzaa placemat.


(7)  Kwanzaa Bracelet

Kwanzaa Bracelet

Here is a great Kwanzaa craft that both boys and girls will love making.  I found this craft at Yahoo! Voices and it’s a good one.  Make these Kwanzaa bracelets with the colors of Kwanzaa and give them to your family and friends as gifts.  They will love it.


(8)  Bubble Wrap Corn

Bubble Wrap Corn

Kwanzaa is about the festival of the first harvest of the crops.  So, this Bubble Wrap Corn just makes sense as a craft for Kwanzaa.  Give your child all the details about Kwanzaa as you make this fun bubble wrap craft with them.  Check out No Time for Flashcards for all the details.


(9)  Kwanzaa Bead Candles

Kwanzaa Bead Candles

Here Spoonful shows us another wonderful Kwanzaa craft.  This time they make these cute Kwanzaa bead candles.  Here they use craft cubes, oval beads as well as other materials to make these festive candles.  This is a great way to introduce the seven principles of Kwanzaa.


(10)  Kwanzaa Flag Decoration

Kwanzaa Flag Decoration

Family Education shows us a great way to teach your children a little bit about Kwanzaa and the African culture.  Here they use different flags of Africa to make a great decoration for Kwanzaa.  As you are making these flags of Africa with your children it is a great time to teach them about Kwanzaa.


(11)  Corn Necklace

Corn Necklace

Remember Kwanzaa is the festival of the first harvest of the crops.  Corn was a very important crop.  So, this Corn Necklace craft is perfect for Kwanzaa.  Here Better Homes & Gardens explains how each ear of corn represents a child in the family.  Check out the craft for all the details.


(12)  Papier Mache Bowl

Papier Mache Bowl

Check out this gorgeous and super festive Papier Mache Bowl perfect for Kwanzaa.  I found this at Crafts Holidays site and thought it was beautiful.  Here they use Papier Mache to make this bowl…. so it is sure to be a lot of fun for the kids.  Use this bowl to hold the Mazao (or fresh fruits and vegetables) at your Kwanzaa table.


(13)  Kid-Friendly Kinara

Kid Friendly Kinara

Nick Jr. has the right idea with this Kinara Kwanzaa craft.  It is just adorable and the children will love making it.   Here they use craft sticks as well as clothespins to put this Kinara together.  They also don’t forget the colors of Kwanzaa with this Kinara.


(14)  Cardboard & Tissue Paper Kinara

Cardboard & Tissue Paper Kinara

Kids love to do crafts with tissue paper and cardboard rolls.  And, this Kwanzaa craft will be no exception.  I found this craft over at PBS and thought it was a great one to include.  Make sure to check this Kinara craft out.  Plus, they also go into great detail of the 7 Principles of  Kwanzaa…. great to teach your children.

Technorati Tags: , , , , , , , ,

How to Make a Bottle Brush Christmas Tree

I have a fun Christmas decoration craft that you can make out of a bottle brush.  Today I’m going to show you how to make a Bottle Brush Christmas Tree.  A bottle brush is the perfect material to use for this Christmas Tree decoration because the bristles take on the look of one of those artificial Christmas Trees.  It makes for a wonderful Christmas decoration that will last for years.  And, your kids will love making them.  So, grab a bottle brush and the rest of the materials and let’s get started.

Check out our other Christmas Crafts.

Laura from  Dacian Moon Handmade will show you how to make this, in 4 easy steps.


Materials Needed

– bottle brush
– craft glue
– glitter
– glass or plastic colored pearls
– scissors
– paintbrush
– eraser
– a piece of paper


Step 1

Place the piece of paper in front of you…

… take the bottle brush and give it a haircut.

You should cut it in small steps until it looks like a tree.

[ad#ahc]

Step 2

Take the eraser…

… and fix the tree in the middle of it. It should be a large eraser to support the tree. You can use polystyrene , wood or anything else strong enough to support your tree.


Step 3

Spread glitter on the paper…

…then apply glue on the tree, using the paintbrush…

… like this.

Before the glue is dry, roll your tree over the glitter.

Take care to have glitter on all sides.

It will look like this.


Step 4

The final step is to add to it some globes, so put the glass / plastic pearls in the branches without glitter. They will stick in place because of the glue. I used a toothpick to place them in place.

Your little tree will make a wonderful decoration.

Isn’t this Bottle Brush Christmas Tree adorable?  This Christmas Tree will make for a great table top decoration for Christmas.  And, your child will love that they made this Christmas decoration themselves.

Technorati Tags: , , , , , , , , ,