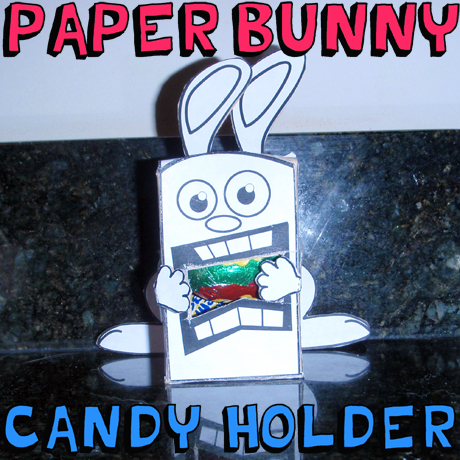
Here is a free printable template that you can use to make an adorable Easter Bunny that holds candy in his mouth. This could be used as an Easter decoration or to give candy to your friends. Either way, it is simple enough to make with a little effort. Find the free printable template below as well as the instructions for putting it together.
Crafts Materials Needed:
Paper or Card Stock
Printer
(Optional) Cereal Box
Scissors
Ruler
Butter Knife
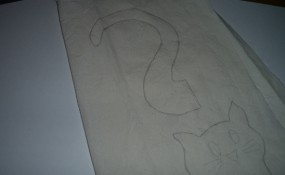
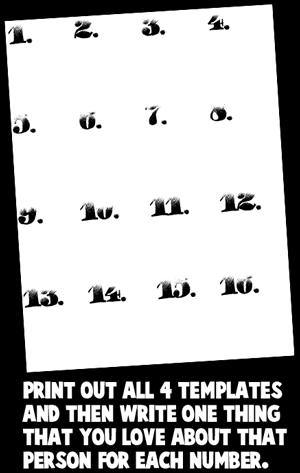
TEMPLATE
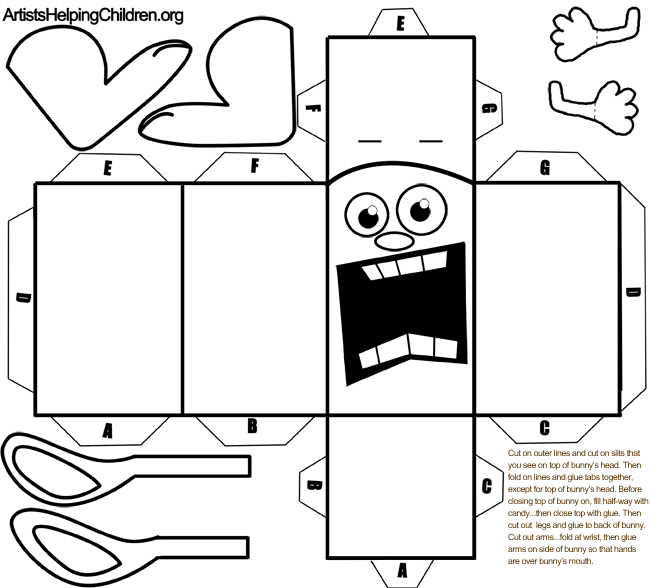
Click on thumbnail and then the template will open up. You can then save the image to your computer and print it out then.
Step 1
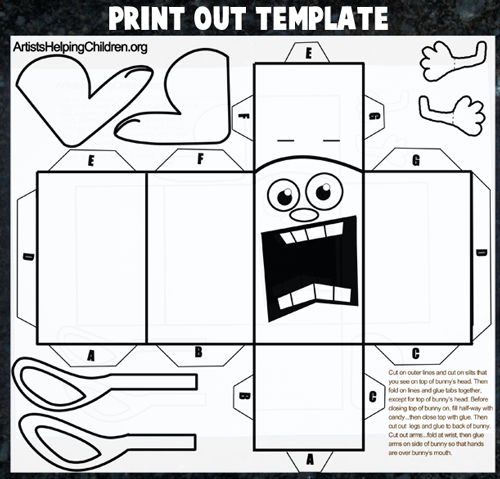
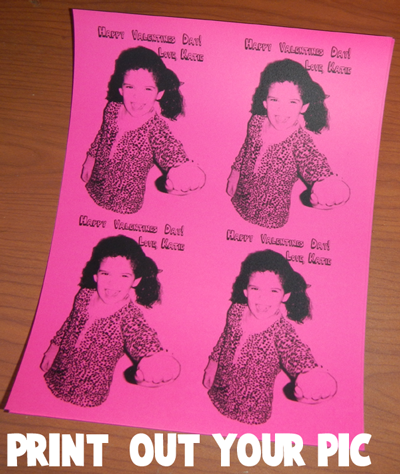
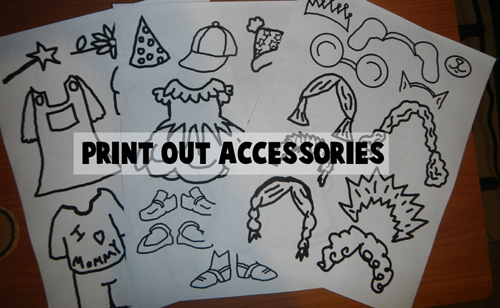
Firstly, Print out the template, found above. It works best if you can print it out on card stock, but paper is fine too.
Step 2
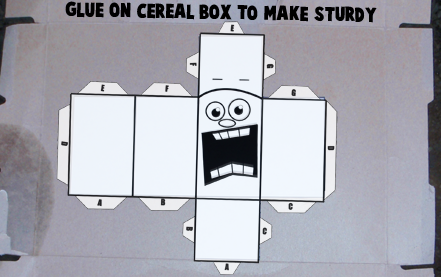
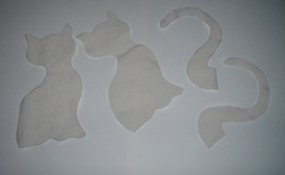
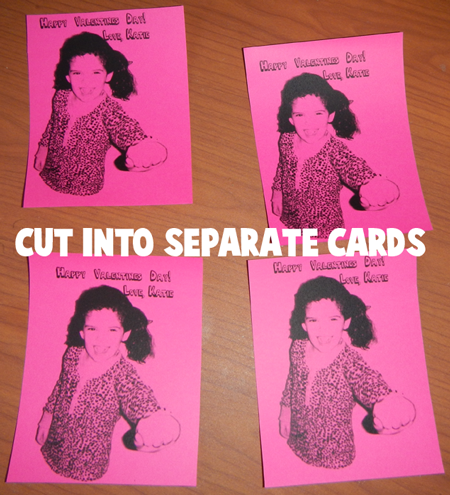
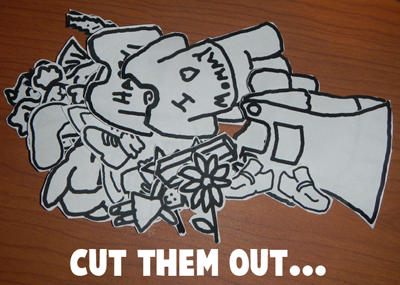
Cut out all the pieces and then glue them onto cereal box cardboard. If you are able to print out the template on card stock, this step is not necessary.
[ad#ahc]
Step 3a
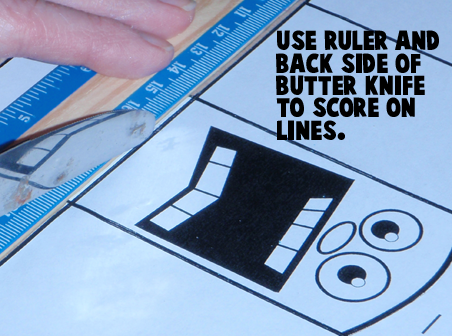
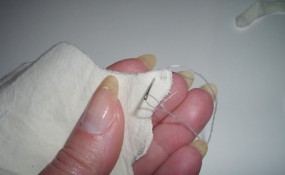
Use the back of a butter knife to score lines. You put a ruler up to the line and then drag the back of the butter knife along the line. This is called scoring and makes it easier to fold upon the line in a neat fashion. Do this, without the ruler, along the curved line at the top of the bunny’s head.
Step 4
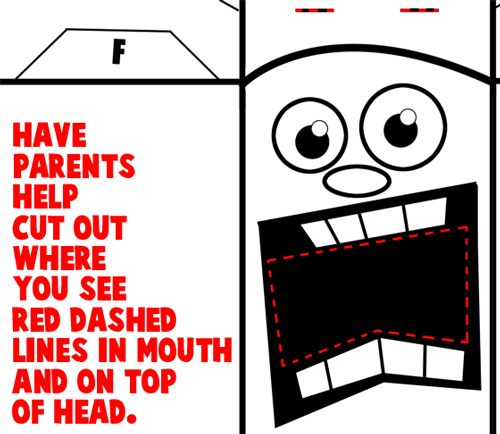
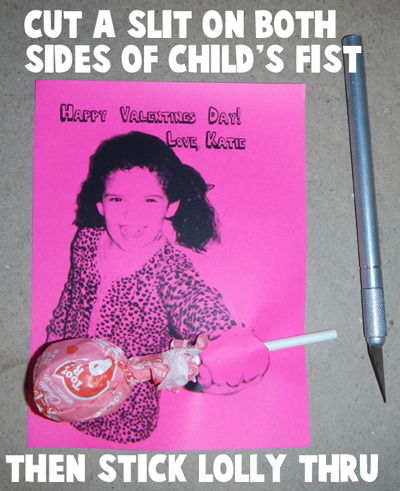
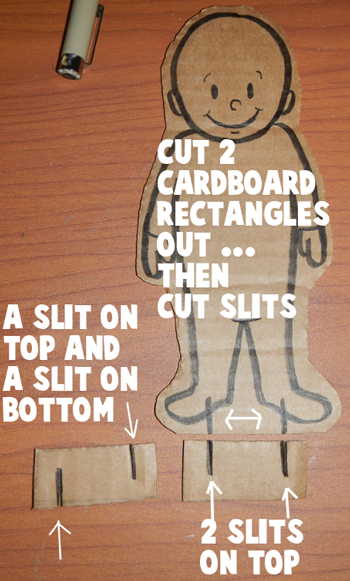
Have your parents cut out the inside of the mouth… as well as the 2 slits that are needed on the head. If you are able to do this with a scissor yourself, then you may do it as well.
Step 5
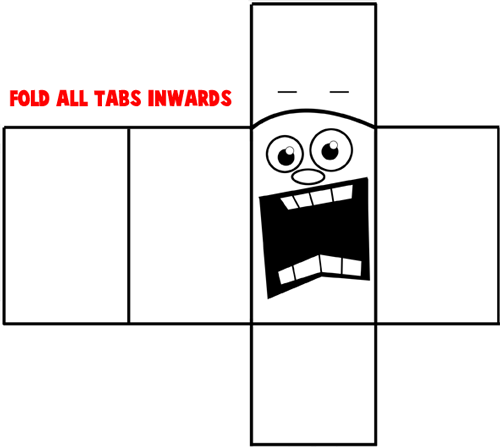
Fold all of the tabs inward.
Step 6
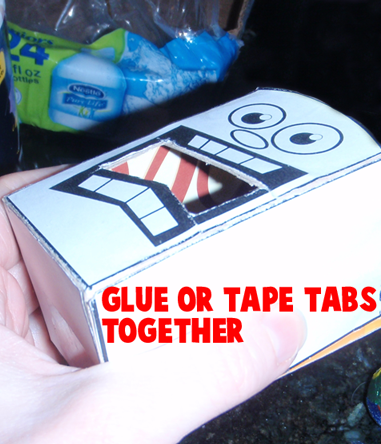
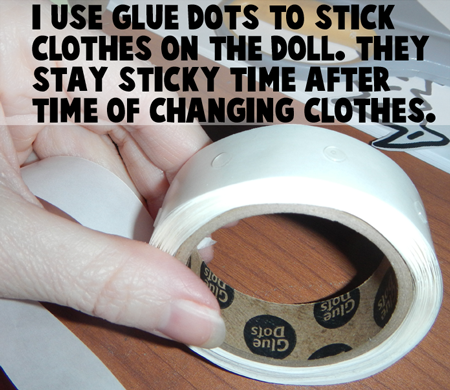
Glue all of the tabs together.
Step 7
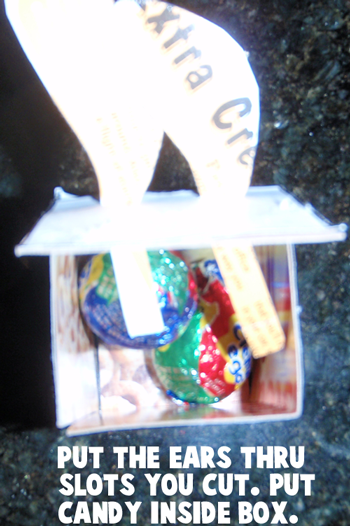
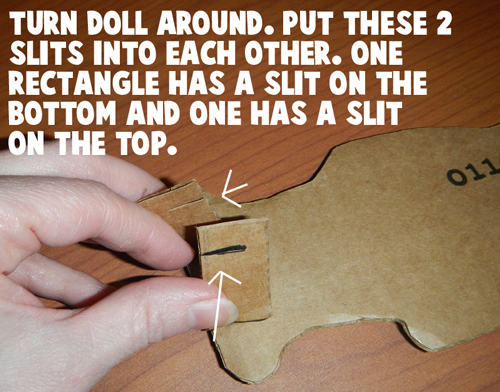
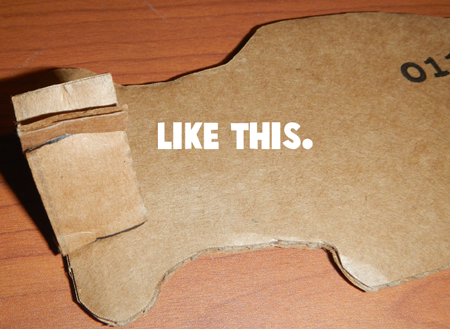
Push the ears into the slits at the top of the box. Also place candy inside of the box.
Step 8
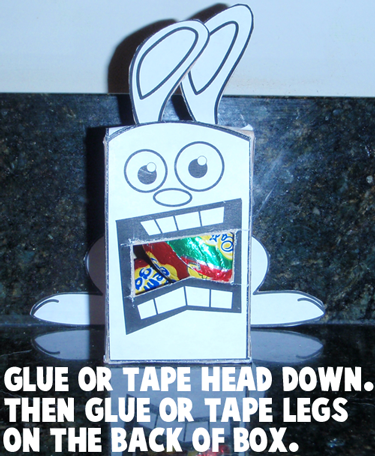
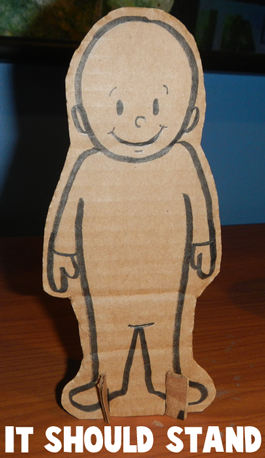
Now glue the head down and glue or tape legs to the back of the box like seen in the picture.
Step 9

Now bend hands at the wrist and glue them on both sides of the box, so that the hands are over the mouth.
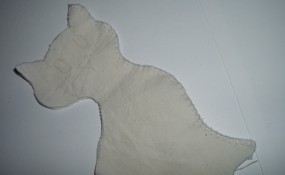
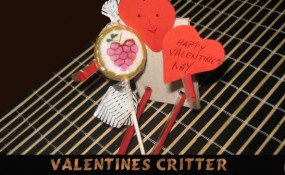
Finished Bunny Rabbit with Candy in His Mouth
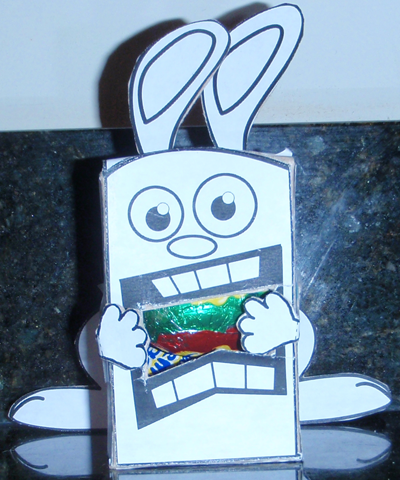
There you have it – a paper foldable Easter Bunny – holding all of the candy in his mouth. I think anyone you give this too will love it!!! I hope that you had fun.
[tag]easter bunny crafts, bunny crafts, bunnies, easter bunnies, bunny rabbits, bunny rabbit crafts, paper templates, paper foldables, free paper foldables, free paper teplates, easter crafts, free easter crafts, easter paper foldables[/tags]